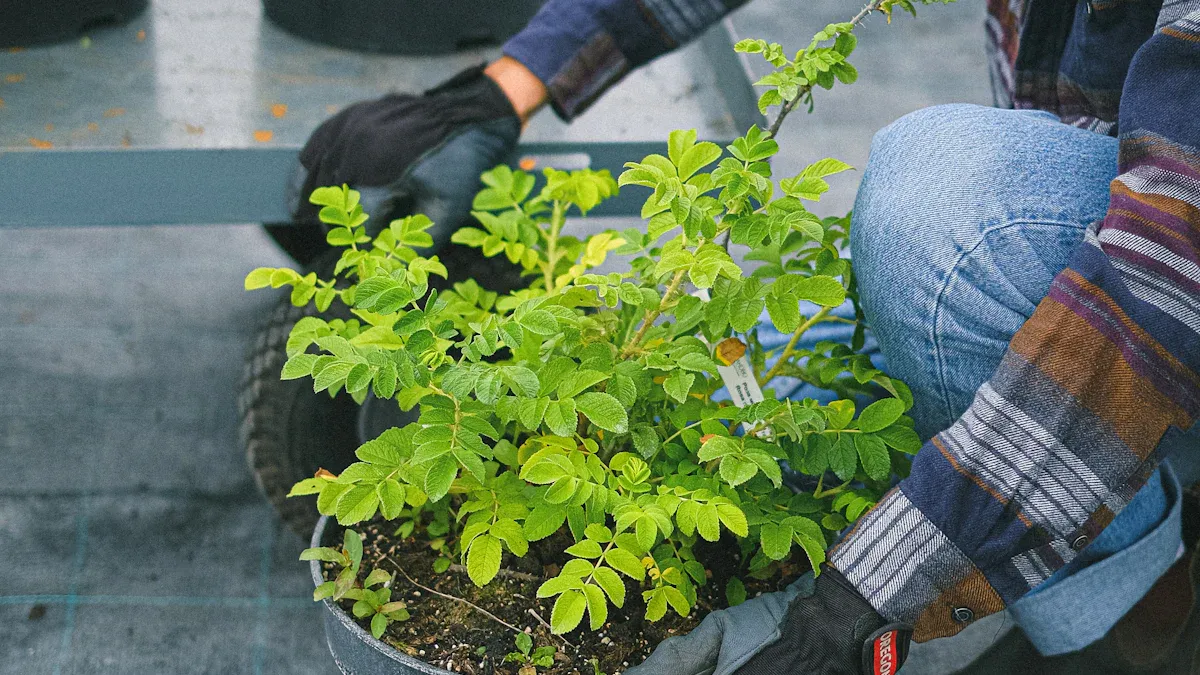
Transplanting a Moringa plant correctly is crucial for its growth and health. When you follow the right steps to transplant Moringa plant, you significantly increase the chances of your plant thriving in its new location. Proper transplanting helps the Moringa plant establish strong roots, which contributes to its overall vigor. Additionally, knowing how to grow Moringa effectively allows you to reap the many health benefits of Moringa. By understanding the transplanting process, you set the foundation for a healthy and productive plant.
Key Takeaways
Gather essential tools like a shovel, watering can, and compost before starting the transplanting process. This preparation makes the task smoother and more efficient.
Choose a sunny location with loamy soil and good drainage for your Moringa plants. This environment supports healthy growth and helps prevent root rot.
Transplant Moringa seedlings in spring or early summer when temperatures are warm. This timing allows roots to establish before cooler weather arrives.
Water newly transplanted Moringa regularly to keep the soil lightly moist. Once established, they require less frequent watering, as they tolerate dry conditions.
Monitor your plants for signs of wilting or pests after transplanting. Early intervention can help your Moringa plants thrive and avoid severe damage.
Preparation for Transplanting Moringa Plant
Tools and Materials
Before you start transplanting your Moringa plant, gather the necessary tools and materials. Having everything ready will make the process smoother and more efficient. Here’s a list of essential items you will need:
Shovel or Spade: Use this to dig holes for your seedlings.
Watering Can or Hose: Ensure you have a way to water your plants after transplanting.
Compost or Manure: Enrich the soil with organic matter to promote healthy growth.
Mulch: This helps retain moisture and suppress weeds around your plants.
Stakes or Supports: Use these to support seedlings if they fall over after planting.
Following expert recommendations, ensure the ground is light and sandy, not heavy with clay or waterlogged. Dig a hole that is one foot square and one foot deep. Backfill the hole with loose soil and add compost or manure. Water the planting holes one day before transplanting to prepare the soil. Plant your seedlings in the late afternoon to avoid the hot sun. Make a hole in the pit to accept all soil in the bag, cut open the sack, and place the seedling in the hole, keeping the soil around the roots intact. Pack soil around the seedlings’ base and water lightly for the first few days.
Choosing the Right Location
Selecting the right location for your Moringa plant is crucial for its success. Moringa plants thrive in specific conditions that you should consider before transplanting. Here are some key factors to keep in mind:
Soil Type: Moringa plants require loamy soil for optimal growth. This type of soil provides good drainage and retains moisture without becoming waterlogged.
Sunlight Exposure: Direct sunlight is essential for the survival of transplanted Moringa. Aim for a spot that receives at least six hours of sunlight each day.
Drainage: Ensure the area has good drainage. Avoid low spots where water tends to collect, as Moringa is sensitive to excess moisture.
Space: Consider the space around your Moringa plant. It needs room to grow, so avoid crowded areas.
While Moringa is drought-tolerant, it benefits from regular watering without waterlogging. By choosing the right location, you set your Moringa plant up for a successful transition and healthy growth.
Timing for Transplanting Moringa Seedlings
Best Time of Year
The best time to transplant Moringa seedlings is during the warm months of spring or early summer. This period offers optimal conditions for growth. When temperatures consistently reach between 25°C and 30°C (77°F to 86°F), your seedlings will thrive. Transplanting during this time allows the roots to establish before the cooler months arrive.
To ensure success, consider the following tips:
Seedling Height: Wait until your seedlings reach about six inches tall. This height indicates they are strong enough to handle the transition.
Acclimatization: Gradually transition your seedlings outdoors if they were grown indoors. This process helps them adjust to the new environment and reduces transplant shock.
Weather Considerations
Weather plays a significant role in the success of your transplanting efforts. You should monitor temperature and rainfall patterns closely. Moringa plants prefer warm, dry conditions. Excessive rain can lead to root rot, while cold temperatures can stunt growth.
Here’s a quick overview of optimal climate factors for transplanting Moringa:
Climate Factor | Optimal Conditions | Observed Conditions in New Zealand |
|---|---|---|
Temperature | 25–30 °C | Not found in reclassified parameters |
Rainfall | >1000 mm | High precipitation in South Island |
Suitable Area | Northland, North Island | Other regions: Bay of Plenty, Gisborne, Waikato |
Unsuitable Area | South Island | High precipitation and low temperatures |
By choosing the right time and paying attention to weather conditions, you can significantly improve the chances of your Moringa seedlings thriving after transplanting.
Transplanting Process
Digging and Planting
Transplanting Moringa plants involves several important steps. Follow this step-by-step guide to ensure a successful transplant:
Prepare the Holes: Three to four weeks before planting, dig holes that are 60 cm (24 in.) round and 60 cm (24 in.) deep. Separate the top and bottom halves of the removed dirt into two piles.
Mix the Soil: Combine the topsoil pile with 1-2 shovelfuls of manure. Place this mixture back into the hole. Return the remaining pile of dirt to the hole, ensuring the dirt is somewhat mounded. This helps prevent water from pooling around the trunk.
Plant the Seeds: Just before the rainy season, plant 2-3 seeds per hole at a depth of 2 cm to 3 cm (0.75 to 1.25 inches). This timing ensures adequate water for the young trees.
Thin the Seedlings: Once the saplings reach about 0.5 meters (20 inches), remove the weakest ones carefully. This prevents damage to the roots of the remaining trees. You can transplant any extra saplings to empty holes.
Weed Control: Keep the area around the saplings free of weeds. This reduces competition for nutrients and water.
When planting, consider the ideal spacing for your Moringa plants. The following table outlines the recommended spacing for different purposes:
Purpose | Minimum Spacing | Maximum Spacing |
|---|---|---|
Leaves | 5 cm x 10 cm | 50 cm x 100 cm |
Seeds and pods | 2.5 m x 2.5 m | 5 m x 5 m |
Agroforestry systems | 2 m between rows | 4 m between rows |
Handling Seedlings
Handling seedlings with care is essential to minimize root damage. Here are some tips to ensure healthy transplanting:
Know Your Soil Type: Understanding your soil type is crucial. Heavy clay soils with poor drainage can lead to root rot. Conduct a soil drainage test. If the soil drains less than 1 inch per hour, consider amending it or relocating the planting site.
Amend the Soil: Improve drainage by mixing compost and sand into the soil. This step is vital for the health of your Moringa seedlings.
Gentle Handling: When removing seedlings from their containers, be gentle. Avoid pulling on the stems. Instead, support the base of the seedling and gently wiggle it free from the soil.
Planting Depth: Ensure you plant the seedlings at the correct depth. The roots should be covered, but the stem should remain above the soil line to prevent rot.
By following these steps and tips, you can successfully transplant Moringa plants and set them up for healthy growth. Remember, proper care during the transplanting process lays the foundation for thriving Moringa plants in your garden.
Post-Transplant Care for Moringa Plant
After transplanting your Moringa seedlings, proper care is essential for their growth. Focus on watering and fertilization to help your plants thrive.
Watering Guidelines
Watering is crucial for newly transplanted Moringa trees. You should follow these guidelines to ensure your seedlings establish strong roots:
Regular Watering: Keep the soil lightly moist during the establishment phase. Newly planted Moringa trees need consistent moisture to adapt to their new environment.
Less Frequent Watering: Once established, Moringa trees require less frequent watering. They can tolerate dry conditions better than many other plants.
Avoid Overwatering: While Moringa plants show resilience to water stress, overwatering can still harm them. Excess moisture can lead to root rot, so monitor the soil’s moisture level closely.
Remember, maintaining the right moisture balance is key. Too much water can be just as harmful as too little.
Fertilization Tips
Fertilizing your Moringa plants after transplanting helps them grow strong and healthy. Here are some effective fertilization tips:
Use Balanced Fertilizers: Apply a balanced fertilizer that includes nitrogen, phosphorus, and potassium. These nutrients support overall plant health.
Application Rates: Follow these recommended application rates for Moringa plants:
Fertilizer Type | Application Rate (kg/ha) | Timing of Application |
|---|---|---|
Nitrogen | 100, 200, 300, 400 | Half at planting, half 4 weeks after transplanting |
Phosphorus | 40, 80, 120 | Incorporated into soil before planting |
Potassium | 731 | Basal at planting |
Mulching: Consider using mulch around your Moringa plants. Mulch helps retain moisture and protects the roots from temperature extremes. However, avoid excessive moisture around the stem, as this can lead to problems.
By following these watering and fertilization guidelines, you will set your Moringa plants up for success. Caring for Moringa seedlings properly after transplanting is vital for their growth and productivity.
Common Issues in Transplanting Moringa
Wilting and Stress
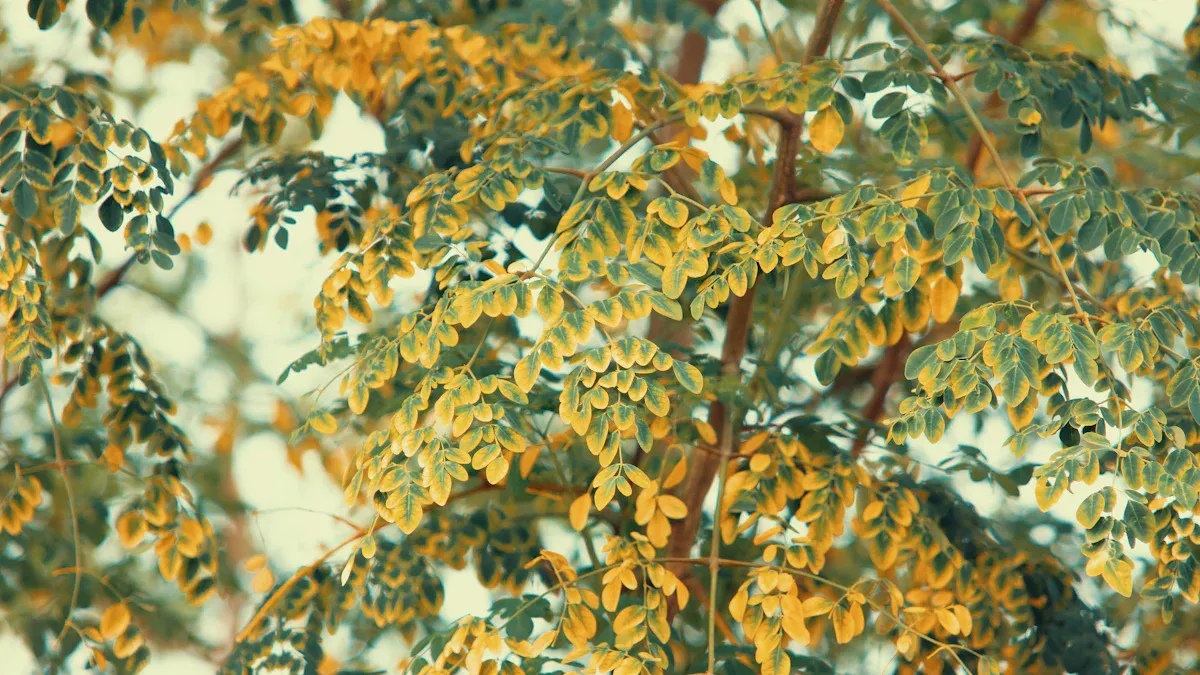
Wilting and stress often occur after transplanting Moringa seedlings. You may notice signs like wilting leaves, yellowing foliage, or curling leaves. These symptoms indicate that your seedlings are struggling to adapt. Several factors contribute to this stress:
Transplant Shock: This condition leads to poor establishment in new locations. New transplants often lack extensive root systems, making them vulnerable to water stress.
Root Damage: Damage to root hairs can hinder water absorption. Roots may dry out during transport, leading to further complications.
Environmental Changes: Changes in sunlight levels, soil pH, and texture can shock your seedlings. Increased exposure to wind can also stress them.
To address wilting, ensure you provide consistent moisture. Water your seedlings regularly, especially during the first few weeks after transplanting. If you notice severe wilting, consider shading your plants temporarily to reduce stress from direct sunlight.
Pests and Diseases
Pests and diseases can pose significant challenges after transplanting Moringa. Common pests include:
Pod fly
Budworm
Hairy caterpillar
Red mites
Aphids
Longhorn beetles
Bud midge
Diseases such as fruit rots, stem rots, root rot, and twig canker can also affect your plants. To combat these issues, monitor your seedlings closely for any signs of infestation or disease.
You can use organic treatments like a natural insecticide made from Moringa leaves. This spray effectively repels pests and helps prevent fungal diseases without harmful chemicals. Regularly inspect your plants and take action at the first sign of trouble. Early intervention can save your Moringa seedlings from severe damage.
By being aware of these common issues and taking proactive measures, you can help ensure the successful growth of your transplanted Moringa plants.
Successfully transplanting your Moringa plant involves several key steps. Start by preparing the right tools and materials, choosing an ideal location, and timing your transplanting carefully. Follow the transplanting process diligently, and provide proper post-transplant care. Research shows that adhering to a detailed transplanting guide significantly influences the long-term health and yield of your Moringa plants. By promoting robust root development, you enhance their productivity and resilience.
Take action today! Care for your Moringa plants after transplanting to ensure they thrive and provide you with their many benefits.

FAQ
What is the best time to transplant Moringa seedlings?
You should transplant Moringa seedlings in spring or early summer when temperatures are consistently between 25°C and 30°C (77°F to 86°F). This timing helps seedlings establish roots before cooler weather arrives.
How often should I water my transplanted Moringa plants?
Water your transplanted Moringa plants regularly during the establishment phase. Keep the soil lightly moist. Once established, Moringa plants require less frequent watering, as they tolerate dry conditions well.
Can I grow Moringa in pots?
Yes, you can grow Moringa in pots. Choose a large container with good drainage. Ensure the potting mix is well-draining and rich in organic matter to support healthy growth.
What should I do if my Moringa plant wilts after transplanting?
If your Moringa plant wilts, provide consistent moisture. Water it regularly and consider shading it from direct sunlight temporarily. This helps reduce stress and allows the plant to recover.
How can I prevent pests on my Moringa plants?
To prevent pests, regularly inspect your Moringa plants for signs of infestation. Use organic treatments, such as a natural insecticide made from Moringa leaves, to repel pests without harmful chemicals.