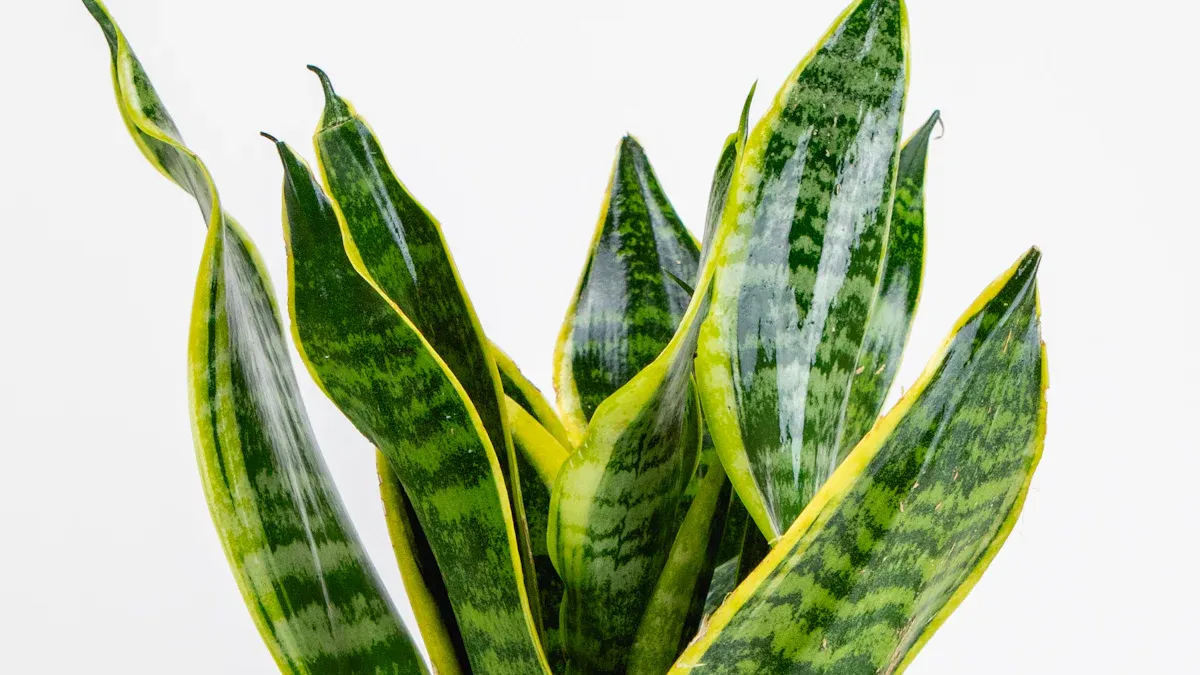
The snake plant is famous for its low maintenance nature and resilience. Many consider this houseplant a top choice for indoor plant enthusiasts and beginners. While the snake plant is undeniably tough, I know that specific snake plant care practices elevate its health. This guide provides 12 actionable tips for achieving a vibrant Sansevieria.
These beginner tips will ensure lush foliage and robust growing. You will discover the full benefits of snake plants, including its role as an air purifying plant. I will share tricks for various snake plant varieties. Proper maintenance transforms your indoor plant into a stunning, low maintenance addition.
1. Light Needs: Perfect Placement
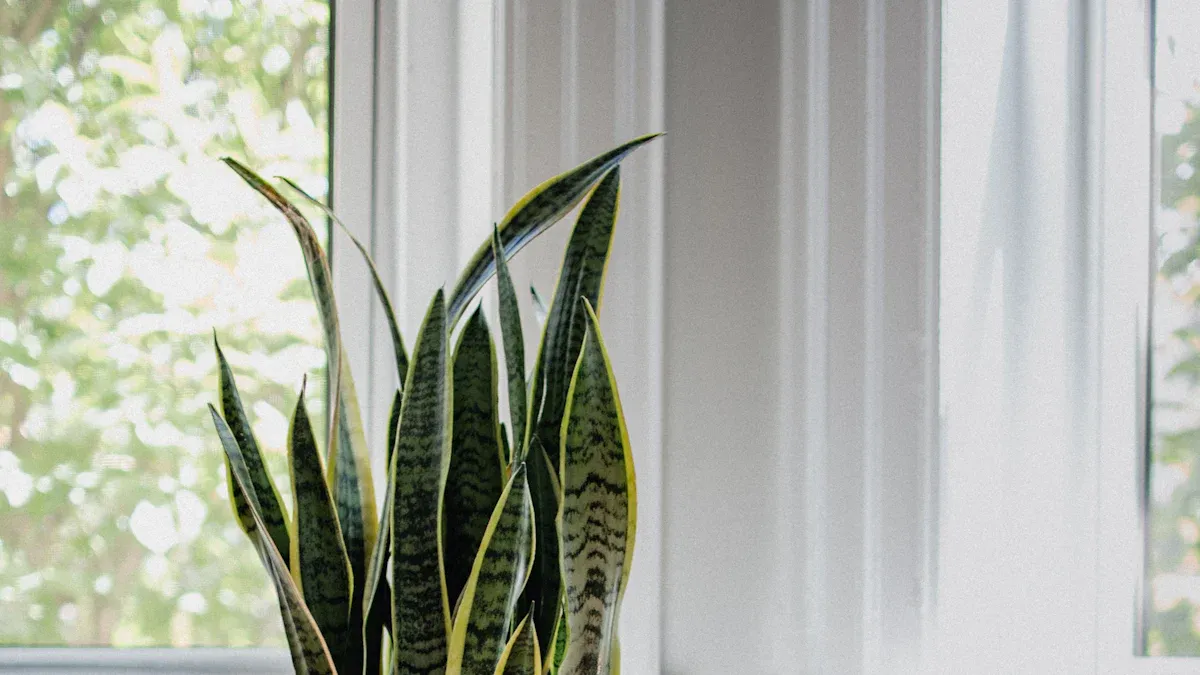
I find that understanding light needs is crucial for any indoor plant, especially my snake plant. While these plants are incredibly tough, they truly shine with the right light. I always aim for bright, indirect light for my snake plant. This placement helps them grow strong and vibrant, contributing to their overall health and beautiful appearance.
Indirect vs. Direct Light
I position my snake plant near a window where it gets plenty of light, but not direct sun. Direct sunlight, especially for long periods, can be too harsh for its leaves. I have seen what happens when a snake plant gets too much sun. Its leaves can develop crispy tips and faded colors. You might also notice fading or bleached leaves, brown or yellow spots, or even leaf curling or wilting.
These are clear signs of sunburn. I always make sure to avoid prolonged direct sunlight to prevent this damage. Instead, I prefer a spot where the light is filtered, perhaps through a sheer curtain, or a few feet away from a south-facing window. This provides the ideal environment for healthy growing.
Signs of Light Imbalance
On the other hand, too little light also causes problems for my snake plant. Insufficient light causes etiolation. This means the plant stretches out, trying to find more light. I look for specific indicators like extra-long, narrow, or thin leaves. The plant might also appear to be stretching noticeably towards the nearest light source.
This tells me it needs a brighter spot. While a snake plant can tolerate low light conditions, I know it truly thrives and looks its best in brighter, indirect light. Finding this balance is a key part of good care for your indoor snake plant, ensuring it remains a stunning feature in your home.
2. Watering Your Snake Plant
I know that proper watering is one of the most important aspects of snake plant care. Many people think snake plants need a lot of water, but I have learned the opposite is true. My indoor snake plant thrives when I am careful with its water needs.
I always adjust my watering schedule based on the season and my home’s environment. During spring and summer, I water every 2-3 weeks. In fall and winter, I reduce watering to once a month or even less. I always water thoroughly when I do, letting excess water drain away.
Soil Dryness Test
Before I water my snake plant, I always perform a soil dryness test. This helps me avoid overwatering, which is a common mistake. I insert my finger about an inch into the soil. If I feel any moisture, I postpone watering. I only water when the soil is completely dry to the touch. A moisture meter also helps me.
I water my snake plant only when the meter indicates the soil is firmly in the ‘dry’ range. This method ensures I give my plant water only when it truly needs it, promoting healthy growing.
Avoiding Root Rot
Overwatering is the biggest danger for my snake plant. It leads to root rot, a condition that can quickly kill the plant. I always make sure to avoid root rot by letting the soil dry out completely between waterings. When I see signs of root rot, I know I have given too much water. I look for yellow or wilting leaves.
Sometimes the roots become mushy or squishy, turning brown, and they might even smell like compost. Discolored leaves, especially yellowing or black, also tell me there is a problem. Crunchy and wilted leaves, despite wet soil, are another indicator. Proper watering prevents these issues and keeps my snake plant healthy.
3. Soil Selection: The Right Mix
I know the right soil mix is fundamental for a healthy snake plant. It directly impacts how your plant absorbs water and nutrients. A good soil mix prevents many common problems. I always make sure my indoor snake plant has the best foundation for strong growing.
Well-Draining Potting Mix
Well-draining soil is crucial for my snake plant. It prevents root rot, a common issue from too much water. I avoid compact soil because it holds too much moisture. Instead, I look for a mix that allows water to pass through easily.
I often add specific components to my potting mix to ensure good drainage. For general repotting, I mix in perlite and coarse sand. This creates a high drainage level. If my plant is rootbound, I might use orchid bark and perlite. This also provides high drainage. After dealing with root rot or poor drainage, I use perlite and horticultural charcoal for very high drainage. For young plants in small pots, perlite and sand work well for medium-high drainage. For large plants in sunny windows, I use perlite, pumice, and bark for maximum drainage.
These additives are very helpful. Perlite or coarse sand create air pockets in the soil. This helps water drain fast. Orchid bark makes the mix even more porous. Inorganic materials like perlite and coarse sand prevent soil compaction. They promote good drainage. This is essential for proper snake plant care.
Importance of Aeration
Soil aeration is just as important as good drainage. It means the soil has enough air pockets for roots to breathe. Poor soil aeration, often from dense soil, leads to root suffocation. This causes root decay, commonly known as root rot. Overwatering is a primary cause of snake plant death due to root rot. Allowing snake plants to sit in standing water can cause root suffocation and decay.
Well-draining soil, containing materials like perlite, coarse sand, or pumice, is crucial. It prevents roots from suffocating. Proper drainage is essential for maintaining balanced soil moisture. It ensures roots remain healthy and oxygenated. A study on ResearchGate emphasizes the importance of proper soil aeration and drainage for healthy growing.
It links this to the plant’s drought tolerance and overall well-being. Using well-draining soil, such as a cactus or succulent mix, is crucial for snake plants. Adding perlite or sand to regular potting soil enhances drainage. It helps prevent root rot. This ensures my snake plant gets the right amount of water without issues.
4. Potting Essentials: Size and Drainage
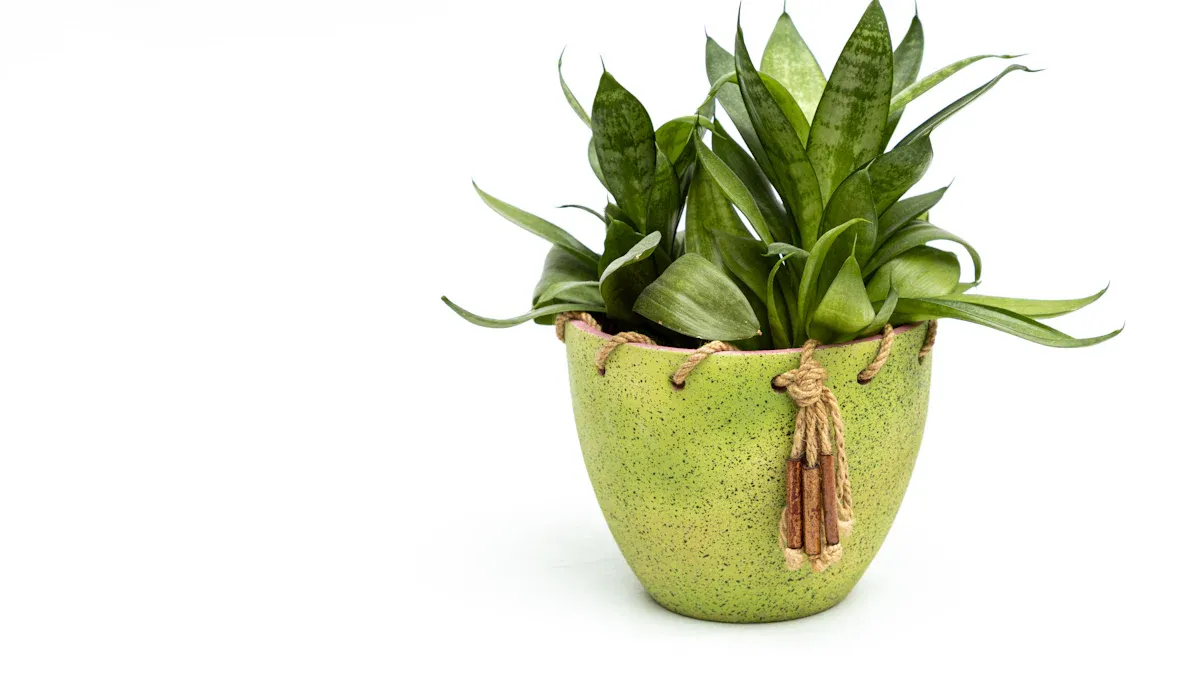
I know that selecting the right pot is just as important as choosing the right soil for my snake plant. The pot’s size and its ability to drain water directly impact my plant’s health. I always consider these factors carefully.
Choosing the Right Pot
I have learned that snake plants prefer to be root-bound. They grow best in slightly constricted containers. This might seem counterintuitive, but I have seen the benefits firsthand. Being slightly root-bound encourages my snake plant to produce more pups, which are baby snake plants, and new leaves. This mild stress prompts the plant to reproduce and spread. I also notice that my snake plants with slightly confined roots develop thicker, stronger leaves. For those who prefer a smaller snake plant, keeping it somewhat root-bound helps manage its overall size. This mild root confinement triggers biological responses. It directs more energy to leaf development rather than root expansion.
Mature plants that are slightly root-bound may also have an increased chance of flowering. When roots adequately fill a pot, it provides better stability for plants that might otherwise be top-heavy. When I repot, I only increase the container size by one increment. This keeps the plant comfortably snug.
Ensuring Drainage Holes
Pots with drainage holes are essential. They prevent water accumulation at the bottom of the pot. I always make sure my pots have these holes. Without them, excess water has nowhere to go. This leads to soggy soil. Soggy soil is a major cause of root rot, which can quickly kill my indoor snake plant. I want to avoid this problem at all costs.
When I water my plant, I water thoroughly. I let the excess water drain out completely. This ensures the roots do not sit in standing water. Proper drainage is critical for managing the water levels. It supports healthy growing and prevents common issues.
5. Temperature: Ideal Climate
I know temperature plays a significant role in the health of my indoor snake plant. While these plants are resilient, they truly thrive within a specific temperature range. I always make sure my snake plant stays in a comfortable environment. This helps ensure its continued growing and overall vitality.
Optimal Temperature Range
My snake plant prefers warm temperatures. I find it does best when the room stays between 70°F and 90°F. Snake plants generally prefer a temperature range of 60–85°F (16–29°C). This range shows their comfortable operating zone. Stress might occur beyond this range. However, they can tolerate higher temperatures for short durations. Snake plants can tolerate temperatures as high as 105°F (41°C) for short periods without stress.
Their ideal growth range is 65°F to 80°F (18°C to 27°C). They can withstand these higher temperatures temporarily. I aim for this ideal range to keep my snake plant happy and healthy.
Protecting From Cold
Cold temperatures pose a significant threat to my snake plant. I always keep my snake plant away from cold drafts and frost. Temperatures dropping below 50°F (10°C) cause slowed growth. More critically, temperatures below 40°F (4°C) can lead to significant damage.
This includes tissue damage or root rot. I avoid placing my indoor snake plant near drafty windows or doors during winter. I also keep it away from air conditioning vents in summer. Sudden temperature drops can shock the plant. Consistent warmth is key for good snake plant care. I make sure to move my plant if I notice any cold spots.
6. Humidity Preferences
I know humidity is a factor for many indoor plants. My snake plant, however, has very specific preferences. It does not need high humidity. In fact, it thrives in drier conditions. Understanding this helps me provide the best care for my plant. This knowledge ensures my indoor snake plant stays healthy and vibrant.
Low Humidity Needs
My snake plant comes from arid regions. This means it naturally prefers low humidity. I do not need to mist its leaves. I also do not place it near humidifiers. The air in most homes is perfectly fine for this plant. It stores water in its thick, succulent leaves.
This adaptation helps it survive in dry environments. This also means it does not rely on atmospheric moisture for its hydration. I find this makes its care much simpler. It is a very adaptable indoor plant. I appreciate that I do not need to worry about special humidity trays or frequent misting. This plant truly enjoys a dry atmosphere.
Avoiding Excess Moisture
I always avoid excess moisture around my snake plant. High humidity can cause problems. It can lead to fungal issues on the leaves. This is especially true if there is not enough air circulation around the plant. Too much moisture in the air can also contribute to root rot. This happens if the soil stays wet for too long, as the humid air slows down evaporation of water from the soil. I make sure my plant is not in a constantly damp environment.
I do not put it in a steamy bathroom without good ventilation. I also ensure no water collects around the base of the pot. This prevents any issues related to too much water. Proper humidity management supports healthy growing for my snake plant. It helps prevent common problems that arise from overly moist conditions.
7. Fertilizing for Growth
I know that fertilizing helps my snake plant grow strong and vibrant. While these plants are not heavy feeders, providing nutrients at the right time makes a big difference. I always make sure to give my indoor snake plant the right kind of food. This supports its healthy growing.
Type and Frequency
I fertilize my snake plant sparingly. I usually do this during its active growing season, which is spring and summer. I avoid fertilizing in fall and winter when the plant rests. For fertilizer type, I find a balanced NPK ratio works well. A 10-10-10 NPK ratio is a good starting point. If I want to encourage blooms, I look for a fertilizer with increased phosphorus.
I prefer liquid fertilizers because I can easily dilute them. For example, Espoma Organic Indoor Plant Food (2-2-2 NPK ratio) is a good option. Granular fertilizers also work. They offer a slow release of nutrients over time. I use them very sparingly. For those who prefer organic methods, a mix of organic potting soil, succulent & cactus mix, and compost can be effective. I always dilute the fertilizer to half or even a quarter of the recommended strength. This prevents over-fertilization.
Avoiding Over-Fertilization
Over-fertilization is a common problem. It can harm my snake plant more than under-fertilization. I watch for signs of too much fertilizer. These signs include:
Fertilizer burn or nutrient burn on the leaves.
Stunted growth, even when I expect the plant to grow.
Shriveled leaves due to fertilizer salt buildup in the soil.
Excessive foliage at the expense of flowers. This means the plant looks lush but does not bloom.
Brown edges on leaves.
Browned tips on leaves.
Entire yellow leaves.
Entire browned leaves.
If I see these signs, I stop fertilizing immediately. I flush the soil with plenty of clean water. This helps wash away excess salts. Proper care means giving just enough nutrients, not too much.
8. Pruning for Health
I know that pruning is an essential part of good plant care. It helps my snake plant stay healthy and look its best. I approach pruning with a clear purpose, ensuring my plant thrives.
Removing Damaged Leaves
I always make sure to remove any damaged, yellowing, or diseased leaves from my snake plant. This practice is crucial for maintaining the plant’s overall health. When I take off these imperfect leaves, it ensures the plant looks its best, contributing significantly to its aesthetic appeal in my home. Sometimes, a damaged leaf might come off very easily. This can be a strong indicator of rot. If this happens, I carefully inspect the roots and stem for any ongoing infection. Removing the leaf then becomes a necessary step in addressing a larger health issue, preventing it from spreading. Pruning also provides me with healthy leaf cuttings. I can use these cuttings to propagate and grow new snake plants, which is a fantastic way to expand my collection or share with friends.
Maintaining Plant Shape
Pruning also allows me to maintain the desired shape and size of my indoor snake plant. I might want a more compact look, or I may need to remove leaves that are growing awkwardly or becoming too tall and unruly.
I always use clean, sharp scissors or a knife for this task to prevent disease transmission and ensure a clean cut. I cut the leaf at its base, as close to the soil line as possible. This encourages new growth from the rhizome, which is the underground stem, leading to a fuller plant. I also strategically remove older, outer leaves to make room for new ones.
This keeps the plant looking fresh and vibrant. Regular pruning ensures my indoor snake plant continues its healthy growing. It also helps it fit perfectly into my home decor, making it a stunning focal point. This careful attention to pruning is a key aspect of comprehensive snake plant care.
9. Pest Control: Common Issues
I know that even the most resilient plants, like my snake plant, can sometimes face pest problems. Staying vigilant helps me catch issues early. This ensures my indoor snake plant continues its healthy growing without interruption.
Identifying Common Pests
I always inspect my snake plant regularly for any signs of pests. Early detection makes treatment much easier. I look closely at the leaves, both top and bottom, and also check the soil surface. Here are some common pests I watch for:
Aphids: These tiny insects can cause damage. They can quickly lead to an infestation if I do not address them.
Fungus gnats: These are small, dark flies. Their larvae live in the soil and feed on plant roots. I often see them when the soil stays too moist.
Spider mites: I look for fine webbing on the leaves. These tiny pests cause stippling or discoloration.
Mealybugs: These look like small, white, cottony masses. I usually find them in leaf axils or on stems.
Thrips: These slender insects can cause silvery streaks or distorted new growth.
I have learned that understanding what to look for is the first step in effective pest care.
Treatment Options
When I find pests on my snake plant, I act quickly. My first step is usually to isolate the affected plant. This prevents pests from spreading to my other indoor plants. For minor infestations, I often use a simple solution. I wipe the leaves with a damp cloth or cotton swab dipped in rubbing alcohol. This works well for mealybugs and aphids.
For more persistent pests, I use insecticidal soap. I mix it according to the package directions. Then I spray all parts of the plant, making sure to cover the undersides of the leaves. I repeat this treatment every few days until the pests are gone. For fungus gnats, I let the soil dry out completely between waterings. This breaks their life cycle. I also sometimes use sticky traps to catch the adult gnats. Consistent care helps keep my snake plant pest-free.
10. Propagation: Expanding Your Collection
I find propagating my snake plant a rewarding experience. It allows me to expand my collection or share these beautiful plants with friends. Propagation is a simple process. It helps me create new plants from existing ones.
Leaf Cuttings
I often propagate my snake plant using leaf cuttings. This method is straightforward. I select a healthy, mature leaf. Then, I cut it into sections about 2-4 inches long.
I make sure to note which end is the bottom. This is important for proper rooting. I let these cuttings dry for a few days. This allows the cut end to callus over. Callusing prevents rot when I plant them. After callusing, I insert the bottom end of each cutting into a well-draining potting mix. I keep the soil slightly moist. I place the pot in bright, indirect light. Roots usually form within a few weeks to a couple of months. New plantlets will eventually emerge from the base of the cutting. This method requires patience. It is a great way to get more indoor snake plants.
Division for Mature Plants
I prefer division for my larger, more mature snake plant specimens. This method is faster than leaf cuttings. It produces larger new plants immediately. I carefully remove the entire plant from its pot. Then, I gently separate the rhizomes. These are the underground stems. Each section needs at least one healthy leaf and some roots. I use a clean, sharp knife if necessary. I make sure to be gentle.
I learned that waiting until spring to divide a snake plant is best. This is especially true if winter is approaching or if you live in a cold climate. It gives the new divisions time to establish roots.
After dividing, I repot each section into its own container. I use a well-draining soil mix. I find a 50/50 mix of regular potting soil and cactus potting soil works very well. This mix provides excellent drainage. It helps prevent root rot. This ensures the new plants have a good start for healthy growing. Proper care after division helps the new plants thrive.
11. Repotting Your Snake Plant
I know that repotting is a vital part of my snake plant’s long-term health. It gives the roots fresh soil and more space. I always pay close attention to my plant’s signals. This helps me decide when it needs a new home.
Signs for Repotting
I look for several clear signs that my snake plant needs repotting. First, I check the drainage holes. If roots are growing through them, the plant has definitely outgrown its current container. I also notice if the plant becomes top-heavy.
An unstable or tipping plant needs a larger, more stable pot. Sometimes, I observe that growth has slowed or stopped. This lack of growing, despite proper care, suggests the plant is root-bound and requires more space. A cracked grow pot is another definite sign. If the pot is deteriorating, it is time for a new one. These indicators tell me my indoor snake plant is ready for a change.
Best Time to Repot
I always choose the right time to repot my snake plant to minimize stress. Repotting in spring or early summer is ideal. The plant is actively growing during these seasons. It can recover more effectively from the repotting process.
I avoid repotting during winter. The plant is semi-dormant then. This leads to slower and riskier recovery from stress. The optimal time to repot a snake plant is late winter or early spring. This timing gives the plant the best chance to settle into its new pot and continue its healthy development.
12. Cleaning Leaves: Keeping Them Vibrant
I know that cleaning the leaves of my snake plant is an often-overlooked part of its care. Dust can accumulate on the broad leaves. This affects the plant’s ability to thrive. I make sure to keep my indoor snake plant’s foliage clean. This helps it stay vibrant and healthy. This simple task offers significant benefits for the plant’s longevity and appearance.
Dust Removal Benefits
Dust buildup on leaves can hinder a snake plant’s ability to perform photosynthesis. Photosynthesis is how plants convert light into energy. A layer of dust blocks sunlight from reaching the leaf surface. This reduces the plant’s efficiency. I have seen how a clean leaf looks brighter and healthier.
Removing dust ensures my snake plant gets all the light it needs. This supports its healthy growing. It also improves the overall appearance of the plant. The aesthetic benefits are clear. Clean leaves reflect light better. This makes the plant a more attractive feature in my home. It also allows the plant to breathe more easily. This contributes to its overall well-being and robust growth.
Safe Cleaning Methods
I use simple and safe methods to clean my snake plant leaves. I always use a slightly damp cloth. It is important that the cloth is not too wet. Excess water can leave streaks or spots. I gently wipe both sides of each leaf. This practice helps sunlight reach the plant. It also prevents blockage of photosynthesis.
I start at the base of the leaf and wipe towards the tip. This removes dust effectively. For very dusty plants, I sometimes take my indoor snake plant to the shower. I give it a quick, gentle rinse with lukewarm water.
I make sure the water pressure is low. After rinsing, I let the leaves air dry completely before returning the plant to its spot. This prevents water spots and potential fungal issues. I avoid using leaf shine products. They can clog pores on the leaves. Regular cleaning is a small step. It makes a big difference in the long-term care and vitality of my snake plant.
I have shared 12 essential tips for your snake plant. Consistent application of these tips ensures a vibrant, thriving snake plant.
You will see enhanced aesthetic appeal and improved plant health. This leads to longevity for your beautiful houseplant. I encourage you to observe your snake plant. Adjust its care as needed. This fosters a deeper connection with your Sansevieria. There is great satisfaction in nurturing a beautiful, low maintenance plant. This low maintenance plant brings many benefits. Its easy maintenance supports healthy growing.