Shibori dyeing techniques are a captivating textile art that combines history and creativity. This traditional Japanese method allows you to manipulate fabric through folding, twisting, and binding, resulting in stunning patterns. Over the past decade, interest in Shibori dyeing techniques has surged, as designers increasingly adopt these unique textiles. You can explore this art form to express your individuality and enhance your creative skills.
Historical Context | Description |
|---|---|
Origin | Shibori is a traditional Japanese dyeing technique dating back to the 8th century during the Nara period. |
Techniques | Shibori dyeing techniques involve folding, twisting, bunching, and binding fabric before dyeing to create unique patterns. |
Cultural Significance | These techniques have diversified and adapted across cultures, maintaining their significance in textile art. |
Key Takeaways
Shibori dyeing is a traditional Japanese technique that creates unique patterns by folding, twisting, and binding fabric before dyeing.
Choosing the right fabric, like silk or cotton, is crucial for achieving beautiful results in Shibori dyeing.
Essential tools for Shibori include twine, scissors, and rubber bands, which help secure the fabric and create designs.
Three main techniques—Itajime, Arashi, and Kumo—offer different ways to create stunning patterns on fabric.
Participating in community workshops can enhance your Shibori dyeing skills and connect you with other creative individuals.
Essential Materials for Shibori Dyeing Techniques

Suitable Fabrics
Choosing the right fabric is crucial for successful Shibori dyeing. Here are some of the best options:
Silk: This luxurious fabric absorbs dye beautifully. It allows for crisp patterns, making it a favorite among Shibori artists.
Hemp: Known for its durability, hemp also takes dye well. It produces unique textures and patterns.
Cotton: This versatile fabric is widely used in Shibori. It holds dye effectively and is easy to work with.
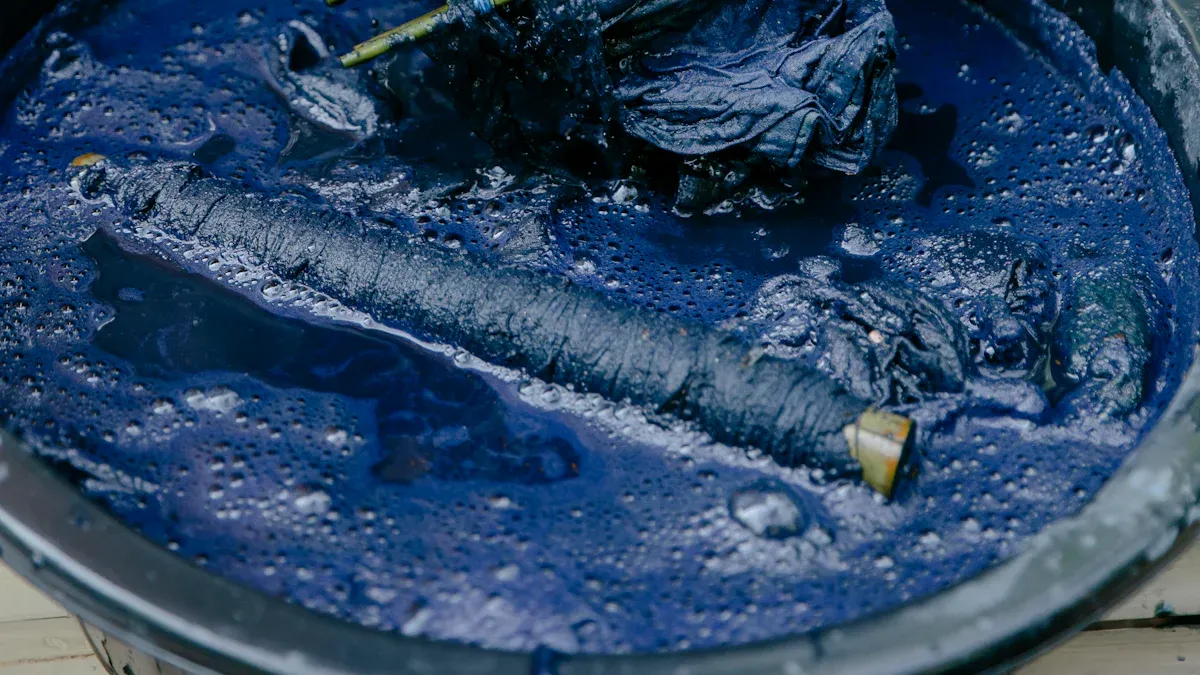
When selecting fabric, consider how the fiber content affects dye absorption. Fabrics like silk and cotton have different characteristics. Silk allows for more defined patterns due to its smooth surface. Indigo dye is particularly favored in Shibori because it does not penetrate folds easily. This results in sharp, clear designs. Other dyes can also be used for varied effects, but they may not yield the same crispness.
Required Tools
To get started with Shibori dyeing, you will need several essential tools. Here’s a list of what you should gather:
Twine: Useful for binding fabric tightly.
Scissors: Sharp scissors help you cut fabric and twine easily.
Rubber bands: These are great for creating resist areas.
Clothespins: They help hold fabric in place during the dyeing process.
Wooden shims: These can create interesting patterns when used for folding.
Jar lids and popsicle sticks: Both can be used to clamp fabric for various designs.
Additionally, you will need some sewing supplies:
Needles: Use strong needles like Richard Hemming & Son or Milliners Size 10.
Thread: Strong, doubled thread works best for binding.
Sharp-tip scissors: Consider using Gingher 4” embroidery scissors for precision.
Seam ripper: A Dritz seam ripper can help you undo any mistakes.
Spray bottle: This is handy for misting fabric before dyeing.
Small carrying case: Keep all your tools organized and ready for use.
Gathering these materials will set you up for success in your Shibori dyeing journey. With the right fabrics and tools, you can explore the endless possibilities of this beautiful art form.
Overview of Shibori Techniques
Shibori dyeing techniques offer a fascinating way to create unique patterns on fabric. Each method has its own distinct characteristics and visual effects.
Itajime
Itajime Shibori is a shaped-resist dyeing technique. You sandwich the fabric between two pieces of wood, preventing dye from penetrating certain areas. This method creates crisp, defined patterns. Here’s how you can achieve Itajime Shibori:
Fold the fabric carefully.
Place wood blocks on either side of the folded fabric.
Apply pressure using binding and clamping methods.
Immerse the bound fabric in a dye bath.
This labor-intensive process can take several days. It captures the memory of the folds, resulting in patterns that can either bleed softly or maintain sharp lines. Indigo dye is often used in this technique, as it enhances the clarity of the designs.
Arashi
Arashi Shibori stands out for its unique twisting and wrapping method. You wrap the fabric around a pole, creating a distinctive ‘storm-like’ pattern. This technique differs from others because it relies on the dynamic movement of the fabric. At summer camps, participants often demonstrate this method by wrapping long silk scarves around PVC pipes. The resulting designs can range from simple to intricate, showcasing the versatility of Arashi Shibori.
Kumo
Kumo Shibori is known for its striking spider-web-like patterns. You achieve this effect through a specific binding method that creates radiating lines. These lines contrast sharply against a reserved white background, enhancing the fabric’s visual appeal. Kumo Shibori has become a signature technique among contemporary artists, as it allows for bound-resist variations that are both beautiful and complex.
Indigo dye plays a significant role in all these techniques. Historically, it was favored for its rich color and ability to create stunning designs. As you explore Shibori dyeing techniques, you will discover the endless possibilities for creativity and expression.
Step-by-Step Shibori Dyeing Techniques
Itajime Instructions
To create stunning patterns using the Itajime technique, follow these steps:
Prepare Your Fabric: Start with a clean piece of fabric. Fold it in half, then in half again, creating a smaller square.
Place Wood Blocks: Sandwich the folded fabric between two wooden blocks. Ensure the blocks are large enough to cover the fabric completely.
Secure the Fabric: Use twine to tightly bind the blocks together. This prevents dye from penetrating the areas between the blocks.
Dye the Fabric: Immerse the bound fabric in a dye bath. For best results, use indigo dye, as it creates sharp patterns.
Rinse and Dry: After dyeing, rinse the fabric in cold water to remove excess dye. Unbind the fabric and let it dry completely.
Safety Tips:
Always dye in a well-ventilated area to avoid inhaling harmful particulates.
Wear a mask that covers your nose and mouth when working with powdered dye.
Use safety goggles to protect your eyes during the dyeing process.
Arashi Instructions
Arashi Shibori creates dynamic patterns through twisting and wrapping. Here’s how to do it:
Wrap the Fabric: Start by wrapping your fabric diagonally around a dowel or pipe. This creates the foundation for your design.
Secure with Twine: Tie the twine to one end with a double knot. Wrap it tightly around the fabric until you reach the other end.
Compress the Fabric: Use both hands to scrunch the ends of the fabric towards the middle. Compress it as tightly as possible.
Dye the Fabric: Submerge the wrapped fabric in your dye bath. The tighter you compress the fabric, the less dye will penetrate, resulting in more white areas.
Rinse and Reveal: After dyeing, rinse the fabric in cold water. Unwrap it to reveal your unique design.
Tips for Consistent Results:
Vary the stripe width by adjusting the distance between thread wraps.
Create puckers and folds while wrapping to achieve irregular dye patterns.
Incorporate twists while pushing the fabric up the pole for dashed stripes.
Kumo Instructions
Kumo Shibori produces beautiful spider-web-like patterns. Follow these steps to master this technique:
Pre-treat the Fabric: Soak your silk scarf in warm white vinegar for about 30 minutes. This helps the fabric absorb the dye better.
Fold and Tie: Remove the scarf from the vinegar and squeeze out excess liquid. Fold it in half lengthwise and tie it tightly in several spots with rubber bands or string.
Prepare the Dye: Mix your dye according to package directions. Combine it with warm water in a container.
Dye the Scarf: Submerge the tied scarf in the dye bath for about 30 minutes. Heat the mixture for 45 minutes to set the dye.
Rinse and Dry: After dyeing, rinse the scarf in cold water. Untie the rubber bands to reveal the intricate patterns.
By following these step-by-step instructions, you can explore the beauty of Shibori dyeing techniques. Each method offers unique patterns and opportunities for creativity.
Troubleshooting Shibori Dyeing Issues
Common Mistakes
When you start your Shibori dyeing journey, you may encounter some common mistakes. Here are a few to watch out for:
Using Too Much Dye: Over-saturating your fabric can lead to muddled colors and unclear patterns.
Folds That Are Too Small: If your folds are too tiny, they may not leave enough white space, resulting in less contrast.
Difficulty with Dye Penetration: Heavier fabrics can make it hard for dye to penetrate through the resists. Ensure you choose the right fabric for your technique.
Improper Tension on Resists: If your binding is too loose, the dye will seep into areas you want to remain white.
To achieve better results, consider these tips:
Batching the Dye: Instead of immersing your fabric, try batching the dye. This method can help control dye penetration.
Using Salt: When aiming for a deep black color, use a significant amount of salt in relation to soda ash. This can enhance the dye’s effectiveness.
Practice: Regular practice helps you master dye penetration and resist tension.
Fixing Dye Issues
If you face dye issues, don’t worry! Here are some methods to maintain the quality of your fabric after multiple dyeing sessions:
Method | Recommendation |
|---|---|
Washing | Hand wash in cold water with mild detergent or machine wash on a gentle cycle. |
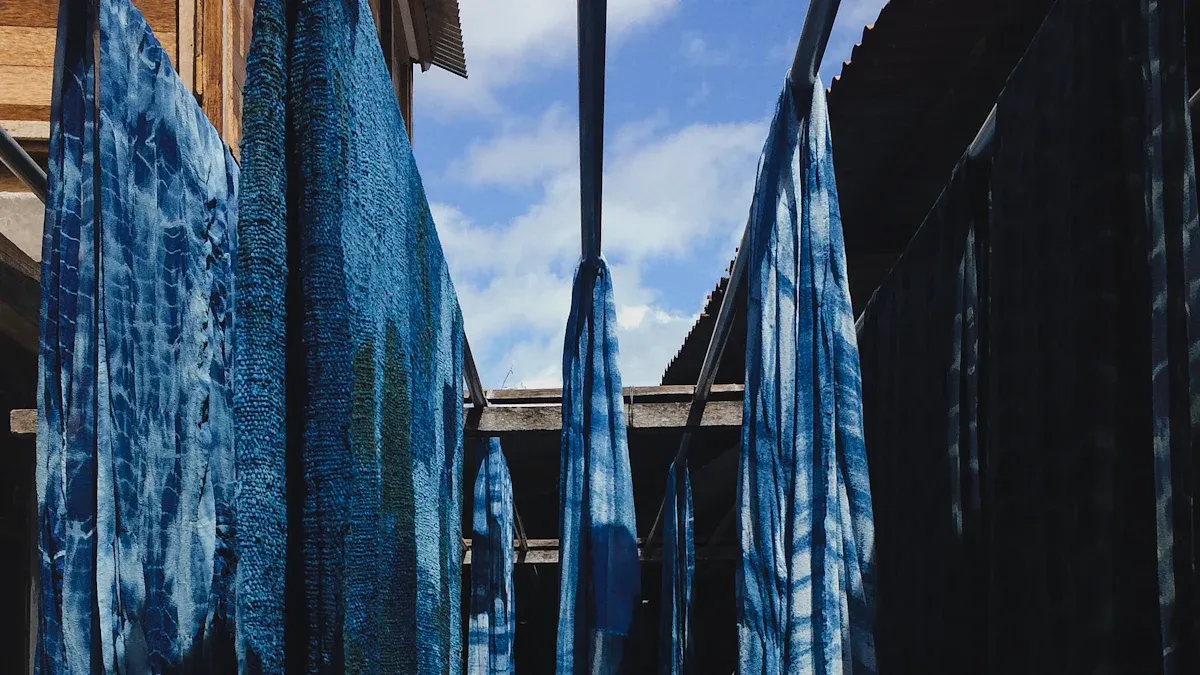
Drying | Air-dry away from direct sunlight, laying flat or hanging to maintain shape. |
Storing | Store in a cool, dry place and avoid harsh creases when folding. |
Ironing | Use the appropriate fabric setting and iron on the reverse side. |
To preserve color vibrancy, follow these washing tips:
Rinse the fabric with cold water.
Wash it with regular detergent on hot.
Dry on medium heat.
By being aware of these common mistakes and following the recommended practices, you can improve your Shibori dyeing experience and achieve beautiful results.
Shibori dyeing techniques offer you a unique way to express your creativity. You can explore methods like Itajime, Arashi, and Kumo to create stunning patterns on various fabrics. Remember to gather essential materials, such as silk, cotton, and the right tools, to enhance your dyeing experience.
Participating in community workshops can enrich your journey. These gatherings foster connections among like-minded individuals. You can share your love for creativity and learn from each other in a supportive environment.
Tip: Consider sharing your designs online. Platforms allow you to showcase your work and connect with others. You can ask questions, share photos, and receive feedback, enhancing your learning experience.
Dive into the world of Shibori dyeing, and let your imagination flow!
FAQ
What is Shibori dyeing?
Shibori dyeing is a traditional Japanese technique that involves folding, twisting, and binding fabric before dyeing. This process creates unique patterns and designs, allowing for personal expression in textile art.
Can I use any dye for Shibori?
While you can use various dyes, indigo is the most popular choice for Shibori. It produces vibrant colors and sharp patterns. Other dyes may yield different effects but might not achieve the same clarity.
How do I prepare my fabric for dyeing?
Start by washing your fabric to remove any finishes or dirt. Soak it in warm water for about 30 minutes before dyeing. This helps the fabric absorb the dye more effectively.
What tools do I need for Shibori dyeing?
Essential tools include twine, scissors, rubber bands, clothespins, and wooden blocks. You may also need sewing supplies like needles and thread. These tools help you create various patterns and secure the fabric during dyeing.
How can I fix mistakes in my dyeing process?
If you make a mistake, you can try re-dyeing the fabric or using a fabric-safe bleach to lighten areas. Always test on a small piece first to see how the fabric reacts.