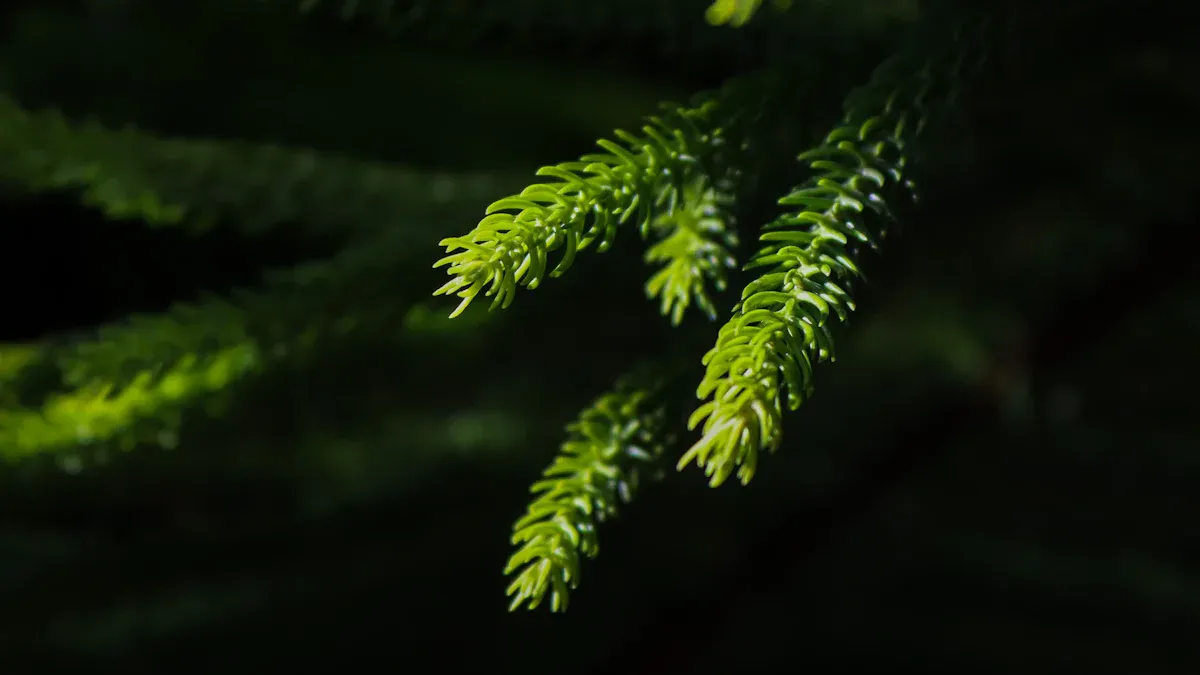
If your Norfolk Pine seems to be struggling, you’re not alone. Many people face challenges keeping these beautiful plants healthy. You might notice yellowing needles or branches dropping unexpectedly. These signs can be alarming, but understanding the causes can help you take action. Norfolk Pines thrive in high humidity and consistent moisture, so if you neglect these needs, they may suffer. Remember, few Norfolk Island pines survive more than a few months in the average house due to our dry environments. It’s essential to pay attention to their unique requirements to rescue your Norfolk Pine effectively.
Key Takeaways
Watch for symptoms like yellowing needles and dropping branches. Early detection helps you act quickly.
Diagnose issues by checking for overwatering, underwatering, or pests. Identifying the problem is crucial for recovery.
Implement care techniques such as adjusting watering practices, repotting when needed, and pruning dead branches.
Maintain high humidity levels around your Norfolk Pine. Use a humidifier or mist the plant regularly to support its health.
Fertilize correctly during the growing season. Use a balanced fertilizer every four to six weeks to promote growth.
Symptoms of a Dying Pine Tree
When it comes to your Norfolk Pine, spotting the signs of distress early can make all the difference. Here are some common symptoms to watch for:
Yellowing Needles
If you notice needle discoloration, it’s a clear warning sign. Yellowing needles often indicate that your tree is either overwatered or underwatered. It can also be a symptom of disease. Keep an eye out for these specific issues:
Discolored needles can stem from too much or too little water.
Needles dropping early, especially outside of late summer or early fall, may signal improper irrigation or even a nitrogen deficiency.
Dropping Branches
Another alarming symptom is when branches start to drop. While some needle drop is normal, excessive shedding can indicate serious problems. This could be due to:
Improper watering practices.
Pest infestations that weaken the tree.
Environmental stressors like drought or extreme weather events.
Stunted Growth
If your Norfolk Pine isn’t growing as it should, it’s time to investigate. Stunted growth can result from several factors, including:
Increased susceptibility to disease due to prolonged droughts.
Changing rainfall patterns that lead to water stress.
Human-induced threats, such as vandalism or habitat loss.
By recognizing these symptoms early, you can take action to help your Norfolk Pine recover. Remember, the sooner you address these issues, the better chance your tree has to thrive!
Diagnosing Pine Tree Diseases
When your Norfolk Pine shows signs of distress, it’s crucial to identify the problem quickly. Understanding the common pine tree diseases can help you take the right steps to revive your plant. Here’s how to diagnose some of the most frequent issues:
Overwatering Issues
Overwatering is one of the most common problems for Norfolk Pines. If you notice yellowing needles or a musty smell from the soil, your plant might be drowning. Here are some signs to look for:
Root Rot: This occurs when roots sit in waterlogged soil. You might see blackened roots if you check the root system.
Wilting Leaves: Surprisingly, overwatered plants can also wilt. This happens because the roots can’t absorb nutrients properly.
Fungal Growth: Look for mold or fungus on the soil surface. This indicates excessive moisture.
To prevent overwatering, ensure your pot has drainage holes and only water when the top inch of soil feels dry.
Underwatering Problems
On the flip side, underwatering can also harm your Norfolk Pine. If your plant’s branches start to wilt or leaves droop, it’s time to take action. Here are some signs of underwatering:
Wilting Branches: If branches droop, it’s a clear sign of stress.
Yellowing Leaves: While yellowing can indicate overwatering, it can also occur with underwatering, especially if the plant is tolerant of dry conditions.
Droopy Leaves: This is another indicator that your plant isn’t getting enough water.
If you catch underwatering early, you can help your Norfolk Pine recover. Gradually increase your watering frequency to ensure adequate watering without shocking the plant.
Pest Infestations
Pests can wreak havoc on your Norfolk Pine. Common pests include spider mites, aphids, and scale insects. Here’s how to spot a pest problem:
Sticky Residue: If you notice a sticky substance on leaves, it could be honeydew from aphids.
Webbing: Spider mites create fine webs on the plant. If you see these, act quickly!
Discoloration: Pests often cause leaves to yellow or develop spots.
To combat pests, consider using insecticidal soap or neem oil. Regularly inspect your plant to catch infestations early.
By understanding these common issues, you can take proactive steps to keep your Norfolk Pine healthy. Remember, early detection is key to successful recovery!
Rescue Your Norfolk Pine: Effective Techniques
When your Norfolk Pine shows signs of distress, you can take several steps to help it recover. Here are some effective techniques to rescue your Norfolk Pine and promote its health.
Adjusting Watering Practices
Watering is crucial for your Norfolk Pine’s recovery. Here’s how to adjust your watering practices:
Soak the Soil: Place your plant in a sink or tub without the saucer. Fill the basin with about 3-4 inches of water. Make sure the water isn’t hot! Allow your plant to soak up water through the drainage hole for at least 45 minutes.
Check Soil Moisture: After soaking, feel the top of the soil. If the top 2-3 inches aren’t damp, water your Norfolk Pine slightly from the top to help speed up saturation.
Drain Excess Water: Once the soil is evenly damp, drain the sink or tub. Let the plant rest while it drains thoroughly before placing it back in its original spot.
To maintain humidity, mist your plant regularly with a spray bottle. You can also place a pebble-filled saucer beneath the plant, adding water to the saucer but keeping the water level below the top of the pebbles. Alternatively, consider using a home humidifier to keep the air moist.
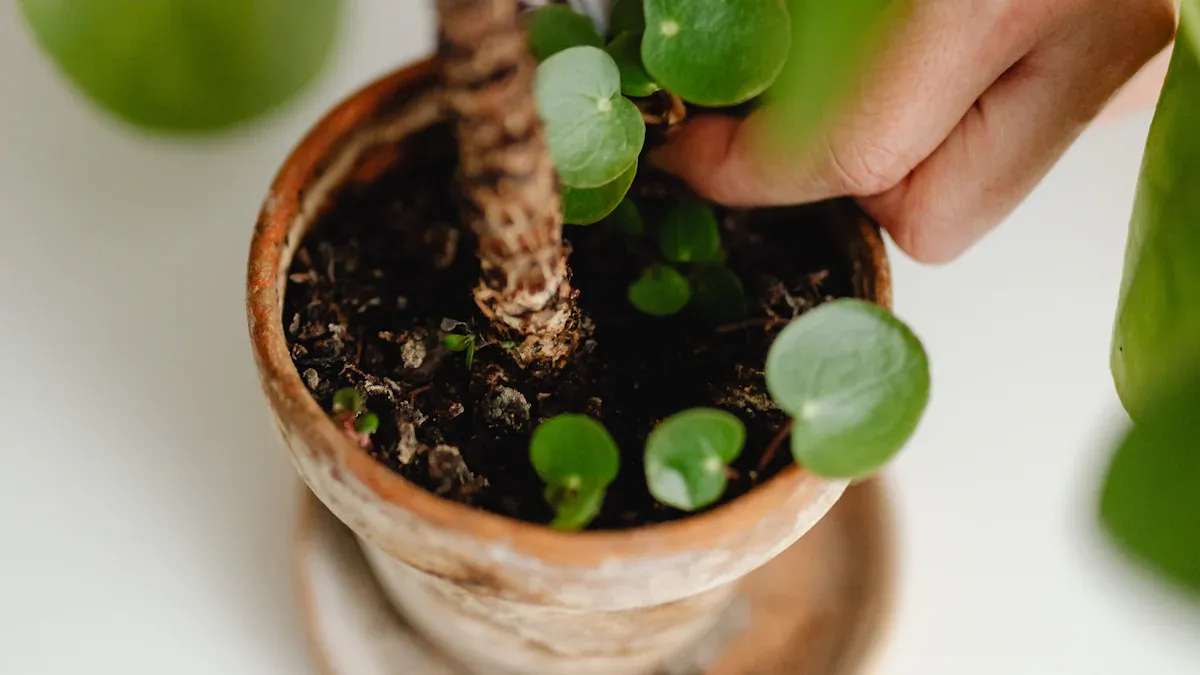
Repotting for Recovery
If your Norfolk Pine is struggling, repotting can provide a fresh start. Follow these steps for successful repotting:
Choose the Right Pot: Select a container that is only one size larger than the current one. This prevents soggy roots.
Ensure Drainage: Make sure the pot has drainage holes to avoid root rot.
Prepare Supplies: Gather new soil and a clean container before starting.
Remove the Plant: Gently take the plant out of its current pot, loosening the roots if necessary.
Add New Soil: Place new soil in the bottom of the new container. Position the plant so the crown is at the correct level.
Fill Around the Roots: Fill in around the root ball with soil, avoiding burying the crown.
Leave Space for Watering: Ensure there’s space between the soil surface and the rim of the container for watering.
Settle the Soil: Tap the container lightly to settle the soil and water the plant after repotting.
To improve soil quality, use a blend that includes well-draining grit, sand, compost, and peat moss. This mixture mimics their native volcanic clay soils, which are highly acidic.
Pruning Dead Branches
Pruning is another essential technique to help your Norfolk Pine recover. Here’s how to do it effectively:
Identify Affected Branches: Look for any dead or yellowing branches. These can drain energy from the healthy parts of the plant.
Use Clean Tools: Always use clean, sharp pruning shears to avoid introducing diseases.
Make Clean Cuts: Prune affected branches back to healthy tissue. This encourages new growth and helps the tree focus its energy on recovery.
By following these techniques, you can significantly improve your Norfolk Pine’s chances of recovery. Remember, consistent care and attention to its needs will help you rescue your Norfolk Pine effectively.
Ongoing Care for a Healthy Norfolk Pine
To keep your Norfolk Pine thriving, ongoing care is essential. Here are some key strategies to ensure your plant remains healthy and vibrant.
Proper Fertilization
Fertilizing your Norfolk Pine correctly can make a big difference in its growth. Here’s how to do it right:
Use a balanced, water-soluble fertilizer, like Miracle-Gro or Schultz’s. Mix 1 ½ teaspoons of a 15-15-15 fertilizer per gallon of water.
Apply this solution every four to six weeks during spring and summer. This schedule supports vigorous growth and overall vitality.
Avoid over-fertilizing, as it can lead to salt buildup, harming your plant. A weak fertilizer solution is best for plants that haven’t been fertilized before.
Maintaining Humidity
Norfolk Pines thrive in high humidity, ideally around 50% or more. Here are some tips to maintain the right moisture levels:
Use a humidifier nearby to keep the air moist.
Place your plant on a pebble tray filled with water. This method adds moisture without soaking the roots.
Mist your plant regularly, especially during dry winter months when indoor air can become quite arid.
Seasonal Maintenance
Adjusting your care routine with the seasons helps your Norfolk Pine stay healthy. Here are some seasonal tips:
Watering: Check the soil regularly. Water when the top inch feels dry, but reduce frequency in winter.
Humidity: Increase humidity with a tray, misting, or a humidifier, especially in dry conditions.
Feeding: Fertilize during spring and summer, and stop in fall and winter when growth slows.
Temperature: Keep your plant indoors during winter, ideally between 60-70°F, and protect it from drafts.
By following these ongoing care strategies, you can ensure your Norfolk Pine remains a healthy tree for years to come. Remember, consistent attention to its needs will help prevent common issues and promote a thriving environment.
In summary, saving your Norfolk Pine is all about understanding its needs. 🌱 Here are some key takeaways:
Watch for Symptoms: Early detection of yellowing needles or dropping branches can help you act quickly.
Diagnose Issues: Check for overwatering, underwatering, or pests to pinpoint the problem.
Implement Care Techniques: Adjust your watering, repot when necessary, and prune dead branches to promote recovery.
By following these steps, you can nurture your Norfolk Pine back to health. Remember, consistent care is the key to keeping your plant thriving! 🌟
FAQ
What should I do if my Norfolk Pine has yellow needles?
Yellow needles often indicate overwatering or underwatering. Check the soil moisture. If it’s too wet, reduce watering. If it’s dry, increase watering gradually.
How often should I water my Norfolk Pine?
Water your Norfolk Pine when the top inch of soil feels dry. This usually means watering every 1-2 weeks, depending on humidity and temperature.
Can I keep my Norfolk Pine outside?
Norfolk Pines prefer indoor environments with high humidity. If you live in a warm climate, you can place it outside during summer, but bring it indoors before temperatures drop.
What pests should I watch for on my Norfolk Pine?
Common pests include spider mites, aphids, and scale insects. Regularly inspect your plant for sticky residue, webbing, or discoloration to catch infestations early.
How can I increase humidity for my Norfolk Pine?
You can increase humidity by misting the plant, using a pebble tray with water, or placing a humidifier nearby. Aim for humidity levels around 50% or more.