Seasonal gardening covers play a crucial role in protecting your plants from harsh weather. To effectively remove seasonal covers and ensure proper storage, it’s essential to keep both your plants safe and your covers in good shape. By following a systematic approach, you can ensure longevity for your covers and health for plants like oats, winter rye, and crimson clover.
Key Takeaways
Assess your plants’ health before removing covers. Look for green leaves and strong stems to ensure they can handle exposure.
Choose the right time for removal. Aim for a mild, cloudy day to reduce stress on your plants during the transition.
Clean and store your covers properly after use. This prevents damage and ensures they are ready for the next season.
Preparing to Remove Seasonal Covers
Assessing Plant Health
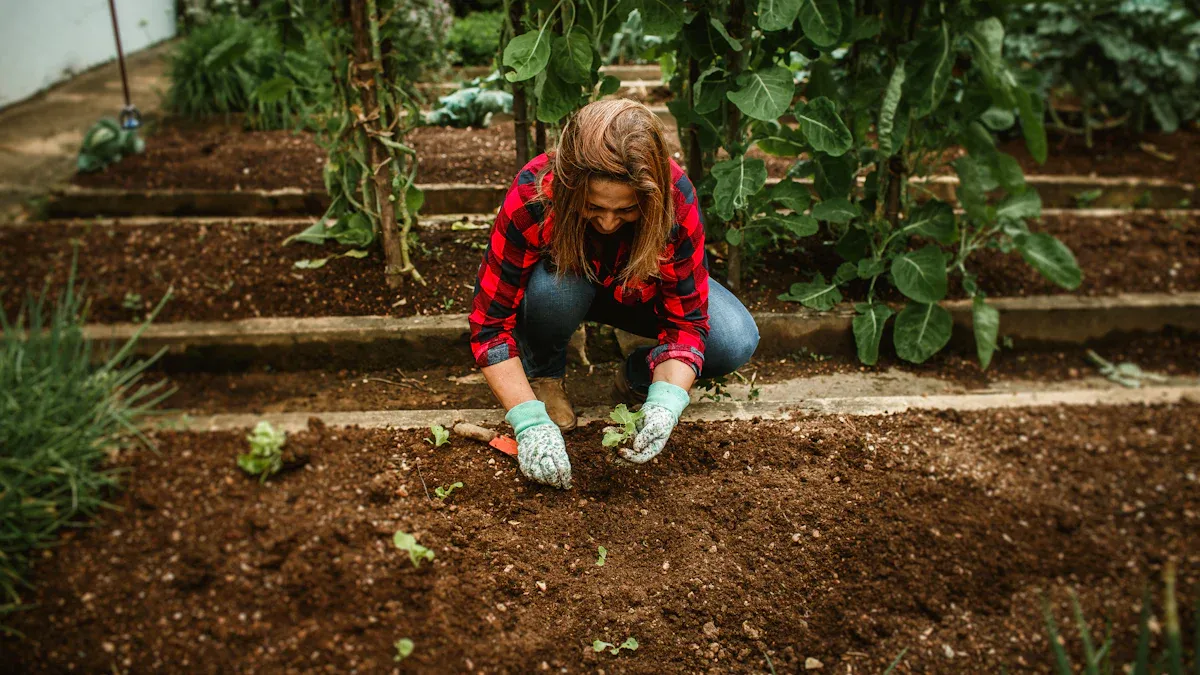
Before you remove seasonal covers, take a moment to assess the health of your plants. Look for signs of growth and vitality. Are the leaves green and firm? Do the stems appear strong? Healthy plants are more resilient and can handle the transition better. If you notice any wilting or discoloration, it might be wise to wait a bit longer before removing the covers.
Tip: Check the soil moisture too. If the soil is still cold and wet, your plants may not be ready for exposure to the elements.
Choosing the Right Time
Timing is everything when it comes to removing seasonal covers. You want to avoid doing it too early or too late. Removing covers too early can lead to premature emergence, making your plants vulnerable to cold temperatures. For instance, if flower buds break dormancy too soon, they can suffer freeze damage when temperatures drop below the low 20s Fahrenheit. On the other hand, waiting too long can prevent your plants from acclimating properly to warming temperatures. This can lead to issues like frost heaving and stunted growth.
To make the best decision, consider the following factors:
Weather Conditions: Aim for a cloudy day when temperatures are mild. This helps reduce stress on your plants as they adjust to increased light and temperature changes.
Regional Climate: Your local climate plays a significant role in determining the right time. Milder winters may allow pests to survive, affecting when you should remove covers. If you live in a region with a longer growing season, you might need to adjust your timing accordingly.
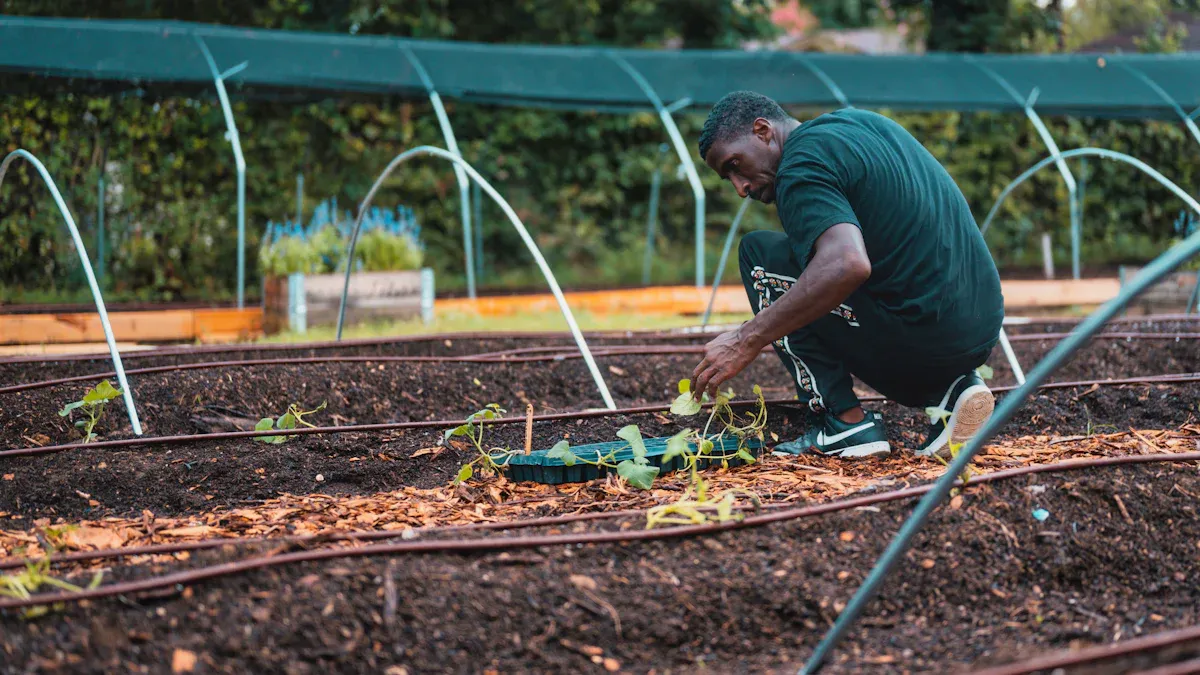
Gradual removal is key. Start by lifting the covers slightly for a few hours each day, allowing your plants to acclimate to their new environment. This method helps seedlings transition smoothly from greenhouse conditions to outdoor life. It reduces stress from sudden exposure to elements like wind and temperature changes. Here are some benefits of gradual acclimation:
It helps your plants adjust without shock.
It prevents issues like sunburn and wilting that can occur from immediate exposure.
It allows you to monitor how well your plants are coping with the change.
By taking the time to assess plant health and choose the right moment, you set your garden up for success as you prepare to remove seasonal covers.
Remove Seasonal Covers
Tools You’ll Need
When you’re ready to remove seasonal covers, having the right tools makes the process smoother. Here’s a list of essential tools you should gather:
Garden Gloves: Protect your hands from dirt and potential scratches.
Scissors or Garden Shears: Use these to cut any ties or fasteners holding the covers in place.
Tarp: A tarp helps you collect and transport the covers easily.
Earth Staples: These handy tools secure your covers to the ground, making removal easier. They keep the edges anchored, preventing the covers from blowing away or shifting. Plus, they allow you to water through the covers without needing to remove them, which simplifies maintenance.
Techniques for Safe Removal
Now that you have your tools ready, let’s dive into the techniques for safely removing your seasonal covers. Follow these steps to ensure a smooth process:
Identify the Cover: Determine the type of cover you’re dealing with. Different materials may require different handling techniques.
Loosen the Edges: Start by gently lifting the edges of the cover. This helps to release any tension and makes it easier to remove.
Use Earth Staples: If you’ve used earth staples, carefully pull them out as you lift the cover. This keeps the fabric intact and prevents tearing.
Gradual Removal: Instead of yanking the cover off, gradually peel it back. This method reduces stress on your plants and allows them to adjust to the new environment.
Check for Damage: As you remove the cover, inspect it for any signs of wear or damage. This is a good time to decide if it needs repairs or replacement.
Tip: If you encounter stubborn covers, consider using a tarp to help lift them. This can provide extra leverage and make the process easier.
By following these techniques, you can effectively remove seasonal covers while minimizing stress on your plants. Remember, the goal is to transition your garden smoothly from protection to exposure.
Cleaning and Storing Covers

After you’ve successfully removed seasonal covers, it’s time to clean and store them properly. This step is crucial for maintaining their longevity and ensuring they’re ready for the next season.
Cleaning Methods
Different materials require specific cleaning methods. Here’s a quick guide to help you out:
Polyester: You can machine or hand wash it with a neutral detergent. Just remember to avoid bleach.
Nylon: Hand or machine wash with warm water (max 30°C) and a neutral detergent. Stay away from strong alkaline detergents.
Vinyl: Hand wash it with mild soap. Don’t machine wash or use harsh solvents.
Polypropylene: While you can machine wash it, hand washing is recommended to prevent wear.
Regular cleaning is essential, especially after harsh weather. Follow the manufacturer’s instructions to avoid damage and maintain any warranties. For minor stains, spot clean with a gentle solution.
Tip: Always dry your covers thoroughly and quickly to prevent musty smells and mold growth. Consider treating them with water-repellent sprays to keep moisture out.
Storage Solutions
To maximize the lifespan of your seasonal gardening covers, store them in a clean, dry location. Avoid damp areas to prevent mold growth. Here are some tips for effective storage:
Clean the covers thoroughly to eliminate dirt and pests.
Repair any damages before storing.
Disassemble larger covers for easier storage.
Elevate stored covers off the ground to protect them from moisture and pests.
Organizing your covers can also make them more accessible. Create a dedicated maintenance station in your shed or garage. Use hooks and shelves for easy access to cleaning tools. Keeping a seasonal garden checklist can remind you of necessary tasks, ensuring you’re always prepared.
By following these cleaning and storage methods, you’ll keep your gardening covers in great shape for years to come.
In summary, you can ensure your gardening covers last longer and keep your plants healthy by following these key steps:
Assess plant health before removal.
Choose the right time for gradual exposure.
Clean and store covers properly.
Taking care during removal and storage leads to improved soil health, enhanced nutrient cycling, and increased carbon sequestration. Plus, proper cleanup helps prevent diseases in future seasons. Embrace these practices for a thriving garden! 🌱
FAQ
How often should I clean my gardening covers?
You should clean your gardening covers after each season to remove dirt and pests. This keeps them in good shape for future use.
Can I reuse damaged covers?
Yes, you can often repair damaged covers. Check for tears or holes and patch them up before storing for the next season.
What’s the best way to store covers?
Store your covers in a cool, dry place. Keep them off the ground to prevent moisture and pests from causing damage. 🌿