
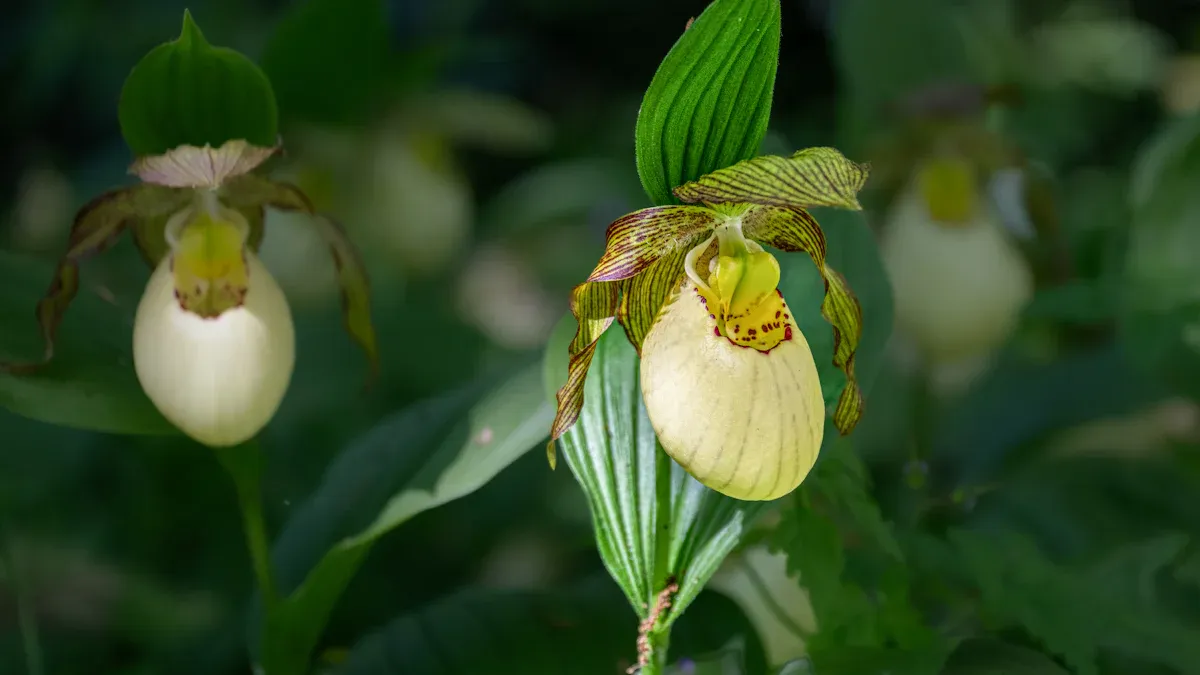
Lady Slipper plants are not just beautiful; they hold a special place in many gardens. Proper transplantation is crucial for their health and growth. Did you know that 95% of these plants fail to thrive after improper transplantation? That’s a significant concern! Many gardeners worry about timing, as cold winters can damage the plants when they’re dug up. You might also notice yellow leaves, which can signal issues like overwatering or nutrient deficiencies. Understanding these challenges can help you successfully transplant Lady Slipper plants and keep them thriving.
Key Takeaways
Transplant Lady Slipper plants in early spring or late fall for the best results. Avoid extreme temperatures to help them adapt.
Gather essential tools like a shovel, garden fork, and mulch before starting. Preparation ensures a smoother transplanting process.
Water the plants well before digging them up. This keeps the soil moist and helps protect the roots during the move.
Monitor your plants after transplanting for signs of stress, such as wilting or yellow leaves. Adjust care to support their recovery.
Be patient! Lady Slipper plants can take 2-3 years to fully recover after transplanting. Consistent care is key to their success.
Preparation for Transplant Lady Slipper Plant
Choosing the Right Time
Timing is everything when you decide to transplant your Lady Slipper plants. The best time to do this is during the early spring or late fall. Why? In spring, the ground is warming up, and the plants are just starting to grow. This gives them a chance to establish themselves before the heat of summer kicks in. On the other hand, late fall allows the plants to settle in before winter, giving them a head start for the next growing season.
Keep an eye on the weather! You want to avoid transplanting during extreme temperatures. If it’s too hot or too cold, your plants might struggle to adapt. A good rule of thumb is to wait until the danger of frost has passed in spring or before the first frost in fall.
Tools and Materials Needed
Before you start the transplanting process, gather the right tools and materials. Here’s a handy list to help you prepare:
Shovel or Spade: For digging up the plant and preparing the new site.
Garden Fork: To loosen the soil around the roots.
Watering Can or Hose: To keep the plants hydrated during and after the transplant.
Mulch: To help retain moisture in the new planting area.
New Soil: Use a mix that suits the Lady Slipper’s needs.
Tip: Mix in up to 50% of the old soil with the new soil. This helps retain beneficial fungi and microorganisms, which can minimize root damage during transplantation.
Having these tools ready will make the process smoother and less stressful for both you and your plants. Remember, a little preparation goes a long way in ensuring your Lady Slipper plants thrive in their new home!
Transplanting Steps

Assessing the Current Location
Before you dig up your Lady Slipper plants, take a moment to assess their current location. Understanding the environment helps ensure a successful transplant. Here are some key factors to consider:
Sunlight: Lady Slippers prefer partial sun. Too much direct sunlight can stress them out.
Moisture: These plants thrive in moist conditions. Check if the area stays damp, especially after rain.
Soil Type: They commonly grow in calcareous swamp areas and damp, coniferous forests. Knowing this helps you replicate their natural habitat.
Also, consider the soil composition. The right soil can make a big difference in transplant success. Here’s a quick overview of what to look for:
Soil Requirement | Description |
|---|---|
Well-aerated | Essential for root health and growth |
Fertile | Provides necessary nutrients |
Leafy and humus-rich | Improves soil structure and moisture retention |
Excellent drainage | Prevents root rot and promotes healthy growth |
Remember, Lady Slipper roots are very shallow. If you break them during the process, it can stunt or even kill the plant. Successful transplantation often depends on the presence of mycorrhizal fungi, which help the roots absorb nutrients.
Digging Up the Plant
Now that you’ve assessed the current location, it’s time to dig up the plant. Follow these steps to do it right:
Water the Plant: A day before you plan to dig, water the plant thoroughly. This helps keep the soil moist and makes it easier to remove the root ball.
Loosen the Soil: Use a garden fork to gently loosen the soil around the plant. This minimizes root damage.
Dig Carefully: Start digging about 6-12 inches away from the base of the plant. Aim to keep the root ball intact. As one expert noted, “You try to keep the root balls kind of intact… you dig well under the roots to get all the soil.” This ensures you capture as much of the root system as possible.
Preparing the New Site
Before placing your Lady Slipper in its new home, you need to prepare the site properly. Here’s how:
Choose the Right Spot: Make sure the new location matches the plant’s needs. Look for partial sun and moist conditions.
Soil Preparation: Ensure the soil is rich in organic matter and well-drained. You can mix in some of the old soil from the original location to help retain beneficial fungi.
Water the Area: Before planting, water the new site well. This helps the roots settle in and reduces transplant shock.
Avoid transplanting during extreme weather conditions. If it’s too hot or too cold, your Lady Slipper plants may struggle to adapt.
By following these steps, you’ll give your Lady Slipper plants the best chance to thrive in their new environment!
Post-Transplant Care
Watering and Fertilizing
After you transplant your Lady Slipper plants, proper care is essential for their recovery. Start by watering them deeply every two weeks once they’ve settled in. This schedule helps keep the soil moist, which is crucial for their health. Remember, Lady Slippers thrive in damp conditions, so don’t let the soil dry out completely.
When it comes to fertilizing, a yearly spring application of granular organic fertilizer works wonders. If you prefer a more frequent approach, consider using a quarter-strength liquid fertilizer every 7 to 10 days from spring until mid-August. This will provide the nutrients your plants need to grow strong and healthy.
Monitoring for Stress
Keep an eye on your Lady Slipper plants after transplanting. They can experience stress, which may show up in various ways. Here are some signs to watch for:
Sudden loss of flower buds, indicating environmental shock.
Soil that dries out too quickly, which can lead to further stress.
A need for good humidity and indirect light to help them recover.
Maintaining evenly moist soil is vital. If you notice any signs of stress, adjust your care routine accordingly. Providing the right conditions will help your plants bounce back and develop new buds.
By following these post-transplant care tips, you’ll set your Lady Slipper plants up for success in their new home!
Common Challenges
Dealing with Transplant Shock
Transplant shock is a common issue when moving Lady Slipper plants. You might notice your plants struggling to adapt after the move. To minimize this shock, follow these best practices:
Choose the Right Time: Transplant in spring or autumn when conditions are milder.
Match Conditions: Try to replicate the plant’s original environment as closely as possible.
Water Before Transplanting: Give your plants a good drink the day before. This helps them take up water more easily.
Handle Roots Carefully: Be gentle when digging up the plant to avoid damaging the roots.
Use Recovery Aids: Consider using Epsom salt or a root booster to help your plants bounce back.
Water Cautiously: After transplanting, water carefully to prevent over or under-watering.
Support with Stakes: If needed, stake your plants for extra stability.
Monitor for Stress: Keep an eye out for any signs of distress or disease.
Lady Slipper plants often struggle after being moved from their natural habitat. They need specific conditions to thrive, which can be tough to recreate in your garden. So, take your time and follow these steps to help them adjust.
Pests and Diseases
After transplanting, your Lady Slipper plants may face pest issues. Common pests include:
Spider mites
Scale
Fungus gnats
Fruit flies
Mealybugs
Aphids
Whiteflies
To manage these pests effectively, consider these integrated pest management strategies:
Assess the Problem: Identify which insects are harmful and which are beneficial.
Monitor for Pests: Regularly check your plants for any signs of pest activity.
Determine Action Thresholds: Decide when pest activity is significant enough to warrant action.
Explore Treatments: Research various pest management strategies that fit your situation.
Evaluate Results: Review how effective your actions have been and adjust as needed.
Physical Methods: Remove infested plants, prune affected areas, and use barriers to protect healthy plants.
Cultural Methods: Plant resistant species, manage weeds, and maintain proper watering practices.
Biological Methods: Introduce natural predators like ladybugs to help control pests.
Chemical Methods: If necessary, opt for less harmful options like insecticidal soaps instead of broad-spectrum pesticides.
By staying vigilant and proactive, you can help your Lady Slipper plants thrive despite these common challenges!
Transplanting Lady Slipper plants can be tricky, but following the right steps makes a big difference. Remember, only about 5 percent of transplanted Lady Slippers survive long-term. These plants depend on specific fungi in the soil, which makes their transplantation unique compared to other orchids. After moving, they may take 2-3 years to recover fully. So, be patient and provide the right care! Have you tried transplanting Lady Slippers? Share your tips and experiences below! 🌱
FAQ
What should I do if my Lady Slipper plant wilts after transplanting?
If your plant wilts, check the soil moisture. Ensure it’s damp but not soggy. Water the plant deeply and provide some shade to reduce stress.
How long does it take for Lady Slipper plants to recover after transplanting?
Lady Slipper plants can take 2-3 years to fully recover after transplanting. Be patient and provide consistent care during this time.
Can I transplant Lady Slipper plants in summer?
It’s best to avoid summer transplanting. High temperatures can stress the plants. Stick to early spring or late fall for the best results.
How often should I water my Lady Slipper plants after transplanting?
Water your Lady Slipper plants deeply every two weeks after transplanting. Keep the soil consistently moist, as they thrive in damp conditions.
What signs indicate my Lady Slipper plant is stressed?
Look for yellowing leaves, wilting, or loss of flower buds. These signs suggest your plant may be experiencing stress. Adjust care accordingly to help it recover.
