
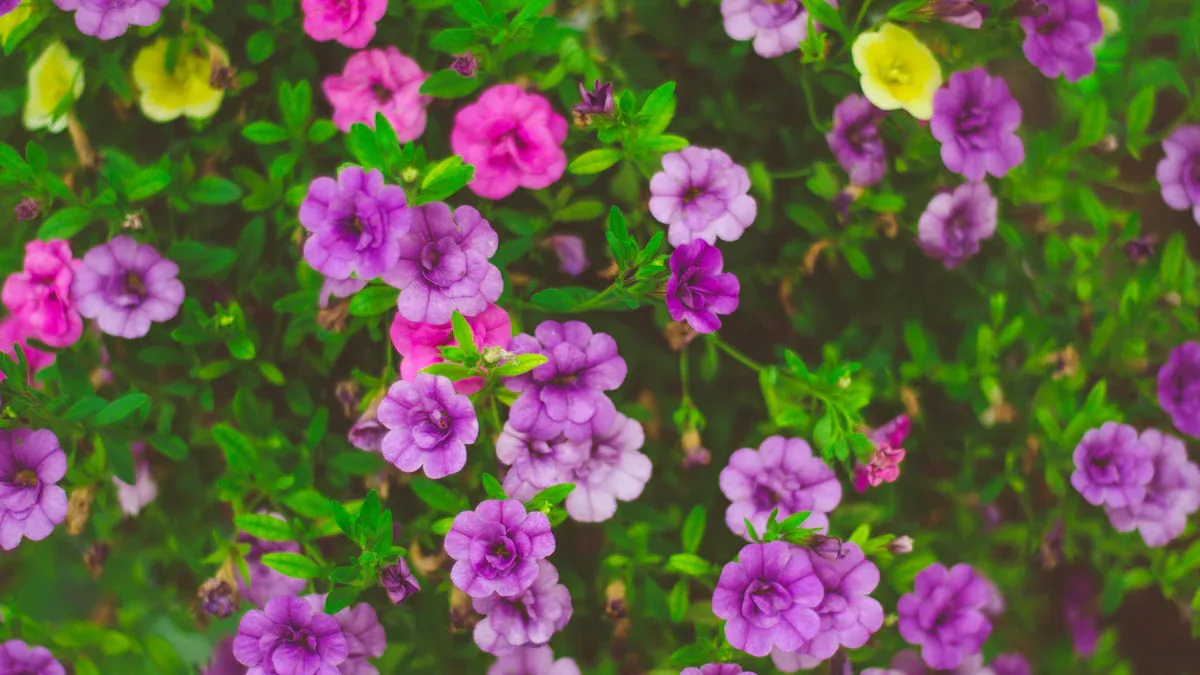
Propagate Calibrachoa plants at home for a rewarding experience. You can easily create lush plants that bloom vibrantly all season long. Using stem cuttings is the most effective method to propagate Calibrachoa plants. Not only does it allow you to multiply your plants, but it also ensures you have a continuous supply of beautiful blooms. So, why not give it a try? Your garden will thank you!
Key Takeaways
Use stem cuttings in spring or summer for the best results. Aim for healthy stems about 3-4 inches long.
Maintain humidity by covering cuttings with a plastic bag. This helps create a mini greenhouse effect for better rooting.
Provide bright, indirect light to your cuttings. Avoid direct sunlight to prevent scorching.
Water cuttings when the top inch of soil is dry. This prevents overwatering and root rot.
Fertilize every other week during the growing season to support strong growth and vibrant blooms.
Propagation Methods
When it comes to propagating Calibrachoa plants, you have two main methods: cuttings and seeds. Let’s dive into each method so you can choose the best one for your gardening needs.
From Cuttings
Using cuttings is the most popular and effective way to propagate Calibrachoa plants. This method allows you to create new plants that are genetically identical to the parent plant. Here’s why cuttings work so well:
Calibrachoa cuttings root easily and require minimal special care, making them an effective propagation method.
You only need a few leaves and growth nodes on your cuttings for them to thrive.
Environmental factors, like temperature and humidity, play a crucial role in root development, which supports the success of this method.
To get started, take cuttings in the spring or summer. Aim for healthy stems that are about 3-4 inches long. Remove the lower leaves, leaving just a couple at the top. Place the cuttings in a mixture of perlite and peat moss to encourage rooting. Keep the soil moist but not soggy, and you’ll see roots develop in a few weeks.
Here’s a quick comparison of propagation methods:
Method | Guidelines | Success Rate |
|---|---|---|
Seed Propagation | Sow indoors 8-10 weeks before last frost; maintain 70°F to 75°F. | High |
Cutting Propagation | Take cuttings in spring/summer; use perlite and peat moss for rooting. | Moderate |
From Seeds
While you can technically propagate Calibrachoa from seeds, it’s not the most reliable method. Most varieties of Calibrachoa are hybrids, which means they often do not produce viable seeds. Here are some key points to consider:
Calibrachoa plants, also known as Million Bells, do not produce viable seeds.
The primary challenge in seed propagation is the lack of seed viability, making cuttings a more dependable method.
If you do decide to try seed propagation, sow the seeds indoors about 8-10 weeks before the last frost. Maintain a temperature of 70°F to 75°F for the best results. However, keep in mind that your success rate may not be as high as with cuttings.
Ideal Conditions
When propagating Calibrachoa plants, creating the right environment is key to your success. Let’s explore the ideal temperature, humidity, and light conditions that will help your cuttings thrive.
Temperature and Humidity
Maintaining the right temperature and humidity levels is crucial for successful rooting. Here are some tips to keep in mind:
Aim for a temperature range of 70°F to 75°F during the day. This warmth encourages root development.
If you can’t plant your cuttings immediately, store them at 40-50°F with a relative humidity of over 70%. This helps keep them healthy until you’re ready to propagate.
Cover your cuttings with a plastic bag to maintain humidity. This simple step can significantly boost your rooting success.
Tip: Always monitor the humidity levels. Too little moisture can dry out your cuttings, while too much can lead to rot.
Light Requirements
Light plays a vital role in the growth of your Calibrachoa cuttings. Here’s what you need to know:
Provide a minimum light intensity of 5,000-6,000 footcandles. This ensures your plants get enough energy to grow.
During low-light periods, consider using HID lighting of 500 footcandles or more. This extra light can help your cuttings stay strong and healthy.
Long days of light can enhance branching, leading to bushier plants. So, don’t skimp on the light!
Remember: Good sanitation practices are essential. Clean your tools and surfaces to prevent diseases like Black Root Rot. Dispose of any diseased plants immediately and sanitize your pots and trays to keep your propagation area healthy.
By providing the right temperature, humidity, and light, you set your Calibrachoa cuttings up for success. Happy propagating!
Step-by-Step Guide
Taking Cuttings
Taking cuttings from your Calibrachoa plant is a straightforward process. Follow these steps to ensure success:
Choose the Right Time: Take cuttings in the spring or early summer when the plant is actively growing. Morning is the best time to do this, as the plant is well-hydrated.
Select Healthy Stems: Look for healthy stems without flowers. Aim for cuttings that are about 3 inches long.
Make the Cut: Use sharp pruning shears to cut the stem at an angle just below a leaf node. This angle helps the cutting absorb water more effectively.
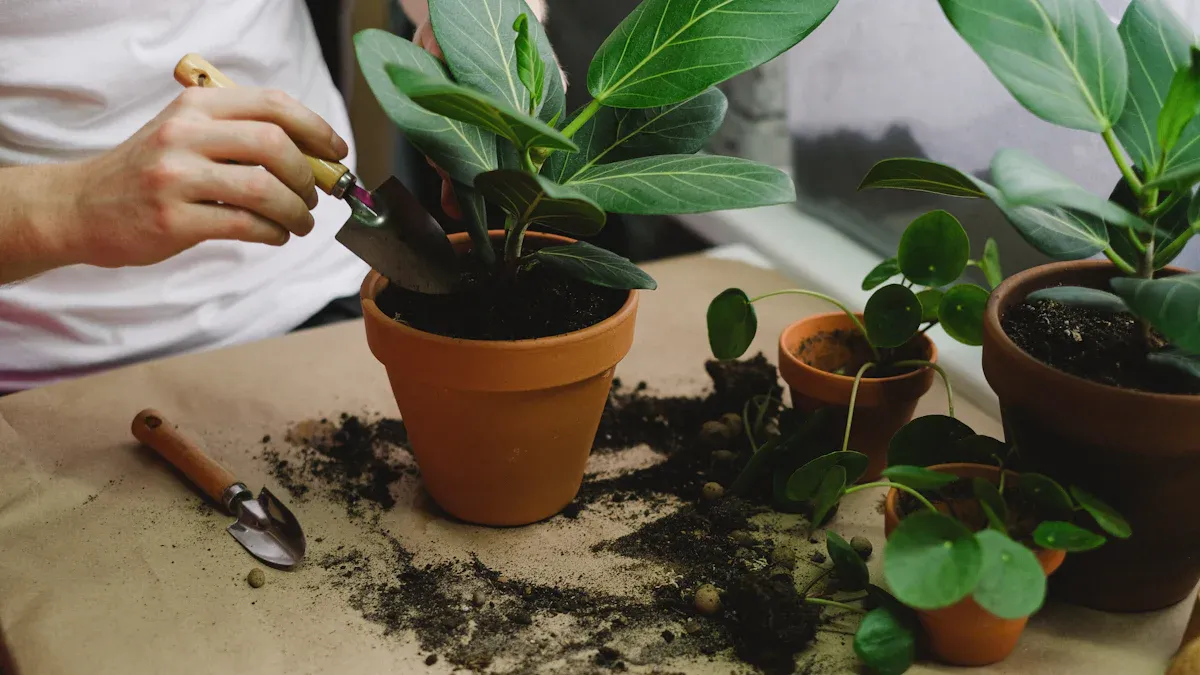
Prepare the Cutting: Remove the lower leaves from the cutting, leaving just a couple at the top. This reduces moisture loss and encourages root growth.
Plant the Cutting: Fill a small pot with rich, moist, well-drained soil. Make a 2-inch deep hole in the soil and insert the cutting. Firm the soil around it to keep it upright.
Maintain Humidity: To keep humidity high, cover the pot with a clear plastic bottle or a plastic bag. This helps create a mini greenhouse effect.
Provide Light: Place the pot in a bright area with indirect sunlight. Avoid direct sunlight, as it can scorch the cutting.
Monitor Growth: Remove the cover once you see new growth. This usually takes a few weeks. Keep the soil consistently damp but not soggy during this time.
Tip: You can use rooting hormone to encourage faster root development, but it’s optional.
Sowing Seeds
If you decide to propagate Calibrachoa from seeds, follow these steps for the best results:
Prepare Your Containers: Fill an 8cm pot or half-size seed tray with compost. Smooth out the top and firm down the soil to create an even base.
Sow the Seeds: Sprinkle a small layer of vermiculite over the compost. Distribute the seeds thinly, barely pressing them into the soil so they can receive light for germination.
Water the Seeds: Gently water the seeds to moisten the soil without washing them away.
Create a Warm Environment: Place the container in a sunny location. Maintain a temperature above 70°F (20°C) to encourage germination.
Cover for Moisture: Cover the container with cling film to retain warmth and moisture. This helps create a humid environment that seeds love.
Watch for Germination: Expect germination in 10-14 days, indicated by the emergence of two small leaves.
Thin the Seedlings: Once seedlings are large enough, prick them out and space them one inch apart or place them in individual pots. Handle them carefully to avoid damage.
Feed Your Seedlings: After about a month, feed your seedlings with a diluted fertilizer to support their growth.
By following these steps, you can successfully propagate Calibrachoa plants from both cuttings and seeds. Remember, patience is key, and soon you’ll have beautiful new plants to enjoy!
Care Tips
Taking care of your newly propagated Calibrachoa plants is essential for their growth and success. Here are some important tips on watering and fertilization to keep your plants thriving.
Watering Needs
Watering your Calibrachoa cuttings correctly is crucial. Here’s what you should do:
Water the cuttings when the top inch or two of soil has dried out. This helps prevent overwatering, which can lead to root rot.
For the first week after planting, check the moisture level in the soil daily. This ensures your cuttings stay hydrated.
Once your plants are established, water garden-grown Calibrachoa once or twice a week. If you’re growing them in pots, check the moisture daily, especially during hot or windy days. 🌞
Tip: Always use room temperature water to avoid shocking your plants.
Fertilization Tips
Fertilizing your Calibrachoa plants during propagation helps them grow strong and vibrant. Here are some effective strategies:
Fertilize at planting and every other week during the growing season. This keeps nutrients available for your plants.
Use a slow-release granular fertilizer or mix compost into the soil at planting. This provides a steady supply of nutrients.
For container-grown plants, supplement with a liquid fertilizer every few weeks. An organic blend, like Down to Earth Organic Bio-Live Fertilizer Mix, works wonders for flowering plants.
Consider a liquid fertilizer with a 3-3-5 NPK content, such as AgroThrive Fruit and Flower Organic Liquid Fertilizer. This can boost flowering and overall health.
Additionally, pinching your Calibrachoa plants 1-2 weeks after transplanting promotes branching. This technique encourages bushier growth, making your plants look fuller and more attractive. For larger containers or hanging baskets, trim around the edges to control growth. You can also use growth regulators like Sumagic or Bonzi to enhance branching.
By following these care tips, you’ll set your Calibrachoa plants up for success. Happy gardening! 🌼
Common Mistakes
When you propagate Calibrachoa plants, avoiding common mistakes can make a big difference in your success. Two frequent issues are overwatering and poor light conditions. Let’s break these down so you can keep your plants thriving.
Overwatering Issues
Overwatering is one of the most common mistakes you can make. It’s easy to think that more water means healthier plants, but that’s not the case. Here are some symptoms to watch for:
Symptoms | Description |
|---|---|
Yellowing leaves | Indicates excess moisture in the soil. |
Soggy root system | Suggests that the roots are sitting in water. |
If you notice yellowing leaves or a soggy root system, it’s time to adjust your watering habits. Make sure you let the top inch of soil dry out before watering again. This simple step can help prevent root rot and keep your cuttings healthy.
Tip: Always use room temperature water. Cold water can shock your plants and hinder their growth.
Poor Light Conditions
Light is another crucial factor in propagating Calibrachoa plants. These cuttings thrive in bright, indirect sunlight. If they don’t get enough light, their growth can suffer. Insufficient light can hinder their ability to develop roots and establish a robust root system, which typically takes 3 to 4 weeks.
To ensure your cuttings get the light they need, place them in a bright area but avoid direct sunlight, which can scorch them. If you notice your cuttings stretching toward the light, it’s a sign they need more brightness.
By avoiding these common mistakes, you’ll set yourself up for success as you propagate Calibrachoa plants. Keep an eye on your watering and light conditions, and your plants will flourish!
In summary, propagating Calibrachoa plants can be a fun and rewarding experience. Remember these key points:
Take stem cuttings in early spring, ensuring they’re about six inches long and free of flowers.
Remove the lower leaves from your cuttings.
Place them in water in a sunny spot, changing the water every few days.
Wait a few weeks for roots to form before potting them up.
By following these techniques, you’ll set yourself up for success. So, why not give it a shot? Share your experiences with us, and let’s grow together! 🌱
FAQ
What is the best time to take cuttings from Calibrachoa plants?
You should take cuttings in spring or early summer when the plant is actively growing. Morning is the ideal time since the plant is well-hydrated.
How long does it take for Calibrachoa cuttings to root?
Calibrachoa cuttings typically take about 3 to 4 weeks to develop roots. Keep the soil moist and provide the right conditions for the best results.
Can I propagate Calibrachoa from seeds?
While you can try propagating from seeds, most Calibrachoa varieties are hybrids and may not produce viable seeds. Cuttings are a more reliable method.
How often should I water my newly propagated Calibrachoa plants?
Water your cuttings when the top inch of soil feels dry. For established plants, water once or twice a week, adjusting for weather conditions.
What should I do if my cuttings start to wilt?
If your cuttings wilt, check the humidity and moisture levels. They may need more humidity or water. Cover them with a plastic bag to retain moisture if needed.
