One clean, healthy clove planted before sustained winter freezes can become a full bulb in loose, well-drained soil. Give each plant six to eight hours of sun and steady spring moisture, then lift the mature heads while several upper leaves are still green.
This walkthrough covers beds and containers, helping home gardeners choose varieties, time planting, manage seasonal care, recognize maturity, cure bulbs, and store the harvest.
Strong Garlic Begins With Sound Planting Stock
Much of the harvest is decided before planting. Garlic, Allium sativum, carries stored carbohydrates and growing tissue inside every clove. Firm stock adapted to the local winter can produce vigorous roots, while weak or diseased material limits the harvest before those roots enter the ground.
Hardneck and Softneck Types Suit Different Climates
Winter lows quickly narrow the choices. Hardneck types handle deep cold, form a stiff central stalk, and send up edible scapes. Music garlic is a popular example that produces large cloves. Softneck strains tolerate milder winters, braid well, and remain usable longer in storage. Inchelium Red is one familiar choice.
| Type | Climate fit | Harvest traits | Storage tendency |
|---|---|---|---|
| Hardneck | Colder winter regions | Plants form scapes and fewer, larger cloves | Bulbs keep for a shorter period |
| Softneck | Mild or warm regions | Plants form flexible stems and numerous cloves | Bulbs remain sound longer |
| Elephant garlic | Areas with moderate winters | Crops yield very large, mild cloves | Results resemble leeks more than true garlic |
Elephant garlic, Allium ampeloprasum, sits closer to the leek branch of the allium family than to true garlic. Its oversized cloves taste mild and develop differently underground. Whatever type suits the site, buy firm, healthy seed bulbs from a reputable grower with a strong record in the region.
Supermarket heads sometimes sprout, but they carry avoidable uncertainty. Some have been treated with sprout inhibitors, others harbor hidden rot organisms, and imported strains may be poorly matched to local cold. Once suitable planting stock is ready, the calendar becomes the next concern.
Climate Sets the Planting Calendar
Seed selection leads directly to timing. Schedule autumn planting about four to six weeks before the ground usually freezes for winter. That interval lets the cloves spread roots while low soil temperatures restrain leafy growth above the surface.
Winter Cold Shapes Each Head
Clove division depends on a period of cold exposure. This process, called vernalization, provides the biological signal tied to segmentation. Without enough chilling, a plant may form one solid round instead of a divided head. Autumn is therefore the standard planting season across much of the United States, while snow cover or loose mulch helps buffer abrupt temperature swings.
Winter severity varies even within the same region, so compare average minimum temperatures with local frost records and recent garden results. Zone numbers don’t account for drainage, snow cover, protected spaces, or sudden thaws. Federal temperature data for this comparison appears in the USDA Plant Hardiness Zone Map.
Spring and Warm-Region Schedules Require Adjustment
Six to ten weeks of refrigeration can supply part of the missing cold period after a missed autumn window or during a severe winter. Keep suitable seed garlic away from apples and pears, which release ethylene. Cloves planted without enough cold exposure may produce smaller or poorly divided bulbs.
Warm-climate planting may run from late autumn through winter, using prechilled stock suited to low-chill conditions. Summer is too late for mature heads in many areas because long days and heat arrive before the crop forms enough leaves. With the dates settled, site quality determines how much energy that foliage can capture.
Sun, Soil, and Drainage Produce Better Bulbs
The calendar points toward the planting site. Give the crop six to eight hours of direct light in a bed where water drains without pooling. Each healthy leaf makes sugars through photosynthesis and supports a corresponding wrapper layer around the developing head below.
Loose Ground Leaves Room for Expansion
Work two to three inches of finished compost into the upper eight inches of soil. Dense clay constricts forming heads and holds water around the basal plate. Fresh manure adds excess salts and can encourage soft growth. Raised rows or coarse organic matter can improve a heavy plot without creating deep air pockets.
Base amendment rates on a laboratory soil report rather than guesswork. A pH near 6.0 to 7.0 keeps major nutrients available to the crop, while excess phosphorus can wash into waterways. One sample can reveal pH, organic matter, phosphorus, potassium, and lime needs through a state Cooperative Extension laboratory.
Crop Rotation Lowers Recurring Pressure
Three or four allium-free years can interrupt many recurring pest and disease cycles. Keep garlic away from onions, leeks, shallots, and chives during that interval because these crops share onion maggots, bulb mites, white rot, and several leaf diseases. Moving the crop won’t eliminate a persistent soilborne organism, but it removes the steady host supply that allows problems to accumulate.
Map the beds before planting. A dated sketch keeps garlic out of a former onion row after labels and foliage disappear.
Once the soil drains well and carries the right nutrient level, precise clove placement separates straight shoots from distorted growth.
Planting Cloves With the Correct Depth and Spacing
The prepared bed is ready for exact placement. Separate each head shortly before planting so the exposed basal plates don’t dry out. Reserve the largest sound cloves for full-size plants, then arrange them upright in straight rows with enough room for airflow.
- Step 1: Split bulbs. Break the seed heads gently, leaving each papery clove skin and flat root plate intact.
- Step 2: Sort cloves. Set aside bruised, soft, moldy, or tiny pieces because their stored reserves are weak.
- Step 3: Face upward. Place each pointed tip up and the broad basal plate down so the shoot rises directly.
- Step 4: Set depth. Bury each clove 2 to 3 inches deep, measuring from the soil surface to the pointed tip.
- Step 5: Leave room. Space the cloves 4 to 6 inches apart, with 10 to 18 inches between rows.
- Step 6: Water and mulch. Wet the bed, then spread loose straw or shredded leaves over cold-region plots.
Upside-down cloves spend stored energy curving toward the surface and may form crooked heads. Crowded rows yield smaller bulbs and dry slowly after rain, while deep burial delays emergence in heavy soil. Keep mulch airy instead of packing it around the shoots, allowing it to suppress weeds without holding soggy material against the stems.
These garlic planting depth and spacing measurements suit open ground. Confined roots, elevated beds, and indoor containers change how quickly water enters and leaves the growing medium, so the next adjustment depends on the available space.
Raised Beds, Pots, and Indoor Methods Need Extra Care
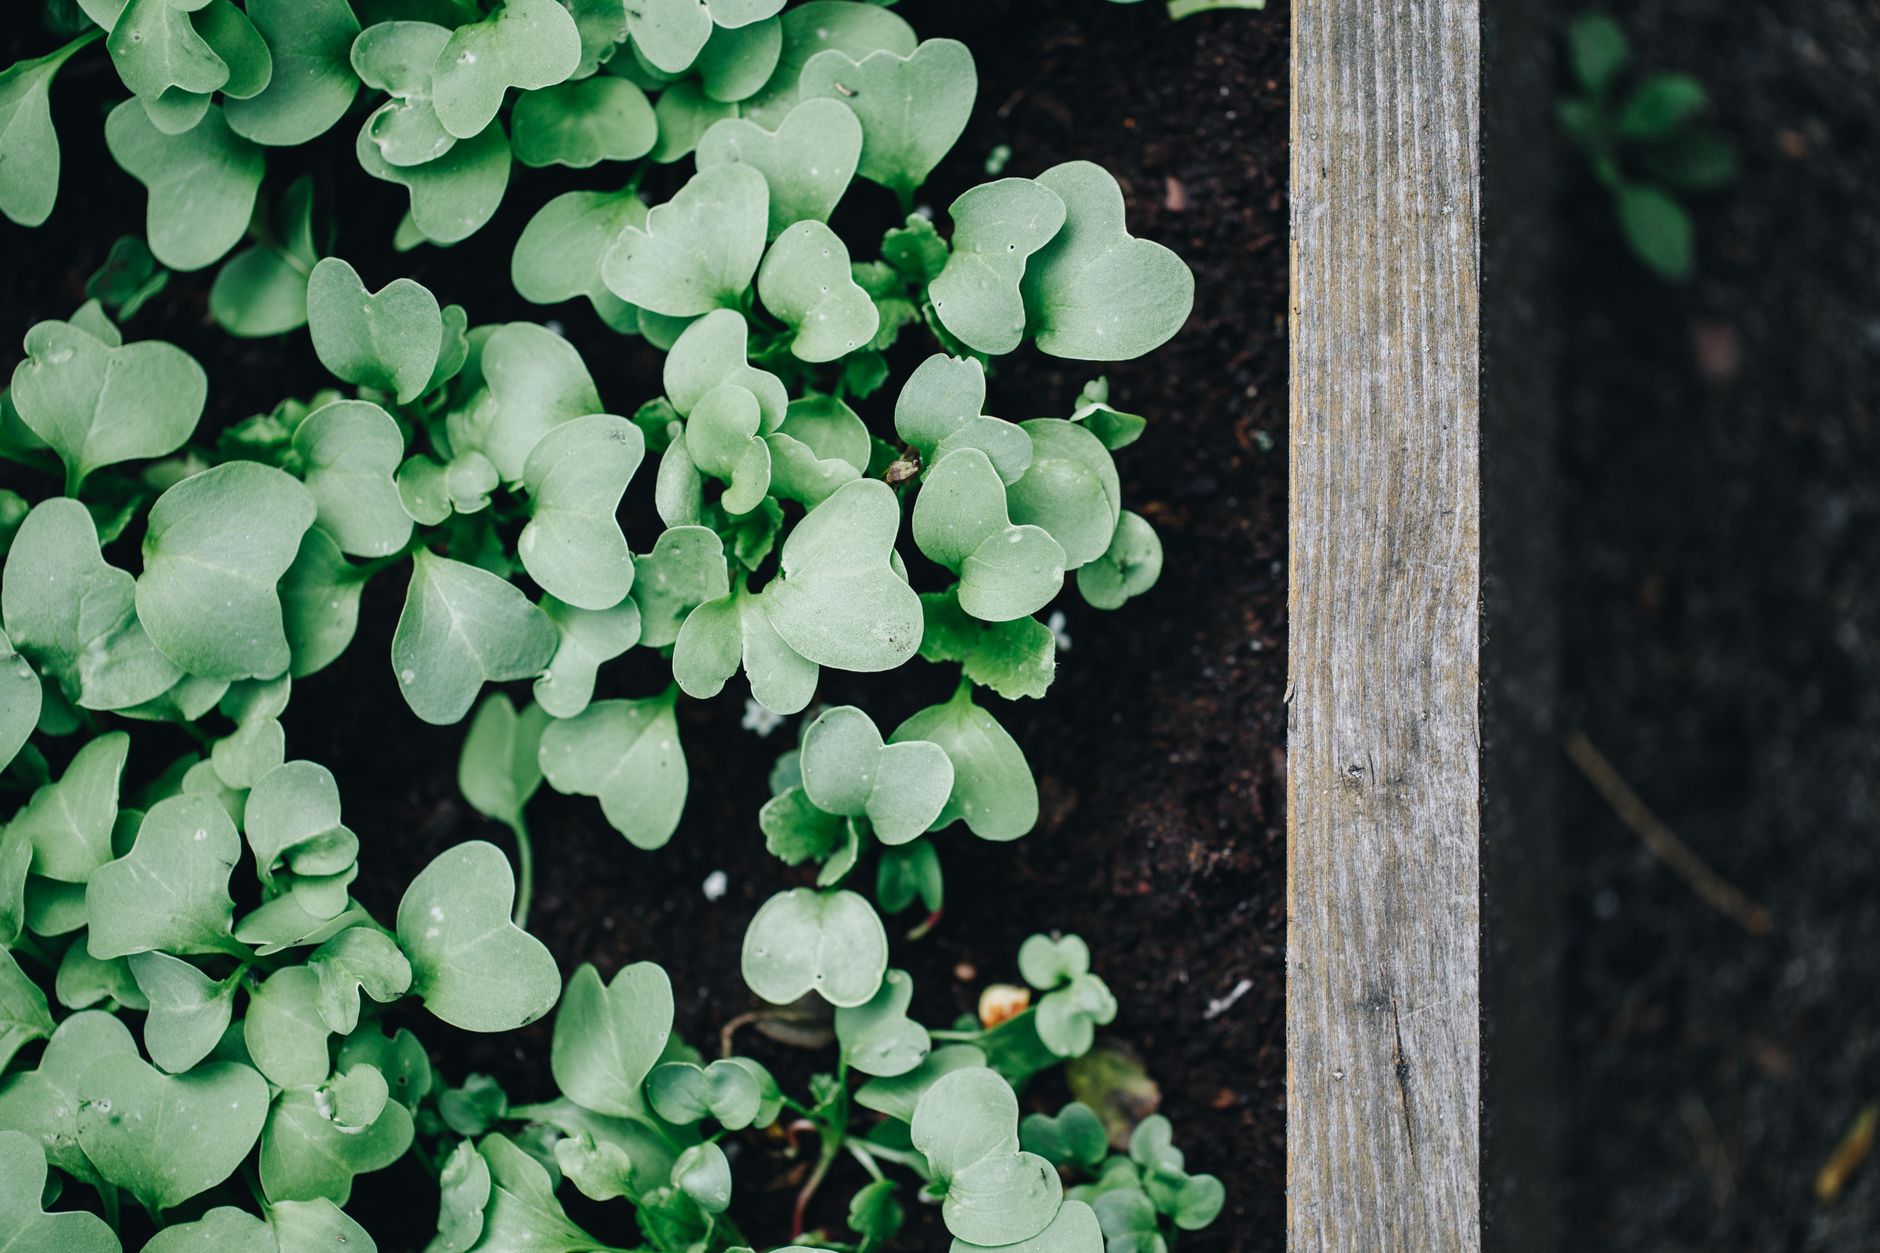
Limited growing space changes the moisture balance. Every setup must drain excess water while retaining enough moisture for shallow roots. Raised beds can rescue a waterlogged yard, but their exposed sides cause the soil to dry faster during wind and warm weather.
Containers Need Depth and Stable Moisture
Choose a vessel at least 10 to 12 inches deep with open drainage holes. A 12-inch-wide pot can hold three cloves spaced about 4 inches apart, while larger tubs can follow standard garden spacing. Fill the container with fresh potting mix rather than dense yard soil, which compacts and restricts oxygen.
Check moisture with a finger two inches below the surface. Saturated mix fills the air spaces with water and starves roots of oxygen, while a dry root zone during leaf growth limits head size. During severe cold, move pots into an unheated garage or place them against a sheltered wall to reduce repeated freezing and thawing.
Indoor Cloves Favor Greens Over Heads
A sunny windowsill rarely supplies enough light for mature bulbs. Head formation requires strong grow lights, cool temperatures, mineral nutrition, ample root volume, and months of growth. A clove suspended over water can produce green shoots, but depleted food reserves and missing nutrients prevent it from developing a full bulb.
Raised beds, pots, and indoor setups follow the same biological rule: leaves manufacture the sugars later stored underground. Keeping that foliage active requires consistent seasonal care.
Steady Care Carries Garlic Through the Growing Season
Active foliage needs reliable support. Supply about one inch of water per week, including rain, during the main growth period. Adjust that amount for soil texture, heat, wind, and drainage speed because sandy ground dries much faster than clay.
Water and Nutrients Follow Leaf Growth
Soak the full root zone once or twice a week instead of applying a light daily sprinkle. Garlic roots remain shallow compared with tomato roots, so prolonged drought quickly shrinks the heads. Waterlogged soil creates low-oxygen conditions that damage roots and favor soft basal tissue and rot.
Let the soil report direct feeding. Nitrogen has its greatest value during green leaf production, while heavy late feeding can prolong soft foliage after the heads begin swelling. Side-dress composted material or a measured nitrogen source several inches from the stems, then water it into the upper soil layer.
Weeds and Scapes Redirect Plant Energy
Pull weeds by hand before their roots spread through the row. Deep hoeing can slice garlic’s shallow roots, while grassy weeds steal both nitrogen and moisture. Keep the mulch loose, and use four practical checks to hold the bed on course:
- Check beneath mulch. The surface may look damp even after the root zone has dried.
- Pull weeds young. Small seedlings release with less disturbance around the crop’s shallow roots.
- Cut curled scapes. Snip hardneck stalks after one curl and use the tender pieces in meals.
- Watch lower foliage. Browning leaves indicate that irrigation should taper as harvest approaches.
Scape removal redirects stored carbohydrates toward the underground head rather than flowers and bulbils. Stop watering about one to two weeks before lifting unless rain intervenes. Drier outer wrappers resist tearing and store better, making leaf color the most useful harvest signal.
Leaf Signals Lead From Harvest to Long-Term Storage
Seasonal care eventually gives way to maturity. Several brown lower leaves paired with green upper leaves mark the useful harvest window. Each living leaf still feeds the plant, while every dead leaf corresponds to a wrapper that has begun drying around the head.
Growth Problems Reveal Specific Causes
Uneven growth usually leaves clues in the leaves, roots, or planting pattern. Small bulbs often point back to late planting, undersized seed cloves, shade, crowding, weed pressure, weak nutrition, or erratic moisture. Yellow leaves may reflect natural maturity, drought, excess water, nitrogen shortage, or disease. Missing shoots suggest rotten stock, animal disturbance, deep placement, or failed rooting.
- Soft stem bases. Lift the affected plant and inspect it for rot, odor, or waterlogged soil.
- Streaked leaves. Remove badly affected plants rather than giving them more nitrogen.
- Stunted patches. Check drainage, spacing, and previous allium history across the bed.
- Distorted foliage. Inspect leaf folds and basal plates for thrips, mites, or physical injury.
White rot produces white fungal growth and tiny black resting bodies called sclerotia near the basal plate. These structures can persist in soil for years. Clean seed, tool sanitation, and long crop rotation protect the ground more effectively than extra fertilizer, while accurate diagnosis helps determine which plants are ready to lift.
Careful Lifting Protects Wrappers
Slide a garden fork into the soil several inches from each stem, then raise the head from beneath. Don’t pull on the leaves because the neck can snap. Waiting until every leaf turns brown also allows the wrappers to split, exposing the cloves to bruising, moisture, and a shorter storage life.
Lay whole, unwashed plants in a shaded, dry, airy place for two to four weeks. Wire racks, slatted shelves, or small hanging bundles allow air to circulate around the necks. Direct sun can scorch exposed cloves, while rain restores surface moisture and encourages mold.
After drying, trim the roots close to the basal plate and cut hardneck stems an inch or two above the head. Softneck tops can remain attached for braiding. Keep the wrapper layers intact, store sound heads in mesh or open baskets, and inspect the supply each month. Use split, bruised, or soft bulbs before intact ones.
Harvesting and curing garlic correctly preserves the work already invested in the bed. The final result depends on how well those decisions connect from seed selection through storage.
Final Keys to a Strong Garlic Crop
The curing period completes the growing cycle. The largest gains come from matching each variety to the location and season. Start with clean seed garlic suited to local winter cold. Give every clove bright light, loose soil, reliable drainage, steady spring moisture, and enough room to expand.
Knowing how to grow garlic comes down to timing and observation rather than constant intervention. Harvest while the upper foliage still carries green color, then dry each whole plant in shade with moving air. Those linked choices turn one clove into a firm, tightly wrapped head that retains its quality long after leaving the garden.
A few common situations still call for specific answers, especially where grocery-store cloves, spring planting, watering, and harvest timing affect the plan.
FAQ
The main growing sequence is now complete. The details below address practical questions that often arise during planting, seasonal care, and harvest.
Can you plant garlic from the grocery store?
Supermarket cloves often sprout, but the final result is uncertain. Sprout inhibitors, hidden disease, storage damage, and poor climate fit can reduce growth. Firm seed garlic from a reputable regional supplier gives the bed a cleaner start and provides a variety matched to local winter conditions.
Can garlic be planted in spring instead of fall?
Fall planting usually produces larger heads because the crop receives more cold exposure and has additional weeks for leaf growth. Spring planting can still produce bulbs. Chill the seed cloves for six to ten weeks in a refrigerator, plant as soon as the ground is workable, and choose a strain suited to shorter seasons.
How long does garlic take to mature?
Fall-planted bulbs typically remain in the ground for about eight to nine months, with harvest arriving in late spring or summer across much of the United States. The exact schedule depends on variety, winter length, planting date, and heat. Spring-planted stock has a shorter growing period and may yield smaller heads.
How frequently should garlic plants be watered?
About one inch of water per week, including rainfall, supports active leaf growth in most garden soils. Sandy ground and hot weather call for closer checks, while clay usually needs less frequent irrigation. Taper watering as the lower foliage browns, then stop about one to two weeks before lifting mature heads.
How can you tell garlic is ready to harvest?
Several brown lower leaves paired with green upper leaves mark the usual harvest window. Dig one sample head and inspect its shape. Filled cloves should press firmly against intact wrappers. Raise the remaining bulbs before all the foliage dies or the outer skins split underground.
Can a garlic clove produce a bulb in water without soil?
Water-grown cloves can send up edible greens, but they rarely form mature heads. Bulb production requires mineral nutrients, strong light, cool conditions, root space, and a long growing season. Use the green shoots for cooking, then plant sound seed cloves in potting mix or garden soil for full heads.