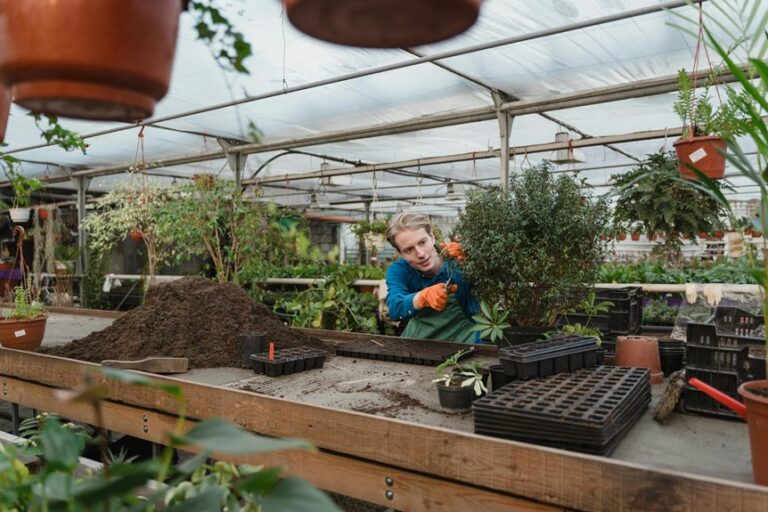
Discovering tiny white bugs in your houseplant soil can be unsettling. You probably want to know how to get rid of white bugs immediately. These white bugs often indicate specific environmental conditions.
Poor drainage, for instance, attracts certain pests. Excessive decaying organic material or consistently moist environments also draw them in. Understanding these factors helps you address the root cause. Accurate identification of these pests is essential for effective organic treatment.
Key Takeaways
- Identify the white bugs in your soil first. Different bugs like mealybugs, fungus gnats, or springtails need different treatments.
- Reduce soil moisture and improve air flow. Many white bugs like wet soil, so letting the soil dry helps get rid of them.
- Use specific treatments for each bug. Neem oil works for mealybugs, BTI for fungus gnats, and drying soil for springtails.
- Prevent future bug problems. Water plants correctly, sterilize new soil, and check new plants for bugs before bringing them home.
1. Identify Tiny White Bugs in Your Soil
When you find tiny white bugs in your plant soil, your first step is to identify them. Different pests require different solutions. Knowing your enemy helps you choose the most effective treatment.
1.1. Mealybugs: Identification and Impact
Mealybugs are common culprits. You will notice their distinctive appearance. These are pink, soft-bodied insects. A white, waxy, cottony material covers their bodies. Both the insects and their egg masses look like white cotton on your plant. These waxy threads form the egg masses. You might see small white cottony masses around the drainage holes of your pots. This indicates their presence on the roots.
You can also find white, powdery wax on the soil surface. This is especially true near plant stems or around the root ball. This indicates ground mealybugs. Mealybugs often appear at the joints where a leaf meets the petiole. You will also find them under the leaves. They are small, oval insects. Their waxy covering gives them a powdery white appearance. They often have longer waxy filaments around their bodies. These measure about 1/8 to 1/4 inch. Their egg masses resemble small white puffs of cotton. They also look like fluffy deposits of white powder. This is due to the waxy filaments covering the eggs.
Mealybugs cause significant damage to your plants. They insert their mouthparts and suck out sap. This deprives your plant of vital nutrients. They excrete honeydew. This sticky substance leads to the growth of sooty mold. Sooty mold turns your plants black. Citrus mealybugs have a toxin in their saliva.
This toxin causes host plants to drop leaves and buds. Heavy infestations result in wilting, stunting, yellowing, and premature leaf drop. Miscanthus mealybugs cause yellowing and twisting of leaves. They also stunt growth and reduce flower production.
These mealybugs can infest roots. Sooty molds can become dense enough to reduce photosynthesis and plant vigor. Root mealybugs suck sap from the phloem in roots. This deprives the plant of nutrients. Severe infestations can cause plants to suddenly wilt and collapse. Less severe cases lead to stunted growth. Yellowed or wilting foliage may suggest mealybugs on the roots. You often need to inspect the root-ball for confirmation.
1.2. Fungus Gnats (Larvae): Identification and Impact
Fungus gnats are another common pest. You will usually see their larvae in the soil. Fungus gnat larvae have a shiny black head. Their body is elongated, whitish-to-clear, and legless. They are approximately 1/4 inch in length when fully grown. You might notice slime trails on the soil surface. These resemble those of small snails or slugs. This happens especially in very moist conditions with many gnats.
Fungus gnat larvae inflict specific damage on plant roots. They feed on root hairs. They also tunnel into the roots themselves. These larvae can burrow into the roots of cuttings. They can even burrow up the stem of cuttings. This root damage can severely impact your plant’s health.
1.3. Springtails: Identification and Impact
Springtails are tiny white bugs that occasionally develop in houseplant soil. You often notice them after watering. They move from saturated soil to the surface. Springtails are typically less than 6 mm (less than ¼ inch). Globular springtails are usually 1–3 mm. Their size varies. Adults are typically 1/16 inch or less in length. Some species have globular bodies, while most are slender. Their color varies from white and pearly iridescent to mottled brown or black.
They possess a forked, tail-like appendage called a furcula. This is tucked beneath their bodies. When released, it acts like a spring. It catapults them several inches into the air. This jumping behavior is a key identifier. Springtails have soft, rounded bodies. This distinguishes them from fleas, which have hard, flat-sided bodies.
Springtails require wet or damp environments. You commonly find them in soil, leaf litter, under loose bark, in moss, and under rocks and fallen logs. They scavenge dead plant matter and feed on soil microorganisms. They primarily eat decaying organic materials, especially decomposing plants. They also consume fungal foods like molds and mildews. Some species eat decaying animals, dung, bacteria, or pollen.
Their antennae tips are chemical-sensitive. They use these for smelling and tasting to determine edibility. High soil moisture encourages their survival and reproduction. They feed on fungi and decomposing organic matter like compost or decaying leaves within the soil. Springtails seek out moisture when conditions are dry. They multiply prolifically in moist environments. They are decomposers. They break down organic materials into rich, healthy soil. They do very little, if any, damage to houseplants.
1.4. Root Aphids: Identification and Impact
Root aphids are another type of tiny white bugs you might find. They are small, soft-bodied insects. They can be greenish-white or black. They have a characteristic “slipper” shape. They possess small heads and long antennae. Winged root aphids resemble fungus gnats. However, they have antennae protruding from their hind ends. You will find them congregated in groups underground on plant roots. They produce a sticky secretion called honeydew. This can coat colonies.
Wingless ‘crawlers’ are under 0.5 millimeters. They are brownish. They have wide round abdomens and six legs. Winged ‘fliers’ have wings 2-3 times their body length. They have distinguishable ‘tailpipes’ extending from their back-end. Aphids are more squat, round, and stubby-legged compared to fungus gnats. Crawlers latch onto roots and multiply. They give live birth. Fliers are more active. They fly higher and farther. They are better at avoiding being squished. Fliers tend to fly straight towards lights. In soil or coco, watering agitates them. This causes them to crawl up the main stem or pot sides.
You will notice stunted growth in your plants. You might also see droopy or yellow leaves. This resembles magnesium deficiency. You might also see yellow-brown spotting. This resembles calcium deficiency. These symptoms appear when you rule out nutrient deficiencies. Aphids feed on nutrients directly from roots. Root aphids feed on plant roots.
They secrete chalky honeydew. This accumulates on and within the potting media. You can easily spot them in hydroponics. Their dark bodies contrast with white roots. Check roots sticking out of Rockwool cubes. Pull back plastic wrappers to check sides. Check reservoirs and runoff for aphid bodies. Check rooms as lights come on or in the morning. Fliers are most active then. They buzz near lights. Place yellow sticky traps both low and high to monitor populations.
1.5. Whiteflies: Identification and Impact
While adult whiteflies typically fly around your plants, their immature stages can be found on the undersides of leaves. You need to recognize whiteflies to address them. Eggs hatch into flattened nymphs, called crawlers, in about a week. These crawlers wander about the plant. They insert their mouthparts into the plant and begin to feed. After their first molt, nymphs lose their legs and antennae. They attach themselves to the undersides of leaves. They have several wax-like rods coming from their bodies. This gives them the appearance of small white oval scales. Nymphs remain fixed to the plant and feed for about four weeks. After a pupa stage, adults emerge.
Whitefly nymphs vary in color. They can be almost transparent yellow or whitish. They can also be black with a white fringe. This depends on the species. Whiteflies lay tiny oblong eggs on the undersides of leaves. The first nymphal stage (crawler) is barely visible. It moves around before settling to feed. Later nymphal stages are immobile, oval, and flattened. They have greatly reduced legs and antennae. They resemble small scale insects. The last nymphal stage is sometimes called a pupa. Fourth-instar nymphs can have short, waxy filaments around their edges. Some fourth-instar nymphs have no fringe or waxy filaments. However, they are located near distinctive circles of wax where eggs were laid. Other fourth-instar nymphs have no fringe around their edges. They feature a distinctive Y-shape on their backs. Nymphs can have blackish, oval bodies with a white, waxy fringe. Fourth-instar nymphs may be black with large amounts of white wax. This wax is arranged in a crownlike pattern. Some nymphs have long wax filaments, up to 2 inches long. This gives leaves a bearded appearance. Nymphs can also be covered with fluffy, waxy filaments.
Pupae of greenhouse whiteflies (GHWF) and silverleaf whiteflies (SWF) are found on leaf undersides. GHWF pupae are shaped like a disk or cake. They have a fringe of short hairs on the rim. SWF pupae are rounded or dome-shaped. They lack a fringe of hairs on their edges. GHWF pupae are white. SWF pupae are yellowish.
Whiteflies cause damage by sucking sap from your plants. They excrete honeydew. This sticky substance covers leaves. Sooty mold then grows on the honeydew. This turns leaves black. This reduces photosynthesis. You can identify whitefly damage by yellowing leaves, stunted growth, and the presence of sooty mold. Heavy infestations can severely weaken your plants. Many plants susceptible to whiteflies show these symptoms. You will often see whiteflies on houseplants. This makes it crucial to identify whitefly damage early. You need to protect your plants susceptible to whiteflies.
2. General Strategies for White Bug Control
You can take several initial steps to manage most white bugs in your houseplant soil. These general strategies address common conditions that attract pests.
2.1. Reduce Soil Moisture
Many soil pests thrive in wet conditions. Reducing soil moisture is often the primary way to control them. You should allow the top inch or two of soil to dry out completely between waterings. This makes the environment less hospitable for pests like fungus gnats and springtails. Overwatering creates a damp environment. This dampness encourages the growth of fungi and decaying organic matter. These are food sources for many tiny white bugs. Less moisture also helps you get rid of whiteflies that prefer humid conditions.
2.2. Improve Air Circulation
Good air circulation helps dry out the soil faster. It also deters many pests. You can use a small fan near your plants. This helps move air around the foliage and soil surface. Proper spacing between plants also improves air flow. This reduces humidity around the plants. Better air circulation makes it harder for whiteflies and other pests to settle and multiply.
2.3. Repotting and Soil Replacement
Sometimes, the soil is too heavily infested. Repotting becomes the simplest and quickest solution. This is especially true for issues like root mealybugs or ants. You should water the plant 2-4 days before repotting. This ensures the plant is not too wet or too dry. Carefully remove the plant from its current pot. Gently loosen the rootball. Remove any old or infested soil. Fill the new pot with fresh soil mix. Ensure the top of the rootball is level with or slightly below the pot’s rim. Add more soil around the rootball until the pot is filled. Position the plant straight and centered. Thoroughly water the new soil mix after repotting. However, keep succulents and cacti dry for 2-7 days after repotting. This process helps you get rid of whiteflies and other persistent white bugs.
2.4. Isolate Infested Plants
You must isolate any plant showing signs of a pest problem. This prevents the spread of white bugs to your other plants. You should quarantine any plant where you observe the initial signs of a pest problem. Keep new plants separate for up to a month. This confirms they are pest-free before you add them to your collection. Discard severely infested, easily replaceable plants. This prevents the spread of pests to more valuable specimens. Always wash your hands and tools when moving between different groups of plants. This avoids spreading microscopic insects and disease organisms. This practice helps protect your plants from whiteflies and other pests.
3. Specific Treatments for White Bugs
You have identified the white bugs in your soil. Now, you need targeted treatments. Different pests require specific approaches. This section details how you can effectively eliminate each type of white bug.
3.1. Mealybug Control
Mealybugs require direct action. You can use several methods to control them.
- Neem Oil Drenches: Neem oil is a powerful organic pesticide. You can drench the soil with a neem oil solution. This targets root mealybugs. For general dilution, you should mix 1 to 2 tablespoons of neem oil per gallon of water. Alternatively, use 1 to 2 teaspoons per quart of water. A larger volume of this mixture will likely be necessary for soil drenching. One user suggests that 1 teaspoon of neem oil is effective for soil drenches. Some individuals may increase this to 2 teaspoons.
- Insecticidal Soap: Insecticidal soaps are effective against mealybugs. You can spray the soil surface and the plant with an insecticidal soap solution. Small, soft-bodied arthropods such as mealybugs are most susceptible to soaps. Insecticidal soap sprays are generally effective against small, soft-bodied arthropods, including mealybugs. Insecticidal soaps are most effective on soft-bodied pests such as mealybugs. They can suppress various insect and mite pests on greenhouse crops, including mealybugs. Soft-bodied insect and mite pests like mealybug crawlers are susceptible to soap applications.
- Alcohol Swabs: For visible mealybugs on the plant, you can dip a cotton swab in rubbing alcohol. Then, touch it directly to each mealybug. The alcohol dissolves their waxy coating. This kills them on contact.
- Physical Removal: You can use a strong stream of water to dislodge mealybugs from plant surfaces. This works well for plants that can withstand the pressure.
3.2. Fungus Gnat Larvae Control
Fungus gnat larvae live in the soil. You must target them there.
- BTI (Bacillus thuringiensis israelensis): This natural bacterium specifically targets fungus gnat larvae. You can apply it as a soil drench.
- Mix 4 tablespoons of Mosquito Bits per 1 gallon of water.
- Allow the mixture to sit for 30 minutes. Remove floating granules. You can use a nylon stocking for easier cleanup.
- Stir or shake the water. Then, apply it directly to the soil or growing media surface.
- Discard or compost the used granules.
- This treatment targets fungus gnat larvae present in the soil at the time of application.
- Repeat the treatment weekly for three consecutive weeks.
- Reapply if fungus gnats reappear. Mosquito Bits are a biopesticide containing Bacillus thuringiensis sp israelensis (BTI). This is a naturally occurring bacterium. When applied to soil or growing media, BTI acts as a species-specific larvicide. Fungus gnat larvae ingest the BTI and perish within 24 hours. The treatment provides control for up to 14 days in water with low to moderate organic content.
- Yellow Sticky Traps: These traps catch adult fungus gnats. This prevents them from laying more eggs. Yellow sticky traps are effective at capturing adult fungus gnats. They are readily available at garden centers or online. You should place them near the base of plants. Replace them as needed to reduce the number of adult gnats laying eggs.
By the second week of using yellow sticky traps, a decrease in the number of adult fungus gnats was observed. This was evidenced by the dead and dying gnats on the traps in each container. The traps help decrease the adult population.
With continued treatment, the number of adults on the traps will eventually diminish to none. One user reported complete eradication of fungus gnats within a week of using Garsum sticky traps.
They noted that the flies were ‘finally outmatched’ and ‘completely eradicated’ with ‘lifeless corpses stuck onto the traps’. Yellow sticky traps are designed to attract fungus gnats due to their bright color. They capture them with a super-sticky adhesive. They are long-lasting, durable, UV-resistant, and waterproof. This makes them suitable for both indoor and outdoor use.
- Top Layer of Sand or Diatomaceous Earth (DE): You can apply a 1-inch layer of horticultural sand or food-grade Diatomaceous Earth to the soil surface. This creates a barrier. It prevents adult gnats from laying eggs in the soil. It also prevents emerging larvae from reaching the surface.
3.3. Springtail Management
Springtails thrive in moist, organic-rich environments. Your main goal is to dry out their habitat.
- Dry Out the Soil: Allow the soil to dry out completely between waterings. This makes the environment less appealing to springtails.
- Allow houseplant soil to dry thoroughly between waterings.
- Water outdoor plants in the morning to allow the soil to dry by evening.
- Avoid overwatering to prevent creating wet, springtail-friendly conditions.
- Utilize well-draining soil to help reduce moisture levels.
- Improve airflow to facilitate drying out between waterings.
- Reduce Organic Matter: Remove any decaying leaves or debris from the soil surface. This eliminates a food source for springtails.
3.4. Root Aphid Elimination
Root aphids are challenging because they are hidden. You need to target the roots directly.
- Neem Oil Drenches: A neem oil drench can reach root aphids. Mix neem oil as described for mealybugs. Then, pour the solution directly into the soil. This helps eliminate the pests.
- Beneficial Nematodes: Certain beneficial nematodes prey on root aphids. You can introduce these microscopic worms to your soil.
- NemAttack™ – Sf Beneficial Nematodes
- NemAttack™ & NemaSeek™ Combo Pack Sf/Hb
- NemaSeek Pro Hb Beneficial Nematodes™
- NemAttack Pro Sf Beneficial Nematodes™ A user purchased ‘Neema-seek’ (likely NemaSeek, which includes Hb nematodes) for eradicating root aphids. They observed a daily decrease in their numbers, noting improvement. Another user reported that ‘Beneficial nematodes SF’ significantly reduced a medium-heavy infestation of gnats and root aphids within approximately two weeks. This highlights rapid improvement. Steinernema feltiae nematodes are effective against root aphids. Steinernema Feltiae Nematodes are effective in controlling larval stages of various insect species, including root aphids. They patrol the top 3 inches of soil.
- Systemic Granules: For severe infestations, you might consider systemic granules. These products contain insecticides that the plant absorbs through its roots. The insecticide then circulates throughout the plant. This kills pests that feed on the plant. Use these with caution and follow all label instructions.
3.5. How to Get Rid of Whiteflies (Soil Stage)
While adult whiteflies fly, their immature stages are in the soil or on leaf undersides. You need to address these stages to get rid of whiteflies.
- Neem Oil Drenches: A neem oil drench can target whiteflies in their soil stage. Mix 1-2 tablespoons of neem oil per quart of water with a few drops of mild dish soap. Spray the soil surface every few days for a week. You can also spray all around the plant. When using neem oil as a soil drench, it has a half-life ranging from 3 to 22 days. This is why it’s advisable to wait three weeks before reapplying.
For preventative pest control, applying a soil soak every three weeks throughout the planting season can help manage pests and diseases before they become problematic. Neem oil typically takes at least two weeks to show its effects in the soil. For infestations on houseplants, drench the soil every 7 days until pests are gone. As a preventative measure, drench the soil every 3 weeks.
- Insecticidal Soap: You can spray insecticidal soap on the soil surface. This helps eliminate whiteflies in their early stages.
- Yellow Sticky Traps: Place yellow sticky traps near your plants. These traps will catch adult whiteflies. This helps reduce the breeding population. This is a good step to prevent whiteflies from laying more eggs. You can also use these traps to monitor the effectiveness of your treatments. This helps you get rid of whiteflies more effectively. You want to prevent whiteflies from becoming a major problem. Addressing whiteflies on houseplants early is key.
4. Prevent Whiteflies and Other Pests
You can stop pests before they start. Long-term prevention keeps your plants healthy. These steps help you avoid problems with whiteflies and other common invaders.
4.1. Proper Watering Practices
Watering correctly is crucial. You should avoid overwatering your plants. Overwatering creates damp conditions. These conditions attract many soil pests, including whiteflies. Allow the top inch or two of soil to dry out between waterings. This practice discourages pests. It also helps prevent root rot. Proper watering is a key defense against whiteflies.
4.2. Sterilize Potting Mix
New potting mix can contain pest eggs or larvae. You should sterilize it before use. This eliminates hidden threats.
- Solar Sterilization: Spread soil thinly on a dark surface. Place it under the midsummer sun. This can kill insect eggs.
- Boiling Water: Pour boiling water over your potting mix. This effectively eradicates fungus gnats and their larvae.
- Oven Baking: Preheat your oven to 180–200°F (82–93°C). Spread soil 3–4 inches deep on a baking sheet. Cover it loosely with foil. Bake for 30 minutes. Let it cool completely.
- Microwaving: Place damp soil in a microwave-safe container. Cover it loosely. Microwave for 90 seconds per pound of soil. Stir halfway through. Let it cool thoroughly. This step prevents whiteflies from ever starting in your soil.
4.3. Inspect New Plants
Always check new plants before you bring them home. This prevents introducing pests to your collection. Look for specific signs of trouble.
- Check for discoloration on leaves.
- Look for yellowing or bronzing leaves with speckling.
- Search for webbing, small particles, or sticky honeydew. Honeydew can lead to sooty mold.
- Inspect for holes or tears in leaves.
- Watch for wilting or decay. These signs can mean pests are present. This careful inspection helps you avoid bringing home whiteflies.
4.4. Maintain Plant Hygiene
Good plant hygiene keeps pests away. Remove dead leaves and debris from your plants and soil. Plant debris can harbor fungal diseases. It also provides hiding spots for overwintering insects like squash bugs. Removing dropped fruit reduces pests like codling moth. Raking fallen leaves eliminates pathogens. Cleanliness prevents future infestations. This practice reduces places for whiteflies to hide.
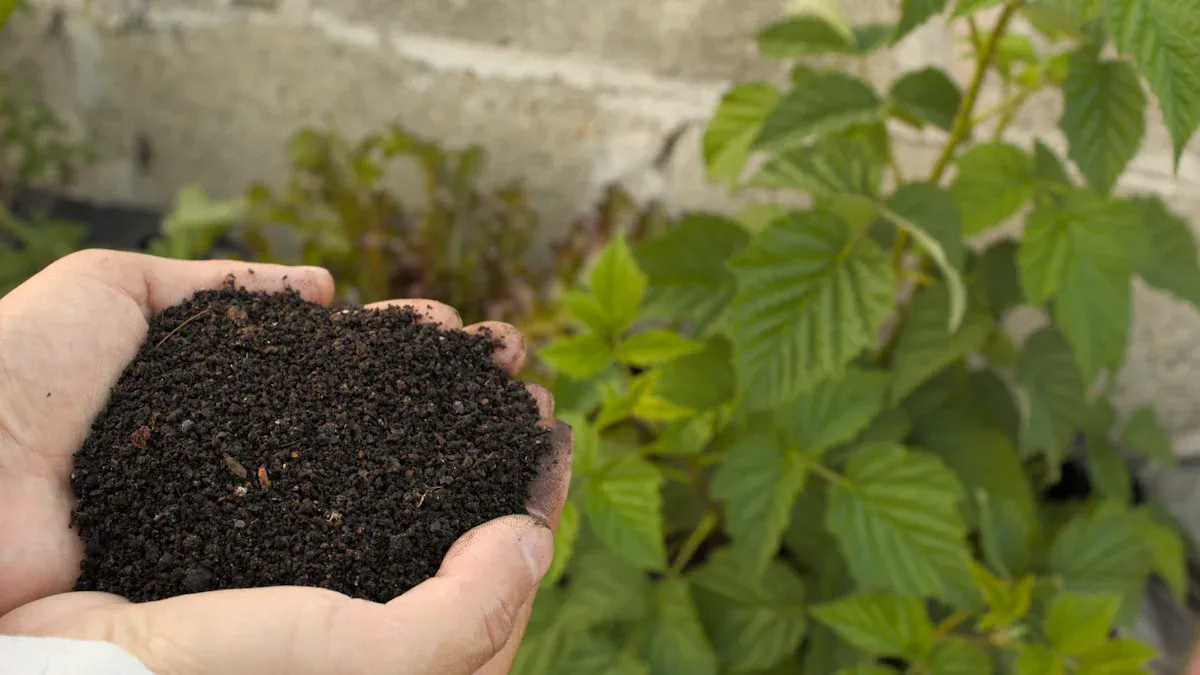
4.5. Choose Appropriate Potting Mix
Select a potting mix that drains well. This is vital for container plants. A good mix balances moisture retention, drainage, and aeration. It has a loose structure. This prevents compaction. Ingredients like perlite, coco coir, or pumice improve drainage. Well-draining soil allows roots to absorb water. It also lets the soil dry between waterings. This prevents root rot and mold. It also makes the environment less appealing to whiteflies. This choice helps prevent damage from overwatering and pests. It protects plants susceptible to whiteflies.
Finding white bugs in your soil is a common issue, but you can manage it effectively. Accurate identification of these tiny white bugs is crucial for choosing the right treatment. Consistent application of chosen treatments and proactive prevention are key. Regular pest control offers long-term benefits. It protects your health and preserves your property. Proactive strategies, like proper watering and plant hygiene, prevent problems before they start. With the right knowledge and practices, you can maintain healthy, pest-free plants.
FAQ
What are the most common white bugs in plant soil?
You often find mealybugs, fungus gnat larvae, springtails, and root aphids. Mealybugs look cottony. Fungus gnat larvae are tiny, clear worms. Springtails jump. Root aphids are small, waxy insects on roots.
What conditions attract white bugs to your soil?
White bugs thrive in specific conditions. Overwatering creates damp soil. This encourages pests like fungus gnats and springtails. Decaying organic matter also provides food. Poor air circulation keeps soil moist, attracting more pests.
What is the fastest way to get rid of white bugs in soil?
You can quickly reduce white bugs by repotting. Remove all old, infested soil. Replace it with fresh, sterile potting mix. Isolate the plant immediately. This stops the spread to other plants.
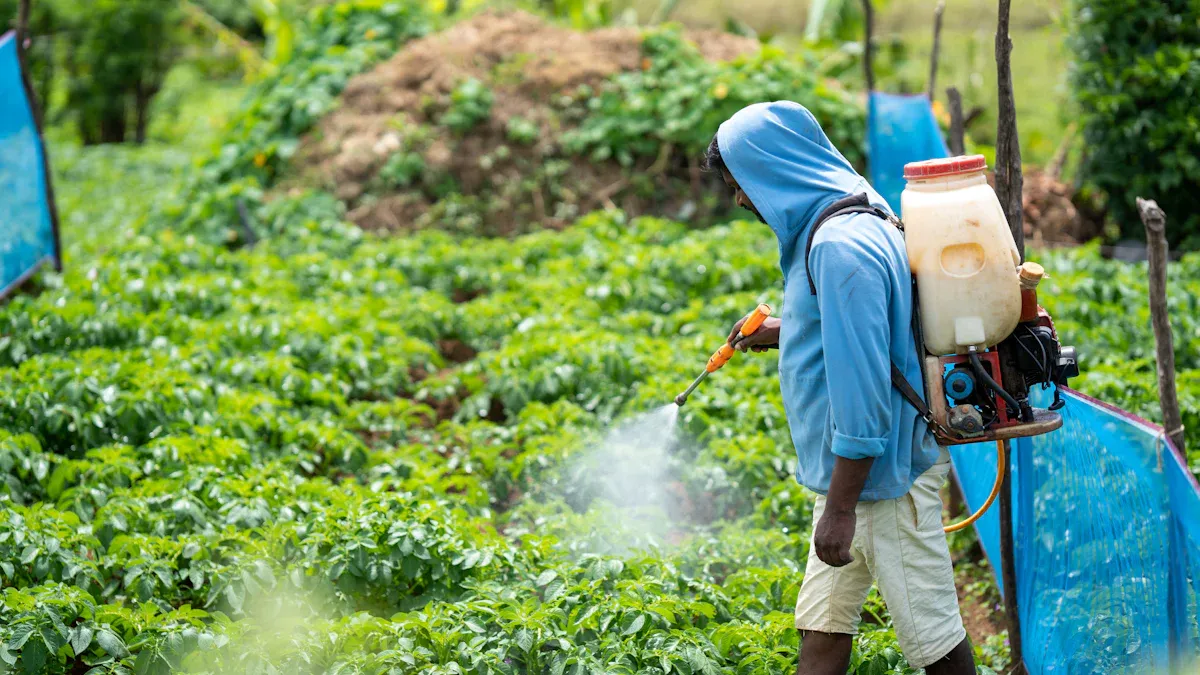
What is neem oil, and how do you use it for soil pests?
Neem oil is a natural pesticide. You mix 1-2 tablespoons of neem oil per quart of water. Add a few drops of mild dish soap. Drench the soil with this solution. It targets pests like mealybugs and whiteflies in the soil.