Imagine relaxing in your garden, surrounded by blooming flowers, while your favorite music fills the air. Music can transform your outdoor space into a vibrant oasis. Building a DIY Garden Jukebox not only enhances your garden experience but also allows you to customize your sound system to fit your style. Plus, you don’t need to be a tech expert to tackle this project. With a bit of creativity and some basic tools, you can create a fantastic audio setup that everyone will enjoy!
Key Takeaways
Gather essential materials like a Raspberry Pi, outdoor speakers, and a power supply to kickstart your DIY garden jukebox project.
Prepare a sturdy, weatherproof enclosure using durable materials and seal it properly to protect your components from moisture.
Follow clear wiring instructions to connect your speakers and Raspberry Pi, ensuring all connections are secure for optimal sound quality.
Pay attention to speaker placement and acoustic factors to enhance your outdoor music experience, creating an immersive sound environment.
Regular maintenance is key; clean your system, check connections, and update software to keep your jukebox running smoothly.
Materials for DIY Garden Jukebox
Creating your own DIY garden jukebox is an exciting project, and gathering the right materials is the first step. Let’s break down what you’ll need to get started.
Essential Components
To build your jukebox, you’ll need a few key components. Here’s a list to guide you:
Raspberry Pi: This small computer will serve as the brain of your jukebox. It’s affordable and versatile, making it perfect for this project.
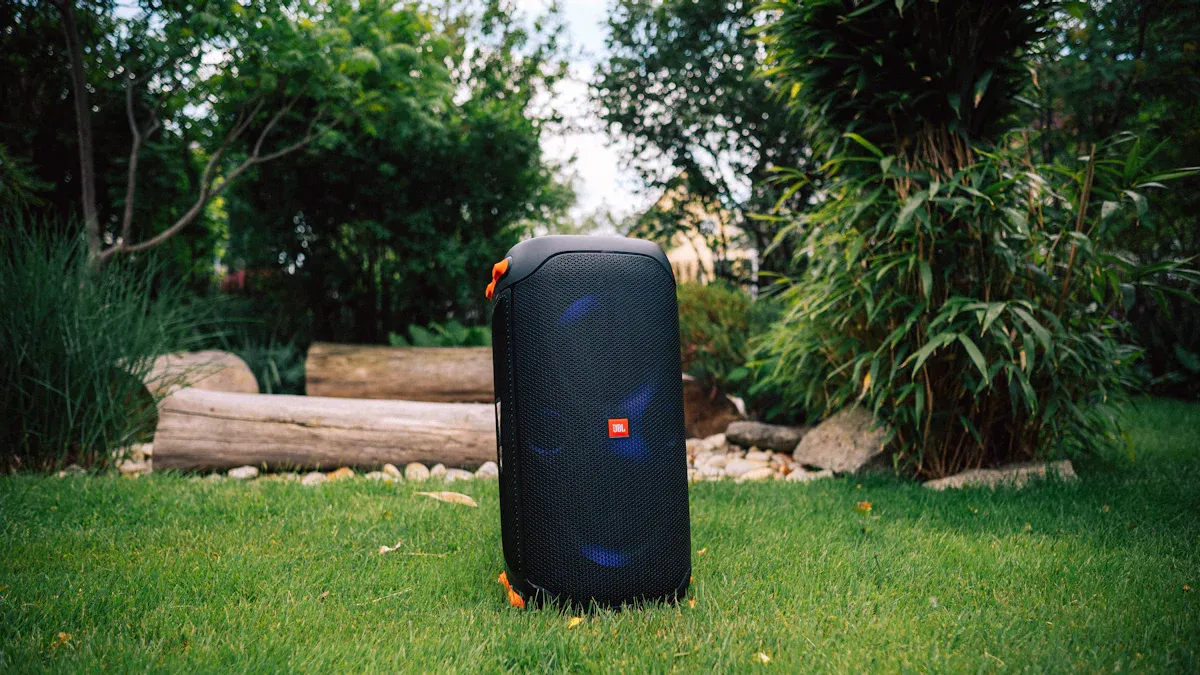
Speakers: Choose outdoor speakers that can withstand the elements. Look for models that are waterproof and rugged to ensure they last through rain and shine.
Power Supply: A reliable power source is crucial. You can use a battery pack or a solar panel for an eco-friendly option.
Audio Interface: This connects your Raspberry Pi to the speakers. You can use a USB sound card for better audio quality.
Enclosure: A sturdy, weatherproof box will protect your components from the elements. Consider using materials like wood or plastic that can handle outdoor conditions.
When selecting your components, remember that waterproofing is key. You want to ensure your system can handle moisture without damage.
For waterproofing, consider these materials:
Silicone Sealants: Great for sealing around ports and buttons.
Liquid Electrical Tape: Perfect for quick repairs.
IP-Rated Enclosures: Look for cases rated at IPX7 or higher for full submersion protection.
Optional Enhancements
Once you have the essentials, think about how you can enhance your jukebox. Here are some ideas:
Outdoor speakers are designed to endure various weather conditions. You can find options that blend into your garden, like speakers that look like rocks or logs. This way, they won’t disrupt your garden’s aesthetic.
Subwoofers: Adding an outdoor subwoofer can significantly improve bass response, making your music sound richer.
Wireless Microphone: If you enjoy karaoke or live performances, a wireless handheld microphone can add fun to your gatherings.
Custom Paint: You can paint your speakers to match your garden decor. This adds a personal touch while keeping them discreet.
By gathering these materials and considering enhancements, you’ll be well on your way to creating a fantastic DIY garden jukebox that not only sounds great but also looks good in your outdoor space.
Assembly Instructions
Building your DIY garden jukebox speaker system is an exciting process! Let’s dive into the assembly instructions, starting with how to prepare the enclosure.
Preparing the Enclosure
Your enclosure protects the internal components from the elements. Here’s how to prepare it effectively:
Choose the Right Material: Use ¾ inch thick plywood or marine-grade plywood for durability. These materials can withstand outdoor conditions better than standard wood.
Seal It Up: Apply silicone sealant to all joints and gaps. This prevents moisture from seeping in and damaging your electronics.
Add Damping Material: Line the inside of the enclosure with acoustic damping material like foam or fiberglass. This reduces internal reflections and enhances sound quality.
Create Ventilation: Ensure there are ventilation holes to prevent overheating. However, make sure these holes are positioned to avoid direct exposure to rain.
Test for Fit: Before finalizing, place your Raspberry Pi, speakers, and other components inside to ensure everything fits snugly.
Tip: Using canopies or tents can significantly reduce weather exposure for your speakers. They provide protection from rain and sun, helping to prevent overheating and water damage.
Wiring and Connections
Now that your enclosure is ready, it’s time to wire everything up. Follow these steps for a successful connection:
Gather Your Tools: You’ll need soldering tools, wires, and connectors. Make sure you have everything on hand before starting.
Connect the Speakers:
Solder the leads from the speakers to the amplifier.
Connect the woofer output to ‘out2’ on the amplifier and the tweeter output to ‘out1’.
Power Connections:
Attach the power supply to both the amplifier and the Raspberry Pi.
Use an audio cable to connect the amplifier to the Raspberry Pi.
Install and Setup Volumio:
Download and install Volumio on your Raspberry Pi. Follow the instructions at volumio.org/get-started.
Choose Hifiberry DAC Plus for I2S during setup.
Configure GPIO Settings:
Access Volumio at http://volumio.local and set up GPIO buttons for play/pause, volume control, and track navigation. Here’s a quick reference for GPIO pin assignments:
Play/Pause: GPIO Pin 13
Volume Up: GPIO Pin 16
Volume Down: GPIO Pin 23
Previous Track: GPIO Pin 22
Next Track: GPIO Pin 27
Shutdown: GPIO Pin 12
Final Checks:
Inspect all connections to ensure they are secure.
Power on your system and test the sound. Adjust any settings in Volumio as needed.
Safety Precaution: Always use outdoor-rated equipment to withstand harsh conditions. Install GFCI outlets to prevent electric shock.
By following these steps, you’ll have a fully functional DIY garden jukebox speaker system ready to play your favorite songs. Enjoy the music in your garden!
Sound Quality Tips
When it comes to enjoying music in your garden, sound quality is key. Here are some tips to help you achieve the best audio experience.
Speaker Placement
Proper speaker placement can make a huge difference in how you experience sound outdoors. Here are some strategies to consider:
Direct Sound Towards the Listening Area: Position your speakers so they face the main seating area. This helps direct the sound where you want it most.
Avoid Obstacles: Be mindful of trees, walls, or furniture that might block sound. These can create dead zones where the music doesn’t reach.
Use Multiple Speakers: Instead of relying on a few powerful speakers, consider using several smaller ones. This approach ensures even sound coverage across your garden, creating a more immersive experience.
Tip: Experiment with different placements. Move your speakers around to find the sweet spot where the sound feels just right.
Acoustic Considerations
Outdoor spaces present unique acoustic challenges. Here are some factors to keep in mind:
Lack of Enclosed Boundaries: Unlike indoor spaces, gardens lack walls that help contain sound. This can lead to clarity issues. To combat this, consider using noise barriers or landscaping features that can help reflect sound back into the area.
Environmental Influences: Nearby buildings, trees, and terrain can cause sound reflections, leading to echoes. Assess your garden’s layout and adjust speaker positions accordingly.
Wind Effects: Wind can alter how sound travels. Position your speakers against the prevailing wind direction to minimize distortion.
To enhance your setup, invest in quality amplification and consider adding subwoofers. These elements can significantly improve the overall quality sound, making your music experience richer and more enjoyable.
By paying attention to speaker placement and acoustic considerations, you can create a fantastic audio environment in your garden. Enjoy the music and the great outdoors!
Maintenance and Troubleshooting
Keeping your DIY garden jukebox in top shape is essential for enjoying great sound. Regular maintenance helps prevent issues and ensures your system runs smoothly. Here’s what you need to do:
Regular Upkeep
To keep your jukebox functioning optimally, follow these maintenance tasks:
Regularly clean surfaces: Dust and dirt can accumulate, affecting sound quality.
Check connections: Ensure all wires and connections are secure to avoid sound issues.
Update software: Keep your Raspberry Pi and any apps updated for the best performance.
Calibrate settings: Adjust audio settings periodically to match your environment.
Ensure proper ventilation: Make sure your enclosure has enough airflow to prevent overheating.
Manage cables: Organize cables to avoid tangling and potential damage.
Follow manufacturer guidelines: Adhere to any specific maintenance recommendations for your components.
Tip: Regular upkeep not only enhances performance but also extends the life of your equipment.
Common Issues
Even with regular maintenance, you might encounter some common problems. Here’s how to troubleshoot them:
Lack of separation between left and right speakers: This can affect your stereo image. Make sure your speakers are positioned correctly and check the wiring for any issues.
Crossover design: Ensure your system has a proper crossover to maintain sound quality. This helps direct the right frequencies to the appropriate speakers.
Box volume calculations: If your speakers don’t sound right, double-check the box volume calculations for optimal placement.
If you experience connectivity problems, follow these steps:
Turn off the power to the speakers or amplifier before inspecting anything physically.
Check all exposed cables for signs of fraying, splitting, or rust at the connections.
Wiggle each connection gently to see if there’s any looseness or static.
Clean debris like dust or spiderwebs from speaker grills using a soft brush or dry cloth.
Listen closely to each speaker, one at a time if possible. If one sounds off, swap the cables to rule out wiring issues.
Look at your audio source or receiver settings. Balance and fader adjustments can sometimes get skewed, sending uneven sounds to the speakers.
Reset wireless connections, if using Bluetooth or Wi-Fi, to re-establish a clean signal.
By staying on top of maintenance and knowing how to troubleshoot common issues, you can enjoy your DIY garden jukebox for years to come!
Building your own DIY garden jukebox speaker system is a rewarding experience. You gathered essential components like the Raspberry Pi and outdoor speakers, prepared a sturdy enclosure, and wired everything together. Each step brought you closer to enjoying your favorite tunes outdoors.
Completing a DIY project brings joy for many reasons. You get to enjoy the fun of creating something unique, learn valuable new skills, and feel a sense of pride in your custom equipment. So, get your playlist ready and let the music play!
We’d love to hear about your journey. Share your experiences and any modifications you made to your jukebox!
FAQ
What music sources can I use with my jukebox?
You can use both local and streamed music. Services like Spotify allow you to create a customized Spotify playlist. This gives you an easy accessible music source for your outdoor gatherings.
How do I set up my playlist?
To set up your playlist, simply log into your Spotify account. Create a new playlist and add your favorite songs. You can then play this playlist through your DIY jukebox.
Can I use Bluetooth speakers with my setup?
Yes, you can use Bluetooth speakers. Just ensure they are compatible with your Raspberry Pi. This allows you to stream music wirelessly from your devices.
How do I troubleshoot sound issues?
If you experience sound issues, check all connections first. Ensure your speakers are powered and properly connected. If problems persist, restart your Raspberry Pi and check your audio settings.
Is it difficult to maintain the jukebox?
Not at all! Regular upkeep involves cleaning, checking connections, and updating software. Following these simple steps keeps your jukebox running smoothly.