Taking care of your spring bulbs after they bloom is crucial for their health and beauty in the next season. By focusing on a few key practices in spring bulb care, you can help your bulbs thrive. Start by deadheading those spent spring bulb flowers; this simple act redirects energy into stronger growth and more blooms. Also, allow the foliage to die back naturally. This maximizes photosynthesis, storing energy in the bulb for future blooms. Don’t forget to fertilize your bulbs as part of your spring bulb care routine to ensure they have enough nutrients for the next round of growth!
Key Takeaways
Deadhead spent flowers promptly to redirect energy into the bulb. This practice encourages more blooms next season.
Allow foliage to die back naturally. This maximizes photosynthesis and helps bulbs store energy for future growth.
Fertilize your bulbs in fall or spring to provide essential nutrients. This supports healthy growth and vibrant blooms.
Use mulch to regulate soil moisture and temperature. This protects bulbs and promotes healthy growth.
Water potted bulbs frequently to prevent drying out. Consistent moisture is key for their health and blooming potential.
Spring Bulb Care Basics
Caring for your spring bulbs after they bloom is essential for their health and beauty in the following seasons. You want to make sure you follow a few key practices to keep your bulbs thriving. Here are some essential steps to consider:
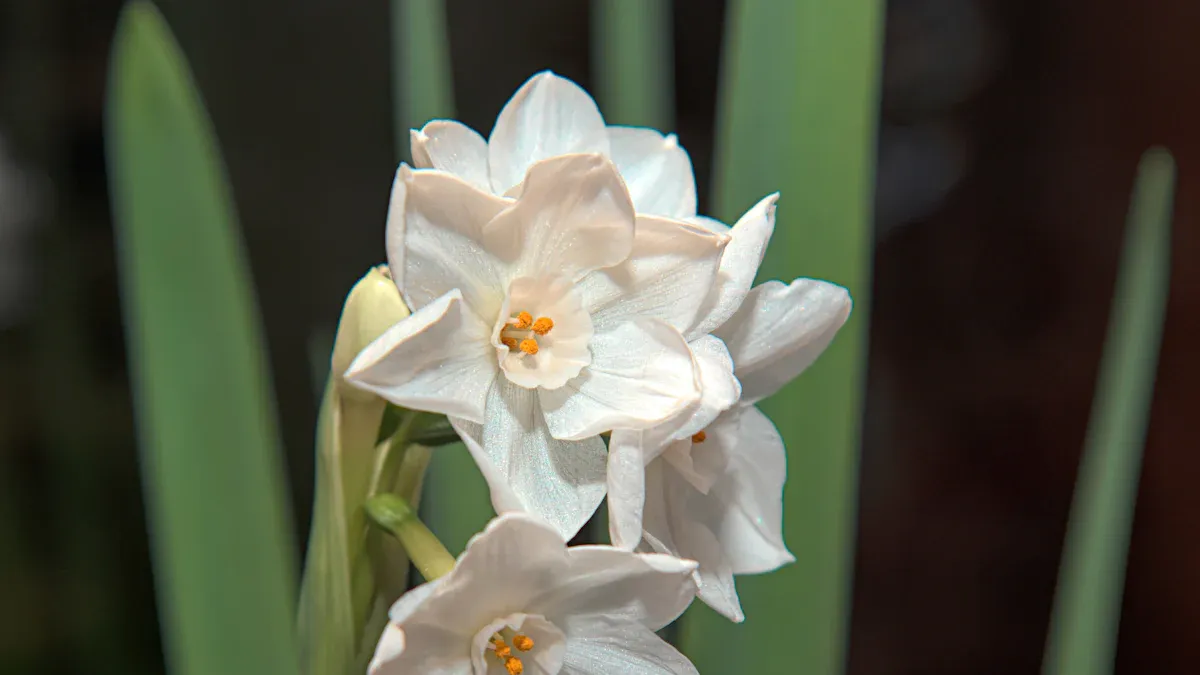
Leave the Foliage Alone: After your spring bulb flowers fade, resist the urge to cut back the leaves immediately. Daffodil leaves, for instance, should remain for at least six weeks. This time allows the bulbs to photosynthesize and store energy for next year’s blooms. Leaving the foliage intact helps your bulbs build energy reserves, which is crucial for their health.
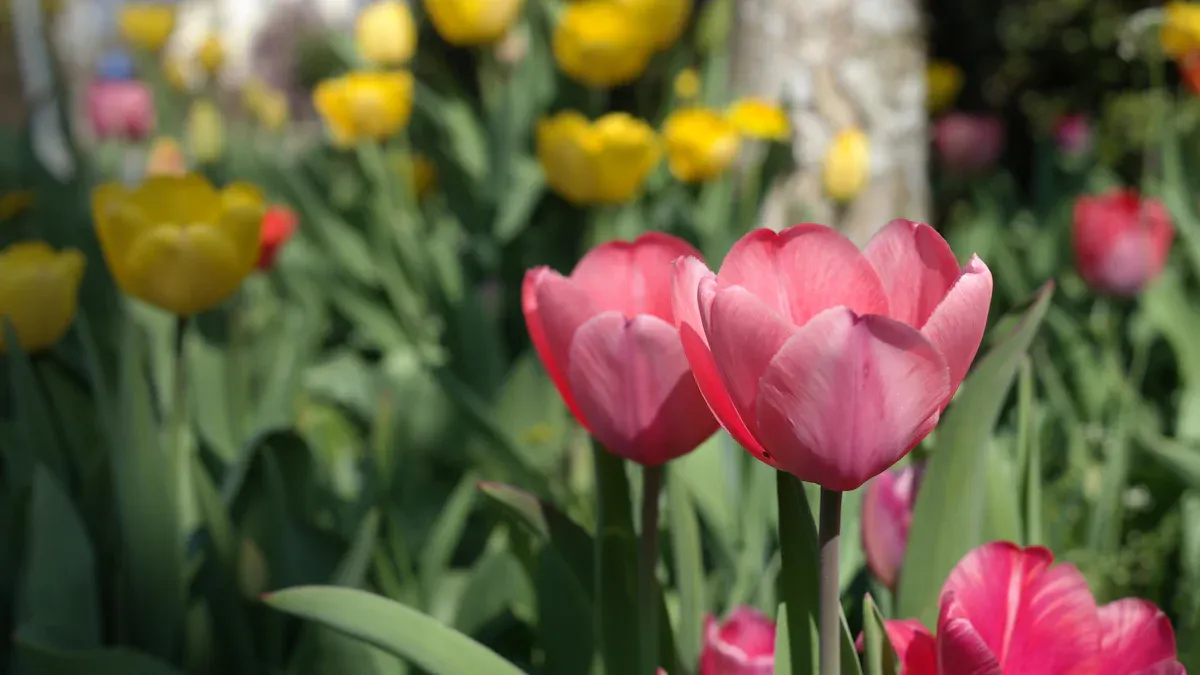
Deadheading: Snipping off spent flowers right after they fade can encourage reblooming in some varieties, like tulips. While you can remove daffodil flowers for aesthetics, leaving them won’t harm the plant. Just remember to retain the foliage until it turns yellow.
Mulching: Proper mulching helps regulate soil moisture and temperature, which is vital for bulb growth. It keeps the soil moist and protects the bulbs from extreme temperatures.
Fertilization: Fertilizing your bulbs in the fall or spring supports nutrient uptake. This practice is crucial for flowering and ensures your bulbs have enough nutrients for the next growing season.
By following these practices, you set your bulbs up for success. Remember, the care you provide now directly influences their blooming potential in the future. So, take the time to nurture your spring bulb flowers, and you’ll be rewarded with vibrant blooms year after year!
Deadheading Spring Bulb Flowers
When to Deadhead
Timing is everything when it comes to deadheading spring bulb flowers. You should aim to remove spent blooms as soon as they fade. This practice not only keeps your garden looking tidy but also helps your bulbs store energy for next year. Here’s a quick guide on when to deadhead different types of spring-flowering bulbs:
Bulb Type | Deadheading Technique | Notes |
|---|---|---|
Tulips | Snip off the flowers right after they fade. | Encourages reblooming. |
Daffodils | Flowers may be removed for aesthetics, but leaving them on has no downside. | |
Alliums | Flower heads can be left for aesthetics; removing them does not affect performance. | Some varieties self-sow, so remove if seedlings are not desired. |
Crocus, Muscari, Scilla, Snowdrops | Leave flowers attached to encourage naturalizing through seed ripening. | |
Hyacinths | Start deadheading once they begin to fade, cutting at the base of the stem. | Encourages the bulb to pull energy back into its leaves. |
Repeat-blooming Tulips | Deadhead at the base of the flower stem once they fade. |
Removing spent flowers is essential. It prevents seed formation, which can drain energy from the bulb and potentially reduce flowering in the following year. By redirecting energy from seed production to food storage in the bulb, you enhance the vigor of your plants. This process is especially crucial for short-lived selections like tulips.
How to Deadhead Properly
Now that you know when to deadhead, let’s talk about how to do it correctly. Here are some tips to ensure you’re deadheading effectively:
Use Clean Tools: Always use sharp, clean scissors or pruning shears. This helps prevent any potential disease from spreading to your bulbs.
Cut at the Right Spot: For most spring blooming bulbs, cut the flower stem just above the first set of leaves. This method allows the plant to focus its energy on leaf growth and bulb development.
Avoid Cutting Leaves Too Early: Many gardeners make the mistake of cutting tulip leaves right after flowering. This can harm the plant’s energy storage for the next season. Instead, leave the foliage intact until it naturally yellows and withers. This allows for photosynthesis to occur and energy to be stored in the bulb.
By following these steps, you’ll ensure that your spring bulb flowers remain healthy and vibrant. Remember, deadheading spring bulb flowers is a simple yet effective way to promote future blooms and maintain the beauty of your garden.
Foliage Management for Spring Bulbs
Managing the foliage of your spring bulbs is just as important as caring for the flowers themselves. After blooming, you might be tempted to cut back the leaves, but resist that urge! Allowing the foliage to die back naturally is crucial for the health of your bulbs. Here’s why:
The green leaves of your spring blooming bulbs generate energy through photosynthesis. This energy gets stored in the bulb for next season’s blooms.
If you cut off the foliage too soon, you deprive the bulb of sunlight. Without this essential energy, the bulb struggles to store food for future growth.
Bulbs continue to absorb sunlight even after they’ve finished blooming. This process is vital for converting sunlight into energy, which is stored in the bulbs for the next blooming season.
To maximize the energy your bulbs store, follow these tips for caring for spring bulb foliage:
Wait for Yellowing: Don’t mow off the foliage until it has turned yellow and died back naturally. This allows the bulbs to store nutrients effectively.
Hide the Foliage: If the spent foliage bothers you, consider planting other flowers nearby. This way, you can keep your garden looking beautiful while still allowing your bulbs to gather energy.
Avoid Cutting: Leave the foliage intact until it naturally withers. Cutting or bundling the leaves reduces photosynthesis and can hurt future blooming potential.
Provide Care: Ensure your bulbs receive plenty of sunshine, water, and fertilizer. Healthy foliage thrives and contributes to energy production.
Compost Wisely: Once the leaves have died back, remove them and add them to your compost pile. This enriches your soil for future plantings.
By following these practices, you’ll help your spring bulb flowers flourish year after year. Remember, caring for spring bulb foliage is essential for maximizing blooms in the next season!
Fertilizing for Future Blooms
Fertilizing your spring blooming bulbs is key to ensuring vibrant blooms in the next season. By providing the right nutrients, you help your bulbs thrive. Let’s dive into the types of fertilizers you can use and when to apply them.
Types of Fertilizers
You have a couple of great options when it comes to fertilizing your bulbs:
Inorganic Fertilizers: A popular choice is a 5-10-5 fertilizer. This option is low in nitrogen, high in phosphorus, and contains some potassium. Just sprinkle it lightly around the base of the plant, avoiding the leaves to prevent salt burns.
Organic Options: If you prefer a more natural approach, spread compost or well-decomposed manure around your bulbs. This method provides slow nourishment to the bulbs and enriches the surrounding soil.
Timing for Fertilization
Timing your fertilization can significantly impact the quality and quantity of your blooms. Here’s how to do it right:
Fall Fertilization: Apply a balanced, slow-release fertilizer when you plant your bulbs in the fall. This helps establish strong roots before winter.
Spring Fertilization: Fertilize again in spring when new shoots appear. This timing ensures your bulbs receive nutrients during their active growth phase.
Avoid Late Fertilization: Fertilizing after flowering is usually ineffective. By this time, the roots decline and can’t absorb nutrients well.
Watering: Don’t forget to water spring bulbs after fertilization. This helps the nutrients penetrate the soil and reach the roots effectively.
By following these guidelines, you’ll set your spring-flowering bulbs up for success. Remember, proper fertilization supports their growth and flowering potential, leading to a stunning display in your garden!
Caring for Bulbs in Pots
Caring for bulbs in pots can be a bit different from those in garden beds. You face unique challenges, but with the right approach, you can keep your potted bulbs thriving. Here are some essential tips for post-bloom care:
Post-Bloom Care for Potted Bulbs
After your bulbs finish blooming, you need to adjust your care routine. Here’s what to keep in mind:
Frequent Watering: Pots dry out quickly, especially when bulbs are actively growing. Check your pots daily and water as needed to keep the soil moist but not soggy.
Fertilization Needs: Unlike bulbs in the ground, potted bulbs require regular fertilization. The limited soil in pots means fewer nutrients, so feed them every few weeks with a balanced fertilizer.
Temperature Management: Bulbs in pots are more exposed to cold. Protect them from freezing temperatures by bringing them indoors or covering them during cold snaps.
When you first plant your bulbs, water them thoroughly. Let the pot sit in a saucer of water to ensure the potting soil stays evenly moist. Regularly check the moisture level, especially as the bulbs start to grow. You want to avoid letting the soil dry out or become too soggy.
To maintain optimal conditions, use a well-draining soil mix. A combination of perlite, vermiculite, or bark works well. Avoid heavy garden soil or potting mixes that retain too much moisture.
When to Remove Foliage
Knowing when to remove foliage is crucial for the health of your potted bulbs. Here’s what you should do:
Wait until the leaves have fully yellowed and collapsed. This ensures the bulbs can recharge their energy reserves.
Cutting or interfering with still-green leaves can hinder the bulbs’ ability to gather energy for the next blooming season. Each leaf acts like a solar panel, converting sunlight into food through photosynthesis.
By following these tips, you’ll ensure your potted bulbs stay healthy and vibrant for the next blooming season. Caring for spring bulbs in pots may require a bit more attention, but the rewards are well worth it!
Transplanting Spring Bulbs
Transplanting spring bulbs can be a great way to refresh your garden or relocate bulbs that aren’t thriving in their current spot. Timing and technique are key to ensuring your bulbs flourish after the move.
When to Transplant
You can transplant spring bulbs year-round, but the best time is just after they bloom. This timing allows you to see where the bulbs are and makes it easier to relocate them. Here are some benefits of transplanting at this time:
You can identify bulb varieties easily while they’re still growing.
Late spring or early summer gives bulbs time to root and store energy before dormancy.
Softer ground conditions in early growing seasons make digging and relocating easier.
How to Transplant Successfully
To ensure a successful transplant, follow these steps:
Prepare the New Location: Make sure the new spot has the right conditions for your bulbs. Most bulbs prefer well-drained soil with a pH between 6 and 7.
Dig Carefully: When you dig up the bulbs, bring some soil with them. This helps protect the roots and minimizes shock.
Separate Bulbs if Needed: If you have bulbs that need dividing, do this before replanting. It’s a great way to increase your bulb collection!
Plant at the Right Depth: Generally, plant bulbs at a depth of 2-3 times their height. For example, large bulbs should go about 8 inches deep, while smaller ones need only 3-4 inches.
Water After Planting: Give your newly transplanted bulbs a good drink to help settle the soil and provide moisture for root growth.
Mulch: Cover the area with 2-3 inches of mulch to help maintain moisture and temperature.
Remember, don’t remove the foliage until it turns yellow. This allows the bulbs to store nutrients for next year’s growth. By following these steps, you’ll set your bulbs up for success in their new home!
Taking care of your spring bulbs after they bloom is vital for their health and beauty. Here are some key practices to remember:
Watering: Keep watering your bulbs even after the flowers fade. This helps them gather energy for next blooms.
Deadheading: Remove spent flowers to prevent energy loss on seed production. This allows more energy to be stored for next year.
Foliage Management: Don’t cut back leaves too early. They’re essential for photosynthesis and energy storage until they yellow and wither.
By following these tips, you’ll set your bulbs up for success. Implement these practices, and enjoy vibrant blooms year after year! 🌷
FAQ
What should I do with my spring flowering bulbs after they bloom?
After blooming, you should deadhead spent flowers, allow foliage to die back naturally, and fertilize your bulbs. This care of spring-flowering bulbs helps them store energy for next season’s growth.
How long should I leave the foliage on my bulbs?
Leave the foliage intact until it turns yellow and withers. This process allows the bulbs to photosynthesize and store energy for future blooms.
Can I fertilize my bulbs after they bloom?
It’s best to fertilize your bulbs in the fall or early spring. Fertilizing after blooming usually doesn’t help since the roots decline and can’t absorb nutrients effectively.
How often should I water my potted bulbs?
Check your potted bulbs daily. Water them as needed to keep the soil moist but not soggy. Potted bulbs dry out quickly, especially during active growth.
When is the best time to transplant spring bulbs?
The best time to transplant spring bulbs is just after they bloom. This timing allows you to see where the bulbs are and helps them establish in their new location.