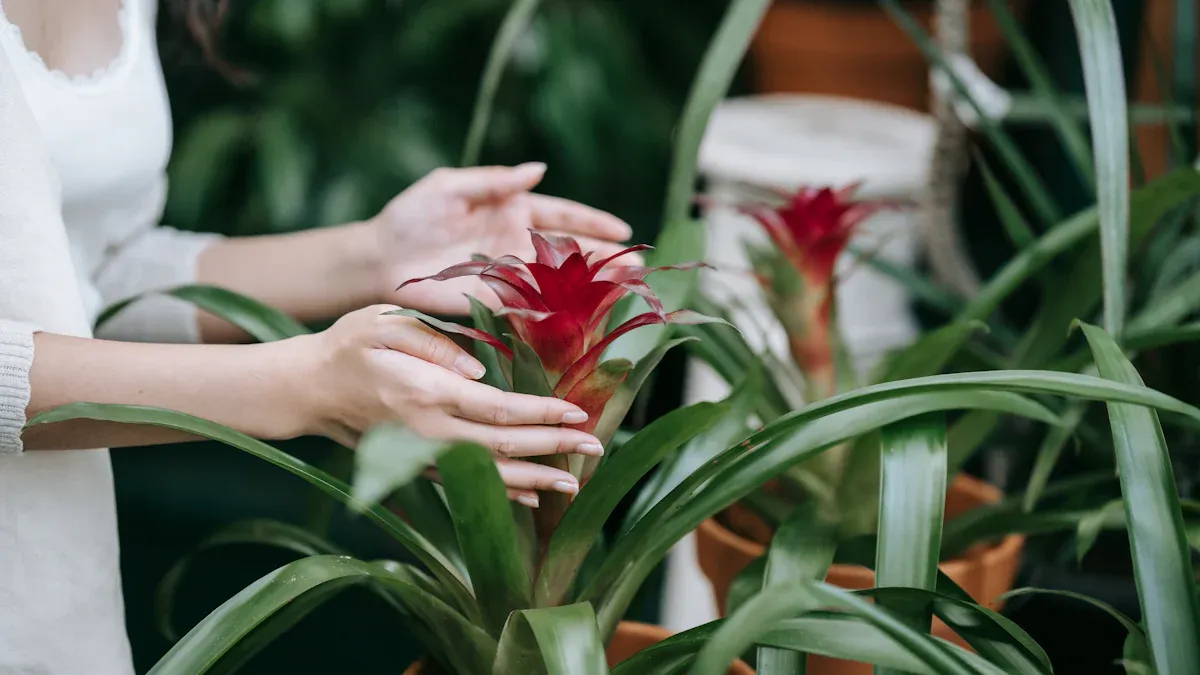
I find bromeliads truly captivating. Their vibrant colors and diverse forms add an exotic touch to any space. Bromeliads offer options from striking foliage to vibrant blooms. Many bromeliads, like Neoregelia, have colorful, marked leaves. I appreciate their unique ability to form a water-holding rosette.
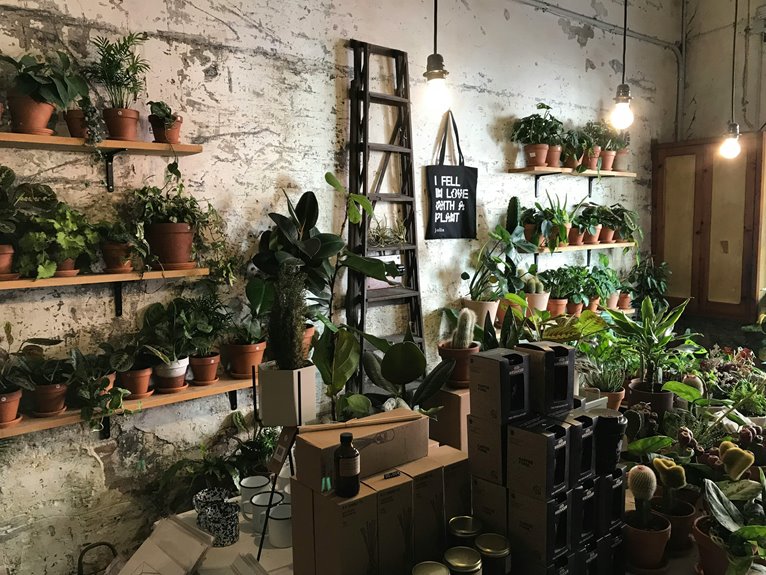
This bromeliad plant is resilient. It is generally easy to grow indoors or in a greenhouse, making bromeliad care indoors simple. This guide helps you identify various types of bromeliads. It also explains successful growing techniques for growing bromeliads and easy bromeliad care routines. I believe this bromeliad plant care guide will help both beginners and experienced plant enthusiasts enjoy thriving bromeliads.
Exotic Bromeliads
I find the diversity among bromeliads truly amazing. Let me introduce you to some of the most exotic types of bromeliads you can grow. Each bromeliad offers unique beauty.
Tillandsia Air Plants
Tillandsia, often called “air plants,” are fascinating bromeliads. I love how they defy traditional potting. These bromeliads are epiphytes. This means they grow ‘upon a plant’ or other surfaces like rocks. They do not take nutrients from their host. Instead, they use specialized ‘holdfasts’ to cling on. Their leaves absorb water and nutrients directly from the air, rain, or fog. Tiny scale-like structures called trichomes on their leaves do this work. This unique adaptation allows them to thrive without soil.
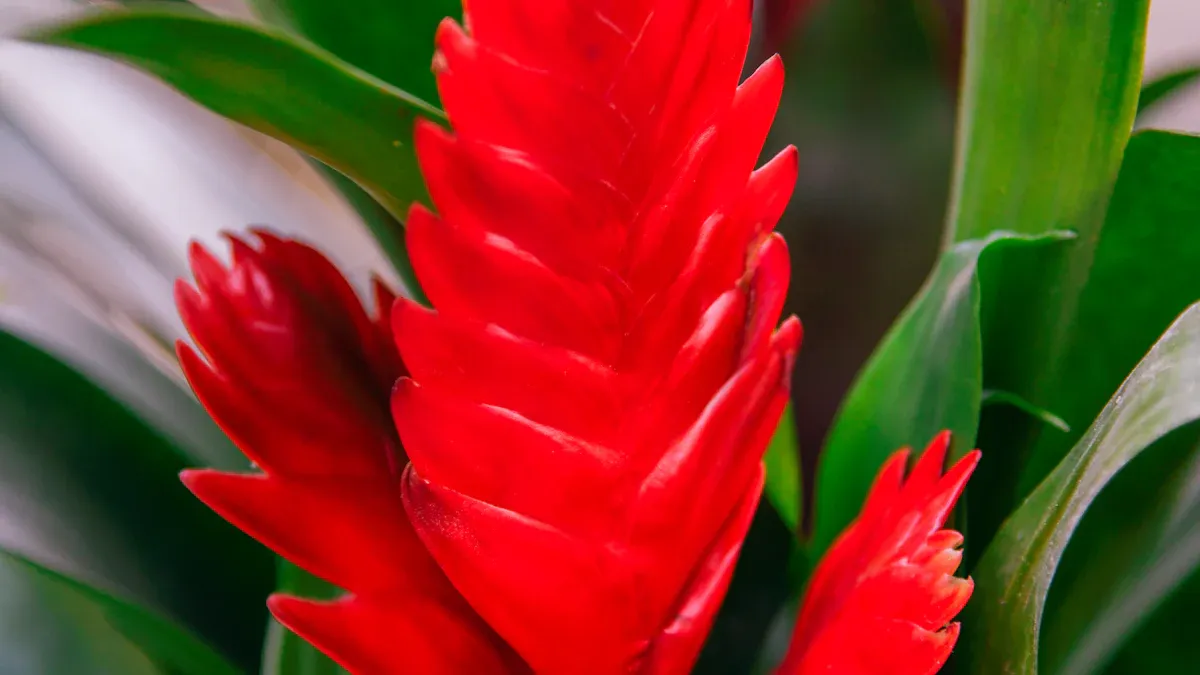
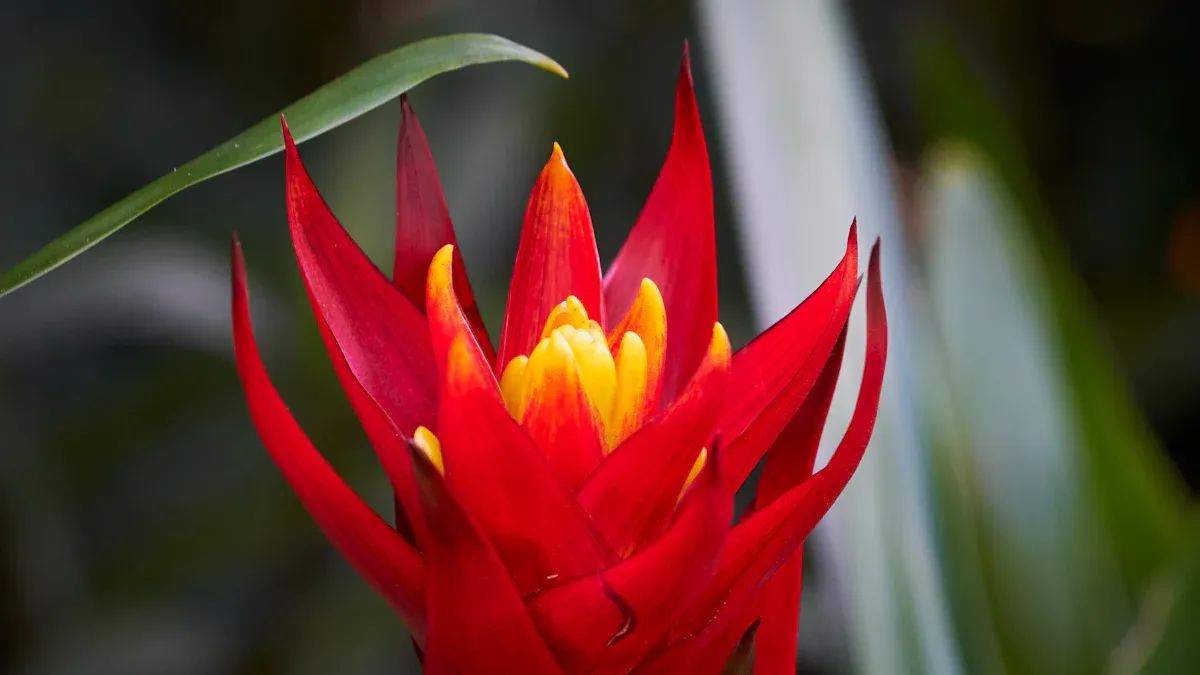
Guzmania Varieties
Guzmania bromeliads are famous for their vibrant, long-lasting bracts. These colorful structures surround the actual flowers. I enjoy their bright display. Here are some popular Guzmania bromeliad varieties:
Variety Name | Distinguishing Features |
|---|---|
Guzmania ‘Hope’ | Vibrant, long-lasting bracts from bright red to orange, often with yellow tips. |
Guzmania ‘Rana’ | Brilliant orange-red bracts form a star-like shape. |
Guzmania ‘Ostara’ | Fiery red and yellow bracts create a stunning contrast. |
Guzmania ‘Cherry’ | Deep cherry-red, broad, and glossy bracts. |
Guzmania ‘Tango’ | Captivating blend of orange and red hues in its bracts. |
Vriesea Species
Vriesea bromeliads are known for their striking flower spikes. These spikes often resemble swords or feathers. I appreciate their elegant form. Most Vriesea plants grow in a rosette shape. Their leaves are smooth and arching. They can be brightly colored or variegated. The flower spike can reach up to two feet tall. It has brightly colored bracts in shades like red, orange, or yellow.
Vriesea fenestralis: This bromeliad grows up to 36 inches. It has light green leaves with irregular lines and purple undersides.
Vriesea hieroglyphica (king of bromeliads): I admire its glossy green leaves marked by purple bands.
Vriesea splendens ‘Major’ (flaming sword): This bromeliad forms a loose rosette of green leaves with dark horizontal bands. It features a 24-inch spike with orange-red bracts.
Aechmea Cultivars
Aechmea bromeliads are a diverse group. They offer a wide range of foliage and flower forms. I find their resilience impressive. Many Aechmea bromeliad varieties have a central cup that holds water.
Cultivar | Notable Characteristics | Care Requirements |
|---|---|---|
Aechmea fasciata (Urn Plant) | Large, pink flower stalk; banded, silvery-green leaves. | Bright, indirect light; high humidity; keep central cup filled. |
Aechmea chantinii (Amazonian Zebra Plant) | Dark green leaves with silver bands; red-orange flower spike. | Warm, humid conditions; bright, indirect light; water regularly. |
Aechmea blanchetiana | Large, upright plant with orange to red leaves in bright light. | Needs bright light for leaf color; tolerant of drier conditions. |
Neoregelia Hybrids
Neoregelia bromeliads are famous for their vibrant foliage. I love how their leaves often turn brilliant colors, especially in the center, when they are about to bloom. They form a beautiful rosette. These bromeliads do not have a tall flower spike. Instead, their small flowers nestle deep within the colorful central cup.
Billbergia Forms
Billbergia bromeliads have a distinct look. I recognize them by their stiff, upright, cylindrical tubes. Their leaves are tough and often have strong spines. They can be banded with silver-grey or blotched with red and white. The flower spikes are striking. They come in shades of blue, green, and yellow. Large pink or red bracts highlight them. However, their flowers are short-lived, usually lasting only one to two weeks. Most Billbergia bromeliads bloom in the spring.
Billbergia nutans (Queen’s Tears): This bromeliad has dark green, glossy, arching foliage. It is known for its cold hardiness.
Growing Bromeliads Successfully
I find growing bromeliads a rewarding experience. They thrive when you provide the right conditions. Let me guide you through the essential steps for successful bromeliad care.
Potting Medium for Bromeliads
Choosing the correct potting medium is crucial for your bromeliad. I always emphasize well-draining, airy mixes. Regular garden soil is too heavy and can cause root rot. For indoor bromeliads, I find a mixture of 2/3 peat-based soil and 1/3 sand works very well. This blend creates a porous, well-draining potting mixture. It holds moisture effectively while ensuring good drainage.
For an airy, quick-draining, epiphytic-style mix, I recommend a different composition. This blend supports roots without compaction or excessive moisture retention. It includes:
2 parts orchid bark
1 part coco coir
1 part perlite or pumice
An ideal potting mix for bromeliads, especially terrestrial types, must be coarse, light, and airy. This ensures quick drainage and prevents root rot. It should also be acidic. Suitable ingredients for a homemade mix include humus, orchid bark, coarse perlite, pumice, sphagnum moss, and tree fern fibers. Some orchid mediums can also be effective.
Bromeliad Light Needs
Bromeliads generally thrive in bright, indirect sunlight. This mimics their natural habitat under tree canopies. This light level promotes blooming and vibrant foliage. I have noticed signs of too much light, such as yellow-brown plants. Dark, elongated leaves or diminished colors suggest insufficient light. For optimal growth, I recommend a location with bright filtered sunlight. A spot near a west- or east-facing window is often perfect. If only a southern window is available, a sheer curtain can prevent direct sunlight. Direct sun can scorch foliage and cause brown spots.
The specific light needs also depend on the bromeliad type. Hard and stiff-leaved varieties prefer brighter light. Softer-leaved types do better in lower light. When I am uncertain, bright indirect light is a safe default. Some spikier varieties, like Neoregelia, tolerate more direct light. For example, Neoregelia marmorata and concentrica hybrids are among the best Neoregelias for sun tolerance. Neoregelia Fireball is also highly recommended for its sun tolerance.
Here is a quick guide to bromeliad light preferences:
Bromeliad Type | Light Preference |
|---|---|
Most bromeliads (e.g., Guzmania, Neoregelia) | Bright, indirect light |
Vriesea, Tillandsia | Can tolerate more direct sunlight (but avoid scorching) |
Neoregelia, Guzmania | Maintain colors in lower light conditions |
Aechmea, Billbergia | Can tolerate more sunlight (outdoors) |
Guzmania, Vriesea | Prefer partial shade with dappled light (outdoors) |
Watering Bromeliad Plants
Watering bromeliads correctly is key to their health. For tank bromeliads, I use the ‘cup’ watering method. I pour water directly into the central ‘tank’ or reservoir formed by the rosette of leaves. I use rainwater, filtered water, or bottled water. If I use tap water, I let it sit overnight to allow chlorine to evaporate. I fill the tank about one-quarter to one-half full to prevent stagnation. During warmer months, I water every one to two weeks. I empty any remaining liquid and refresh the tank to prevent fungal diseases. In winter, I reduce watering frequency to every three weeks. I fill the tank only about one-quarter full, allowing it to dry on its own.
For air plants (Tillandsia), I use a combination of misting and soaking. I spray the entire air plant 2-3 times a week using a water plant mister or spray bottle. I ensure ample air circulation after misting.
This allows the plant to dry quickly and prevents rot. For Xeric air plants, misting a few times a week might be sufficient. Most air plants, especially Mesic (greener types), require a combination of misting and soaking. In humid environments like a greenhouse, misting alone may be adequate.
I avoid chlorinated water as it can harm air plants. I prefer rainwater, pond water, or distilled water. If I use tap water, I let it sit out in a bowl for 24 hours to allow chlorine to evaporate. I always use room-temperature water to prevent shocking the plants. I do not use softened water due to its salt content.
After hydrating, I hold the plant upside down, shake gently, and place it upside down on an absorbent surface to dry. This prevents rot. I avoid watering late in the day. It can interfere with the leaves’ crucial nightly chemical exchange.
Humidity Requirements
Bromeliads are tropical plants. They appreciate high humidity. I maintain humidity levels between 50% and 70% for optimal bromeliad growth and health. I group bromeliads together to create a mini-microclimate that retains moisture.
I also use a humidifier to consistently provide humidity, especially in dry indoor conditions. I regularly mist leaves and place water trays nearby to boost humidity levels. I also ensure a well-draining soil mix and water the bromeliad’s central “tank” for added moisture. Placing plants in naturally humid areas like bathrooms or kitchens can also help. This attention to humidity is vital for good bromeliad care indoors.
Temperature Preferences
Most bromeliads are quite adaptable to temperature fluctuations. I find they thrive in daytime temperatures between 65-90°F. Nighttime temperatures between 50-65°F are ideal. Bromeliads can tolerate a wide range of temperatures, from near freezing up to 100°F. I aim for a minimum 10°F difference between day and night temperatures. This is necessary for proper photosynthesis.
Fertilization Practices
Bromeliads do not require heavy fertilization. I use fertilizer at half strength or less, especially during summer months. Misting leaves with diluted liquid fertilizer is an effective application method. Tillandsias (air plants) benefit from occasional misting with very dilute liquid fertilizer. Vrieseas, similar to guzmanias, can also be fed through their leaves with very dilute liquid fertilizer.
I recommend a 17-8-22 fertilizer for Tillandsia. Bromeliads typically need fertilizer once a month during the growing season. I always dilute fertilizer by half of the recommended limits. This prevents burning plants and ensures nutrient uptake. Foliar spraying is a viable and highly efficient method for delivering nutrients to Tillandsia and bromeliads. This careful approach to feeding supports the overall health of your bromeliad plant.
Easy Bromeliad Care Tips
I find that proper care makes a big difference in how well bromeliads thrive. These tips will help you keep your bromeliad plant healthy and vibrant.
Pruning and Maintenance
Pruning bromeliads is straightforward. I focus on removing spent flower stalks and any dead leaves. When a bromeliad finishes blooming, its flower stalk will eventually dry out. I prune the entire flower stalk. I cut it as far into the cup as possible. The cup is the central part of the bromeliad where the flower stalk forms. I always use clean, sharp tools for this task. Pruners, a sharp knife, or scissors work well. I make a clean cut to prevent damage.
I understand that pruning the flower spike does not extend the life of the mother plant. The mother plant will naturally die after flowering. It will not flower again after its initial bloom. However, new pups, or baby plants, will appear at the base of the mother plant. I nurture these pups so they can flower eventually.
Repotting Your Bromeliad
Bromeliads do not need frequent repotting. Their root systems are small. I find repotting every four to five years is usually enough. When I repot, I only increase the pot size by one increment. This prevents the plant from sitting in too much moist soil. The best time to repot bromeliads is during spring, summer, or early fall.
Here is how I repot a bromeliad:
I carefully remove the bromeliad from its current pot. Then, I place it on a flat surface.
I use a sharp knife to separate the bromeliad pups from the main plant.
I trim away any dead or damaged leaves from the pups.
I fill a new pot with a suitable potting mix. Then, I position the bromeliad pup inside.
I maintain the pup in a warm, humid environment. I also ensure its leaf cup always contains water. This helps the new plant establish itself.
Propagating Bromeliad Pups
Propagating bromeliads from pups is a rewarding part of bromeliad care. After a bromeliad blooms, the mother plant will eventually dry out. New ‘pups’ or offsets will emerge from its base within a few weeks or months. I wait until these pups are a good size before separating them.
Here is my step-by-step guide for separating and planting these offsets:
Identify suitable pups: I look for large, firmly attached pups. They should be at least one-third to one-half the size of the mother plant.
Select tools: I choose the right tool for the job. Depending on the bromeliad, I might use a saw, shovel, sharp knife, or clippers.
Cut the pup: I cut as close to the mother plant as possible. This gives the new pup a substantial base. I avoid cutting into the pup’s stem where leaves were attached. This can be fatal to the pup. Pups with existing roots are a bonus, but not always necessary.
Clean the pups: After removal, I clean the pups by wetting them. Some growers use preventative fungicides, but I do not always find it necessary.
Apply rooting hormone: I use a rooting hormone to encourage root development. This step helps the pup establish faster.
Pot the offsets: I choose a small pot if the bromeliad does not have an extensive root system. I use a fast-draining mix, such as a cactus mix cut with an additional 50% pumice. This ensures good drainage.
Post-potting care: I move the potted offsets to a warm, humid spot to root out. They should be ready for more permanent placement in a few weeks or months. This careful bromeliad plant care ensures new growth.
Common Pests and Diseases
Bromeliads are generally hardy, but they can encounter some pests and diseases. Knowing what to look for helps with effective bromeliad care.
Common Pests:
Aphids: These small bugs can be green, yellow, or red. They feed on roots or leaves, sucking sugary syrup. Severe infestations can harm the plant. I use natural predators like lady beetles or lacewing larvae. I also remove severely infested plants or spray them with a strong stream of water.
Thrips: These tiny, narrow-bodied bugs are hard to spot. I detect them by damage like deformed leaves and blotches on flowers. They reproduce quickly. I use insecticidal soap, rinse the plant, and repeat treatments weekly for at least two weeks.
Mites: Mites are related to spiders. They puncture leaf surfaces to suck out juices. This causes damage similar to aphids and thrips. Spider mites are common and multiply rapidly. I look for fine webbing on leaf undersides. Insecticidal soap applications help eliminate them.
Snails and Slugs: These pests primarily affect outdoor landscape bromeliads. They feed on leaves and flowers, leaving holes, chewed edges, and slimy trails. They are active at night.
Common Diseases:
Crown and Root Rot: I prevent this by using a clean potting medium that drains well. It should not retain too much moisture. I also ensure the pot has adequate drainage. If rot occurs, I cut away all rotted areas with a sharp tool. Then, I treat the bromeliad with a good quality fungicide. I always wash all tools to prevent spreading the fungus.
Rust Disease: I prevent rust by allowing the bromeliad to dry out between waterings. I also ensure good air circulation. I remove and discard infected leaves; I do not compost them.
Leaf Spot: I prevent leaf spot by avoiding overhead watering. If I see leaf spot, I ensure plants are well-fertilized. Poorly fertilized plants may be more susceptible. I also grow bromeliads under reduced light (50% shade) rather than full sun. Full sun conditions can make the disease worse. Prevention is the best control method for these issues.
Encouraging Bromeliad Blooms
Getting a bromeliad to bloom is exciting. The exact conditions for blooming vary by bromeliad variety. I learn about the specific species I have. Once the bromeliad is mature and other conditions are met, I can encourage blooming.
Increased Light: I increase light levels. Bromeliads prefer bright, indirect light indoors or partial/dappled shade outdoors. Grow lights can help in darker indoor environments.
Temperature: Bromeliads generally thrive in temperatures between 60 and 85 degrees Fahrenheit. Maintaining warm temperatures year-round helps with successful growth and blooming.
Humidity: They prefer around 60% humidity. I achieve this by misting the plant in the morning.
Ethylene Gas Treatment: To force blooming, I use a ripe apple. I cover the plant with a ripe apple in a sealed plastic bag for up to 10 days. I make sure no water is in the central cup beforehand. The apple releases ethylene gas, which triggers blooming. This is a fun trick for bromeliad plant care.
Winter Care Adjustments
Bromeliad care changes slightly during winter months. I adjust my routine to match the plant’s slower growth.
Watering: I water the potting medium less often, typically every 4-8 weeks. I keep the central ‘tank’ or ‘cup’ about a quarter full. If light levels are lower and temperatures are cooler, I might keep it dry or almost dry to prevent rot. Misting or spraying the tank and leaves may be enough in cooler, darker months.
Fertilization: I reduce fertilization to every 8 weeks or stop altogether. Growth slows in fall and winter.
Monitoring: I monitor for drooping or browning leaves. These are indicators for care adjustments. This careful bromeliad care indoors helps the plant rest.
I find bromeliads offer exotic beauty, resilience, and a truly rewarding experience. These low-maintenance bromeliads enhance any space.
This guide showed you the amazing diversity of bromeliads, from tiny air plants to large terrestrial types. I emphasized proper growing conditions, like good drainage and air circulation, which are crucial for every bromeliad. You now know that bromeliad plant care is easy. This makes caring for a bromeliad simple. I encourage you to confidently start your own bromeliad journey. With these tips, your bromeliad will thrive. Every bromeliad brings tropical flair and joy to any home or garden. Growing bromeliads is a delightful hobby. This bromeliad care guide helps you succeed with your bromeliad.