
The aloe vera plant is a succulent. It has thick, fleshy leaves. These leaves hold a clear, gel-like substance. This plant is very useful. It is known for medicine and beauty. Aloe helps with moisturizing. It fights aging. It also kills germs. Aloe helps wounds heal. It is good for your teeth. This guide will teach you. You can grow this plant at home. You can care for it well.
What is an Aloe Vera Plant

The aloe vera plant is a special succulent. It is in the Aloe family. This family is part of the daylily group. You will know this plant easily.
Identifying Aloe Vera Characteristics
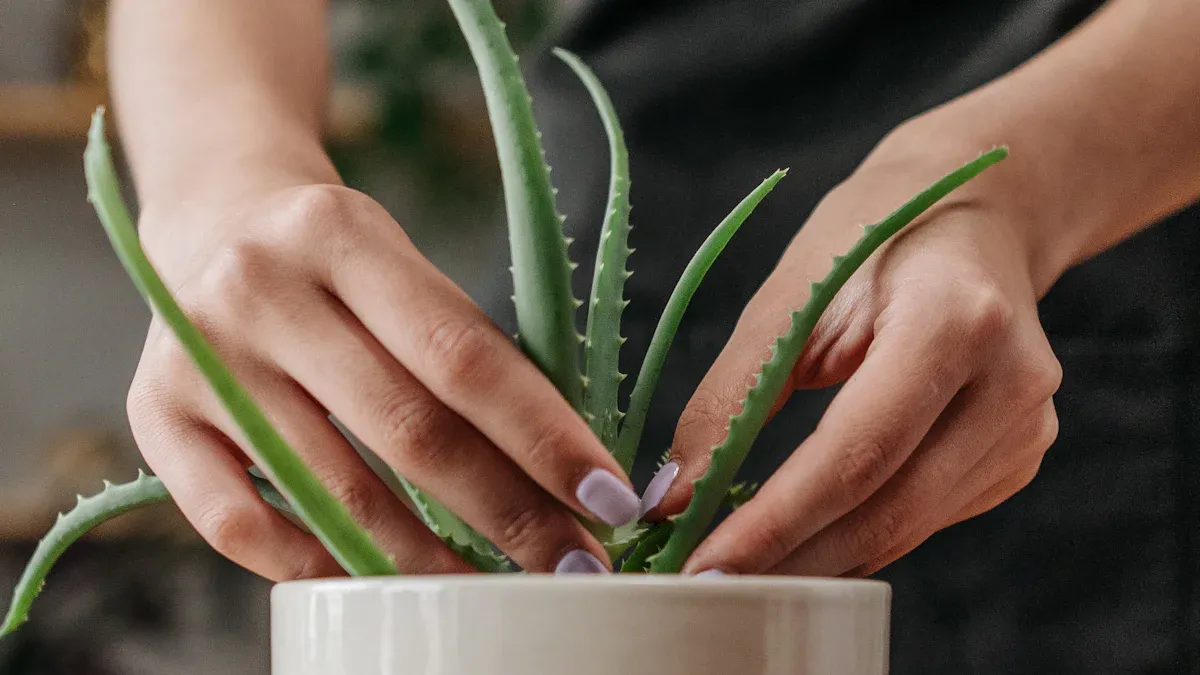
You can easily see an aloe vera plant. It has special parts. Its leaves are thick. They are also fleshy. They get narrow at the end. These leaves grow like a flower. They spread from the middle. The leaves are usually grey-green. Some have white spots. You might see small white teeth. These are on the leaf edges. The leaves are soft. They break easily. Inside, there is clear gel. This gel has important things. One is called acemannan.
Aloe Vera’s Natural Habitat
The aloe vera plant comes from Arabia. It also grows in Africa. And on islands in the Indian Ocean. This plant likes hot, dry places. It learned to live there. You can grow aloe inside. It does well with dry air. It needs lots of sun. At least six hours of bright light. Not direct sun. The best temperature is 60 to 75°F. This is for the day. At night, it likes 50 to 60°F. Water your aloe well. But not too often. Let the soil get dry. Then water again. The soil must be loose. It needs to drain well. Just like where it grows naturally.
The Medicinal Gel Within
The clear gel in aloe leaves is famous. Many people use this gel. It helps them heal. Scientists found over 75 active parts. These are in aloe gel. These parts work together. They have vitamins. They have minerals. They have enzymes. And polysaccharides. Polysaccharides, like acemannan, make the gel thick. They also give many health benefits. Other parts, like veracylglucan B and C, help with swelling. This mix of parts makes aloe very helpful.
Aloe Vera Care Essentials: How to Care for Aloe Vera
Learning how to care for aloe vera is simple. You provide the right conditions, and your aloe vera plant will thrive. This section covers the essential care steps.
Optimal Light Conditions
Your aloe vera plant needs plenty of light to grow well. Place your plant where it receives bright, indirect light. Direct, harsh sunlight can scorch its leaves. For healthy growth, your aloe needs a light intensity between 1,500 and 3,000 lux. Many succulents, including aloe, do well with 1,500 to 2,500 lux. This bright light helps your aloe produce energy. If your plant does not get enough light, its growth will slow. You might notice its leaves stretching or looking pale.
Watering Techniques
Proper watering is crucial for your aloe. Overwatering is a common mistake. It can harm your plant. Always check the soil before you water. Stick your finger about two inches into the soil. If it feels dry, then it is time to water.
Tip: Water your aloe thoroughly. Let water drain out of the bottom of the pot. Then, do not water again until the soil is dry.
Your watering frequency depends on several factors. Warmer indoor temperatures mean you water more often. If you move your aloe outdoors in summer, increased temperatures and sunlight mean you check it more frequently. During dormancy, often in winter, your plant needs much less water. More light also increases water needs because the plant photosynthesizes more. Generally, check your plant weekly. You might water thoroughly every three weeks, reducing this in winter.
Watch for signs of overwatering. These include:
Drooping, soft, and mushy leaves.
Faded or brown leaves.
Soil that stays wet for days.
Moldy soil.
Blistered leaves.
Root rot, which causes brown, mushy roots and a foul odor.
Choosing the Right Soil
The right soil mix is vital for your aloe. It needs good draining soil. This prevents water from sitting around the roots. Aloe plants prefer a soil pH between 6.0 and 7.5. A pH of 6 is ideal for most aloe plants. A range of 5.5 to 7 is also acceptable. Avoid highly acidic (0-4) or highly alkaline (9-14) pH levels.
You can create a good draining soil mix. Try equal parts potting soil, coarse sand, and perlite. Another option is two parts potting soil, one part perlite, and one part coarse sand, with small rocks or gravel. You can also use one part potting soil, one part coarse sand, one part perlite, and one part compost. Chunky materials like small gravel or bark chips (about 1/4 inch) also improve drainage.
Many people use commercial cactus and succulent mixes. These mixes are made for proper drainage. They contain different-sized particles for fast water drainage. When you make your own mix, include both organic materials (like tree bark or compost for nutrients) and inorganic materials (such as large sand particles, lava stones, or perlite for drainage). A good ratio is about 75% inorganic to 25% organic materials.
This gives roots good air and enough moisture. If you use regular potting soil, add perlite or pumice. This improves aeration and drainage. If a commercial mix seems too dense, add more pumice, perlite, or lava rock. Mixing equal parts succulent potting mix and pumice works well, especially in lower light conditions. Terra cotta pots also help soil dry faster.
Ideal Temperature and Humidity
Your aloe thrives in specific temperatures. The ideal range for best growth is between 55°F and 80°F (13°C to 27°C). Temperatures below 40°F (4°C) or above 90°F (32°C) can stress your plant. Aloe can survive temperatures as low as 35°F, but only for short times. For optimal conditions, keep your aloe between 50°F and 60°F in winter. In summer, aim for 70°F to 80°F. Aloe does not need high humidity. It prefers dry air, similar to its natural desert home.
Growing and Propagating Your Aloe Vera
You can easily expand your collection of aloe plants. You can also share them with friends. This section shows you how to pot, repot, and propagate your aloe.
Potting and Repotting
Your aloe vera plant grows. It will eventually need a new home. You should repot your aloe every two to three years. You might need to repot sooner if you see certain signs.
Here are signs your aloe needs repotting:
The plant looks too big for its pot. Its leaves or offshoots reach the pot’s edge. This means it has outgrown its container.
You see roots coming out of the drainage holes. The roots are tightly packed and fill most of the pot. This shows the plant is root-bound.
You notice small flies around the plant. These are fungus gnats. They infest potting soil.
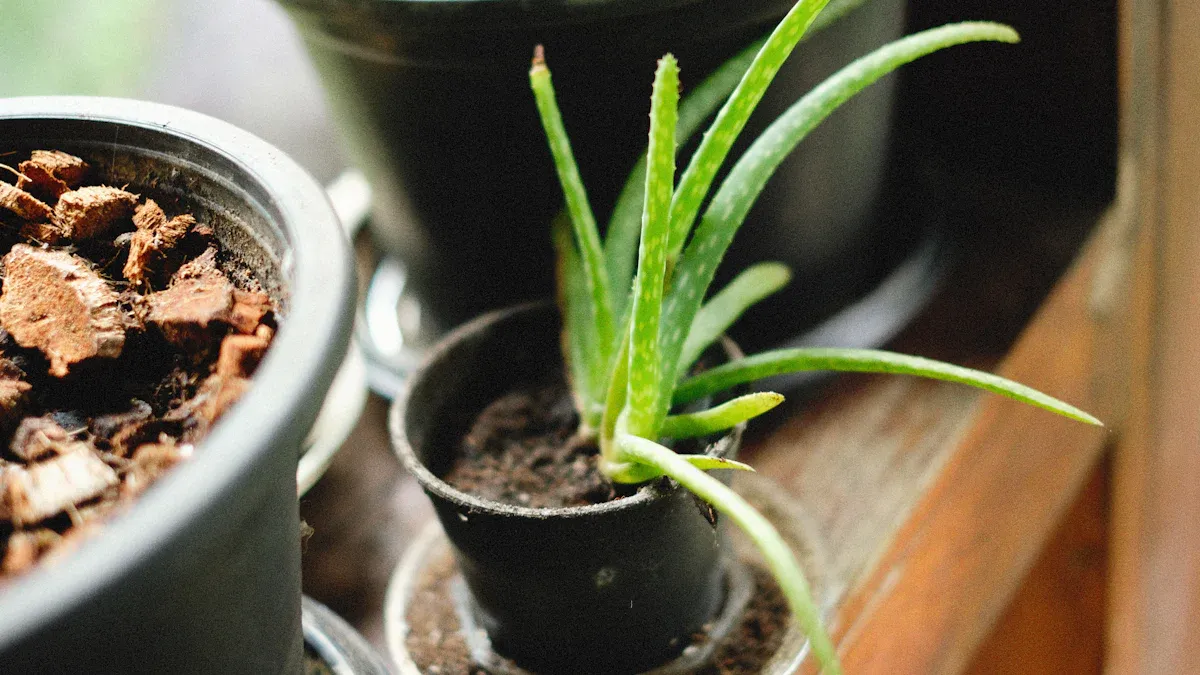
You recently bought the plant from a store. Nurseries often use standard potting soil. This soil is not good for long-term aloe growth.
When you repot, choose a pot that is one size larger. Make sure the new pot has drainage holes. Terra cotta pots are good. They help the soil dry faster.
The right soil mix is very important for your aloe. You need well-draining soil. This stops water from sitting around the roots. You can use a cactus mix. This mix is made for cacti, succulents, and tropical plants. Pre-mixed succulent soil also works well.
You can also make your own soil mix. Combine equal parts perlite, coarse sand, and bark. Perlite is volcanic glass. It helps with drainage. Coarse sand should be builder’s or horticulturist sand. Do not use fine regular sand. Bark, like pine or orchid bark, creates air pockets. It also gives nutrients. Break up large pieces. Coco coir is another good option. It holds moisture and stabilizes the soil. It has a pH of about 6. Peat moss can be an alternative.
If you make your own mix, use about one-third organic materials. These include compost or peat moss. Use two-thirds inorganic materials. These are sand, pumice, or perlite. This mix gives roots good air and enough moisture. If a commercial mix seems too heavy, add more pumice, perlite, or lava rock.
To repot your aloe:
Gently remove the plant from its old pot.
Carefully loosen any circling roots.
Trim any dead or shriveled roots.
Place a layer of your chosen soil mix in the new pot.
Center the aloe in the pot.
Fill the pot with soil, leaving about an inch from the rim.
Do not water immediately. Wait a few days. This lets any damaged roots heal.
Propagating Aloe Vera Pups
Propagating your aloe is easy. You can make new plants from offshoots. These offshoots are called “pups.” Propagating from pups is the easiest method. It has the highest success rate. Some growers report a 100% success rate when using a soil mix.
Here are the steps to separate and pot aloe pups:
Prepare Your Pots: Fill small pots with moistened potting mix. Leave about an inch from the top. The mix should form a ball when you squeeze it. It should not drip water.
Remove Plant and Pup: Gently take the parent aloe vera plant and its pups out of the original pot. Roll and press plastic pots. Use a knife around the edges for clay pots.
Untangle and Separate Roots: Carefully untangle the root ball. Separate the pup’s roots from the parent plant’s. Gently tease them apart. Some roots might tear. This is okay.
Clean Up Roots: Trim any dead roots with snippers. Cut back excessively long roots by about one-third.
Callous Over: If you made any cuts, let the cut surfaces dry. This forms a callous. It takes a day or two. This prevents infections.
Transplant the Pup: Make a hole in the potting mix in the small pot. Plant the pup so its roots are buried. The lowest leaves should be just above the soil. Cover the roots with moist potting mix. Press gently. Use stones for support if the pup is unstable.
Repot the Original Plant: Place the parent plant in its original or a larger pot. Make a hole. Center the plant. Bury its roots. Make sure its leaves are above soil level.
Aftercare: Place newly planted pups in bright, indirect light. Allow the potting mix to dry between waterings. Expect some wilting at first. Plants should recover in 6-12 weeks. You will see new leaf growth. Gradually increase light as they get stronger.
Growing from Seed
Growing aloe from seed is more challenging. It requires more patience. The success rate is lower compared to propagating pups. The germination rate for aloe vera seeds is typically 0 to 25 percent. Even in labs, the highest success rate is 70 percent. This shows it can be difficult.
If you want to try growing aloe from seed:
Obtain fresh aloe seeds.
Use a well-draining seed-starting mix.
Sow the seeds lightly on the surface of the soil.
Cover them with a very thin layer of soil.
Keep the soil consistently moist. Do not let it get soggy.
Maintain a warm environment. A humidity dome can help.
Be patient. Germination can be slow and inconsistent.
Once seedlings are large enough to handle, transplant them into individual small pots.
Common Aloe Vera Problems
You might face some issues when you care for your aloe plant. Knowing these problems helps you fix them quickly.
Overwatering Issues
Overwatering is a common mistake. It harms your aloe. Too much water causes root rot. This is a fungal disease. You might see brown spots on the leaves. The leaves can become soft and mushy. The soil might smell bad. Your plant’s leaves can turn yellow. The plant looks wilted and dying. This happens because roots cannot get oxygen. They cannot move water and nutrients.
Underwatering Signs
Your aloe plant also shows signs if it does not get enough water. You will notice changes in its leaves.
The leaves look wrinkled or shriveled.
The tips of the leaves turn brown and crispy.
The soil becomes very dry and hard. It might pull away from the pot edges.
Pests and Diseases
Pests can attack your aloe. Aphids and mealybugs are common. They suck sap from your plant. Aphids are small, soft-bodied insects. They are often green or black. You find them in young leaf rosettes. They multiply fast. Ants often protect aphids. They get honeydew from them. Ants can also spread aphids to other plants. If you do not treat them, aphids can damage new growth. This can lead to rot.
Other pests include:
Spider Mites: Look for tiny webs. You might see whitish spots on the underside of leaves. The plant looks grayish.
Mealybugs: They have a waxy white “cotton” covering. They suck sap. This can cause sooty mold.
Scale Insects: These look like tiny brown plates on leaves. They suck sap. Leaves turn yellow and lose firmness.
Soil Nematodes: Roots turn black and knotty. The plant stops growing. Leaves become thin.
Leaf Discoloration
Your aloe leaves can change color. This often means a problem. Yellowing leaves are a common sign. Both too much or too little water can cause this. Nutrient problems can also make leaves yellow. This happens if your plant lacks nitrogen or iron. Pests and diseases also lead to yellowing. Soil that holds too much water can cause it. A pot that is too big can keep the soil wet. This also causes yellowing. Too much or too little light can change leaf color. Freezing temperatures make leaves yellow and mushy. Older, lower leaves might yellow naturally. This is part of the plant’s normal growth. Moving your plant can stress it. This stress can cause yellowing.
Harvesting and Using Aloe Vera Gel
Safe Harvesting Methods
You can harvest your aloe leaves. Choose the outermost leaves. They should be at least six inches long. Make sure they are thick and healthy. Do not pick inner, younger leaves. Sanitize your tools. Use a sharp knife or pruning shears. Rubbing alcohol helps prevent disease. Make a clean cut at the base of the leaf. Cut at a 45-degree angle. This minimizes damage. It helps the plant heal. Let the yellow aloin drain from the cut leaf. This prevents bitterness. It also stops skin irritation. Harvest sparingly. Take only one-third of the plant’s leaves at a time. Allow recovery periods. Wait a few weeks between harvests. This avoids stressing your plant.
Storing Fresh Gel
You can store fresh aloe gel. Refrigeration keeps it fresh. It lasts up to a week or two. This is good for regular use. Store it in a sealed glass jar. Put it in the back of the fridge. This keeps the temperature stable. Freezing extends the shelf life. It can last up to six months. Freeze it in ice cube trays. This makes portioning easy.
Then transfer the cubes to a freezer bag. Freezing can change the texture. It might be watery when thawed. This is better for smoothies. It is also good for cooking. It is less ideal for direct skin use. Add Vitamin C or E powder to the gel. Do this before storing. These antioxidants slow oxidation. They extend shelf life. Always use clean tools. Use sterile spoons or spatulas. This prevents bacterial contamination. Store in opaque containers. Block light exposure. Light can degrade the beneficial compounds.
