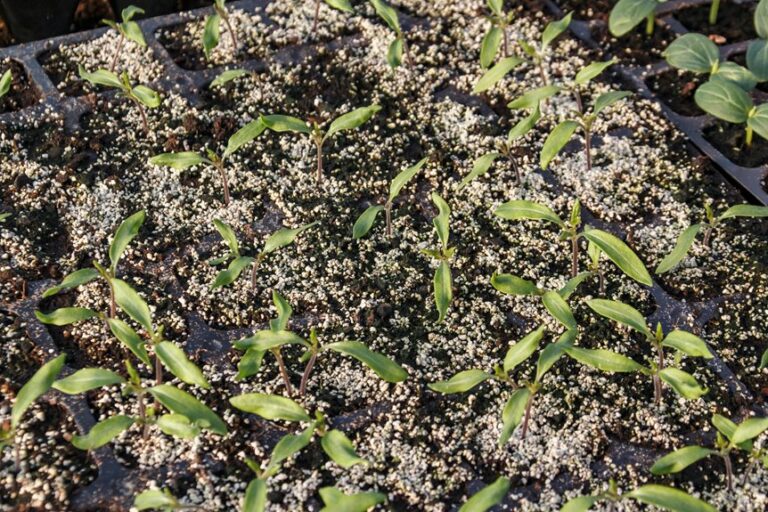
About 60 percent of gardeners get faster results with air layering than with cuttings, and you’ll likely see roots in weeks not months, which could change how you multiply trees. You can lift a healthy branch, wound it carefully, pack moist sphagnum or potting mix, and wrap it to hold humidity while the stem stays on the parent tree, so the new roots grow without shock. This method works well on many shrubs and trees, needs simple materials, and gives you a ready-to-move young plant if the roots are strong, so keep going to learn exactly how to make each step reliable and low stress.
Why Air Layering Works Better Than Cuttings
At any time you want a new plant that feels like a sure thing, air layering often beats cuttings because it lets the new roots grow while the stem is still attached to the mother plant, so you don’t shock it.
You get predictable hormone activation at the wound site, so auxins concentrate where you need roots.
You’ll see faster vascular reconnection because the parent plant continues feeding the layer, and that steady flow makes tissue repair smoother.
You’ll control moisture retention with moss or medium wrapped around the wound, so roots don’t dry out while forming.
You’ll seal the wound to limit infection and maintain humidity.
Follow each step carefully, and you’ll feel confident as you become an expert in this reliable, hands on propagation method.
Best Trees and Shrubs for Air Layering
You’ll find air layering works marvels on many fruit trees like figs, citrus, and mangoes because they root easily and give you a quicker harvest.
Ornamental shrubs such as rhododendron, camellia, and gardenia are also great choices since they keep their shape and bloom reliably after layering.
Both woody natives and exotic species can respond well, so you can choose plants that suit your garden and feel confident trying this method on ones you love.
Fruit Trees That Respond Well
Often gardeners find it easier to make new trees from ones they already love, and air layering works very well on a surprising number of common fruit trees and shrubs.
You’ll find apple pear varieties take to air layering readily whenever you pick semi-ripe wood and keep the wound moist.
Citrus and avocado respond well too, although you’ll need warm, humid conditions and careful root encouragement.
You should also try figs, persimmons, and some stone fruits like plums and peaches provided branches are healthy and pencil-thick.
Work methodically: choose vigorous shoots, girdle cleanly, apply rooting hormone, wrap with damp medium, and secure a breathable cover.
These steps build your confidence, let you refine timing, and help you produce reliable, transplant-ready trees.
Ornamental Shrubs Ideal
Gardeners frequently love to copy a favorite shrub whenever they want a fuller garden, and air layering gives you a gentle, reliable way to do that.
You’ll pick shrubs with flexible stems and strong root potential. Choose drought tolerant shrubs like lavender, rosemary, or santolina whenever you need low water and easy establishment.
For cool corners, pick shade loving shrubs such as camellia, rhododendron, or mahonia that respond well to layered stems.
You’ll place the layer where the stem is healthy and mature, and you’ll watch for roots to form before severing.
You’ll prefer plants with ornamental blooms or structure so each new specimen adds value. This approach builds confidence and control as you expand your garden.
Woody Natives and Exotics
Branches you can trust make the best candidates for air layering, and that includes many woody natives and exotic shrubs and small trees that root readily from mature stems.
You’ll pick species with steady sap flow and flexible branches. Native cultivars often perform best because they suit your local climate and pests, and you’ll feel confident working with familiar growth habits.
Exotic species can surprise you whenever managed carefully, so you’ll test a few stems before committing to many.
Use rooting hormones to speed root initiation on slower types, and wrap moist sphagnum or potting mix tightly.
Monitor moisture and unwrap occasionally to check progress.
You’ll label each layer, record dates, and move forward only once roots are sturdy enough to support the new plant.
Step-by-Step Materials You’ll Need
Before you begin, gather everything you need so the process feels calm and steady, not rushed. You’ll want reliable items that let you work with confidence and precision. Below is a visual checklist to guide you as you prepare.
| Tool | Purpose |
|---|---|
| Pruning knife | Make a clean cut and remove bark precisely |
| Rooting medium | Use potting mix with good drainage |
| Moisture wrap | Hold the potting mix in place |
| Humidity dome | Maintain a moist microclimate around the layer |
You’ll also collect twine, grafting tape, a small pot, labels, and rubbing alcohol. Each piece links to the next step, so prepare them together. That way you can move deliberately, protect the branch, and monitor progress without scrambling.
How to Prepare and Wound the Branch
Now that you have your tools ready and everything in one place, pick a healthy, pencil-thick branch that’s at least a year old and growing vigorously. Work calmly and deliberately. Initially clean blades and hands for wound sterilization, so you won’t introduce infection.
Next decide whether to do cambium scoring or branch girdling. For scoring, make a shallow, neat strip of bark about an inch long and remove the thin cambium layer. For girdling, remove a narrow ring of bark around the branch, leaving wood exposed. Both methods stimulate roots, but they differ in timing and vigor. Keep the wound edges clean and smooth.
Finally, consider moisture retention whenever you later add rooting medium. These careful steps set you up for reliable root formation.
Packing, Wrapping, and Protecting the Layer
With the wound clean and the rooting medium ready, it’s time to pack and wrap the layer so moisture and tiny roots can do their work.
You’ll gently press the medium around the wound, keeping it firm yet airy so roots can push through. Use moisture monitoring through inserting a probe or checking weight regularly to avoid soggy or dry conditions.
Next apply an insulating wrap to hold humidity and temperature steady while allowing gas exchange. Add pest barriers like fine mesh or sticky tape at the ends to stop insects and rodents.
Finally choose decorative covers should you want the tree to look neat in the grounds. These steps protect developing roots and let you watch progress with confidence and care.
Timing, Care, and When to Sever and Transplant
You’ll get the best results provided you start air layering in the plant’s active growing season whenever roots form fastest.
Keep the layer moist and shaded while you watch for healthy white roots and steady new growth, and don’t worry should it take weeks to months.
Once roots are well filled and firm, you can cut below the layer and transplant gently into a pot or the ground so the young plant keeps thriving.
Best Time to Layer
Timing matters once you decide to layer, because the right season and careful daily attention make roots form faster and plants suffer less stress.
You’ll get best results on spring mornings whenever sap is rising and wounds heal quickly.
For evergreens or late-season growth, consider late autumn whenever growth slows and energy moves to roots.
You should check moisture every day and protect the layer from heat and frost.
Use clean tools and wrap firmly but not tightly to preserve cambium contact.
Keep records of dates and conditions so you learn what works for each species.
Should pests or rot appear, act fast and adjust humidity.
These steps build confidence and steady success as you refine timing and routine for reliable propagation.
When to Cut and Move
Before you cut a layered branch, wait until roots are thick, healthy, and clearly visible through the wrapping, because that’s the best sign the new plant can live on its own. You’ll check root development timing regularly and log progress. Once roots fill the moss and clasp the stem, prepare for transplant staging. Gently sever below the root ball, keep moisture, and move the new tree on a cool, cloudy day to reduce shock. Handle the root ball with care and plant at the same depth. After transplant, stake provided it’s needed and water deeply but not constantly. Monitor for wilt and feed lightly after establishment. The table below helps you decide exact actions and timing so you act confidently.
| Sign to Check | Recommended Action |
|---|---|
| Roots visible | Plan transplant staging |
| Thick roots | Cut and retain moisture |
| Root color | Healthy white proceed |
| Root density | Prepare pot or hole |
| Weather | Move on cool day |
Troubleshooting Common Problems and Tips
In case your air layering attempt looks like it’s failing, don’t panic; many problems are fixable with a few careful checks and small changes.
Start by inspecting the layer for pests and decay; good pest management and prompt removal of infected tissue stop spread and save energy for roots.
Test the medium and nearby soil, because soil testing reveals nutrient or pH gaps that slow root growth.
Reapply root hormone should roots stall; a light touch and fresh wrap can revive rooting.
Monitor humidity control around the layer; too dry or too wet both cause trouble. Adjust watering, improve drainage, or add breathable covering.
Keep records on each change so you learn which adjustments produce steady success.