Transplanting kiwi plants correctly is crucial for their growth and productivity. Proper techniques help ensure that your plants thrive in their new environment. By following expert tips, you can improve your chances of success. You will gain confidence in your ability to transplant kiwi plants effectively, leading to a flourishing garden full of delicious fruit.
Key Takeaways
Transplant kiwi plants in early spring or fall for the best survival rates. This timing allows roots to establish before extreme weather.
Choose a sunny location with well-drained, fertile soil. Ensure the soil pH is between 5.5 and 7.0 for optimal growth.
Follow a step-by-step transplanting process. This includes digging proper holes, positioning the vines correctly, and watering deeply after planting.
Monitor your plants closely after transplanting. Look for signs of stress and adjust watering and care as needed to promote healthy growth.
Avoid common mistakes like overcrowding and improper root handling. These can hinder growth and lead to plant decline.
Timing for Transplanting
Timing plays a crucial role in the successful transplanting of kiwi plants. You should aim to transplant during specific seasons to ensure the best chance of survival and growth.
Optimal Seasons for Transplanting
The best time to transplant kiwi plants is in early spring or fall. In temperate climates, you can plant dormant rooted cuttings as soon as the soil is workable in spring. For containerized plants, wait until after the last frost to transplant. This timing allows the roots to establish before the heat of summer or the cold of winter sets in.
Tip: Transplanting during the dormant season can significantly improve survival rates. Early spring is ideal for bare-root or container-grown kiwi vines. This timing helps the root system establish well before winter, promoting better growth in the following year.
Identifying When Plants Are Ready
You can determine when your kiwi plants are ready for transplanting by observing their growth and age. Younger plants typically adapt better to new environments. If your plants are around one to two years old, they are likely ready for transplanting.
Look for these signs:
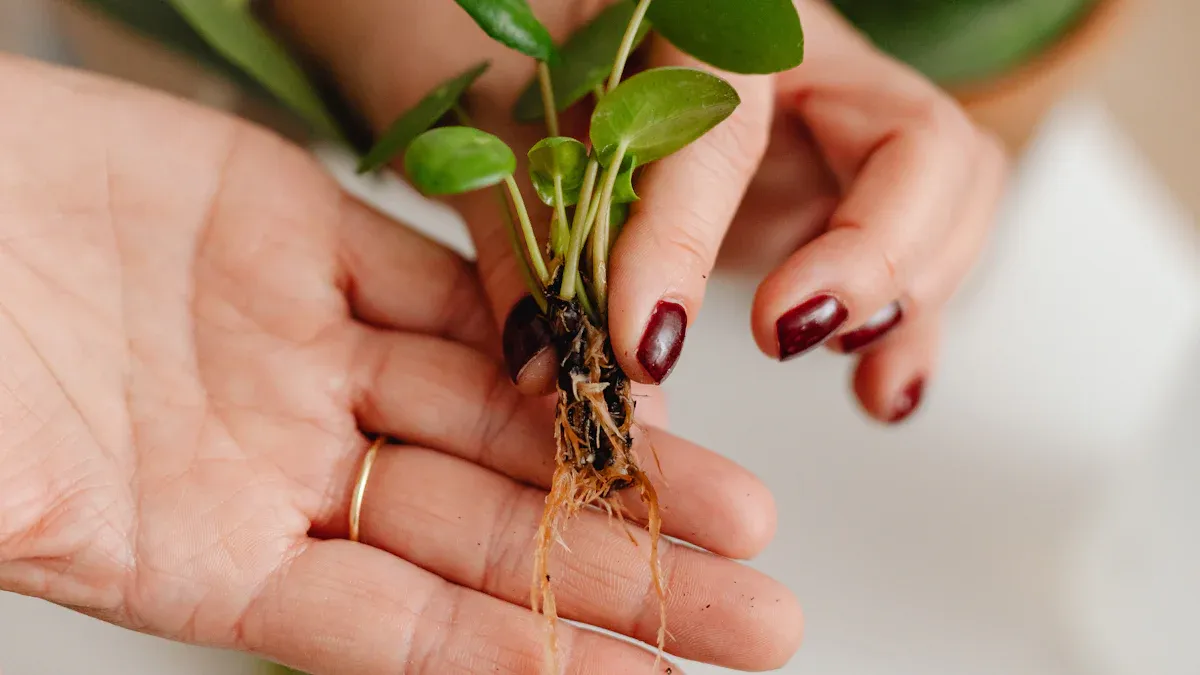
Healthy Roots: Check if the roots are growing well and filling the container. If you see roots emerging from the drainage holes, it’s time to transplant.
Leaf Growth: Healthy, vibrant leaves indicate that the plant is thriving. If the leaves are yellowing or wilting, it may not be the right time to move them.
Size: Ensure that the plant has reached a suitable size for transplanting. Smaller plants often have higher regeneration rates, which positively impacts their success after transplanting.
Preparing to Transplant Kiwi Plants
Choosing the right location and soil is essential for the successful growth of your kiwi plants. Start by selecting a spot that receives plenty of sunlight. Kiwi vines thrive in full sun, needing six to eight hours of direct sunlight daily. They also appreciate some afternoon shade during extremely hot weather. A warm, sheltered area protects them from harsh winds, promoting healthy growth.
Location and Soil
When it comes to soil, you want to ensure it meets specific characteristics for optimal kiwi plant health. Here’s a quick overview of the ideal soil conditions:
Soil Characteristic | Description |
|---|---|
Soil Type | Well-drained, fertile soils; loamy soils are ideal. |
pH Range | 5.5 to 7.0, slightly acidic preferred. |
Drainage | Good drainage is essential; avoid heavy clay soils. |
Calcium Carbonate (CaCO₃) | Should be lower than 10% to prevent nutrient uptake issues. |
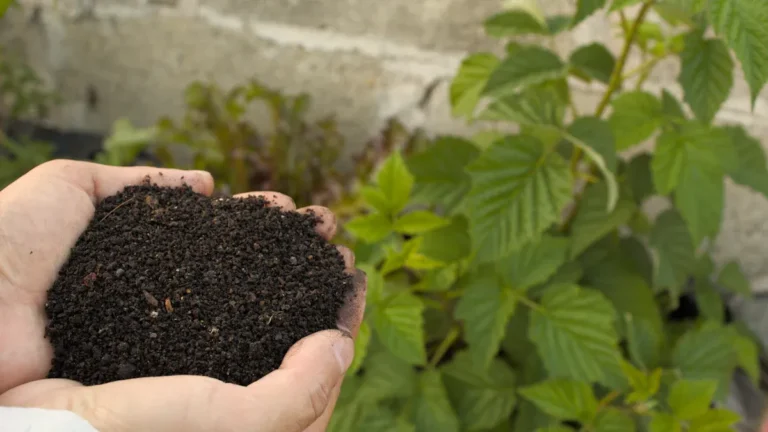
To prepare the soil, incorporate garden compost or well-rotted manure before planting. This enriches the soil and improves drainage, creating a perfect environment for your kiwi plants.
Tools and Materials
Gathering the right tools and materials will make the transplanting process smoother. Here’s a list of what you’ll need:
Tool/Material | Description |
|---|---|
Trellis System | A T-bar trellis with posts and cross arms to support the vines. |
Posts | Use pressure-treated, 4- to 6-inch-diameter posts, 9 feet long, spaced 15-20 feet apart. |
Wire | Galvanized, high-tensile, 12-gauge wire for vine supports, with good wire tighteners. |
Irrigation System | Install before planting to ensure proper watering. |
Planting Guidelines | Plant 2-year-old bare-root or container stock early in spring, ensuring roots do not dry out. |
Using the right tools minimizes root damage during transplanting. Remember to water your plants well before moving them. This helps protect the delicate root hairs responsible for nutrient absorption.
By preparing your location and gathering the necessary tools, you set the stage for a successful transplant of your kiwi plants.
How to Transplant Kiwi Plants
Transplanting kiwi plants involves several important steps to maximize their survival and growth. Follow this step-by-step guide to ensure a successful transplant.
Step-by-Step Guide
Choose the Right Location: Select a sunny area with well-drained soil. Avoid frost-prone spots to protect your plants from cold damage.
Prepare the Ground: Test the soil’s pH and amend it with organic compost. Loosen the soil to improve aeration and drainage.
Dig the Holes: Create holes that are twice the width and depth of the root ball. Space the holes 8 to 10 feet apart to allow for healthy growth.
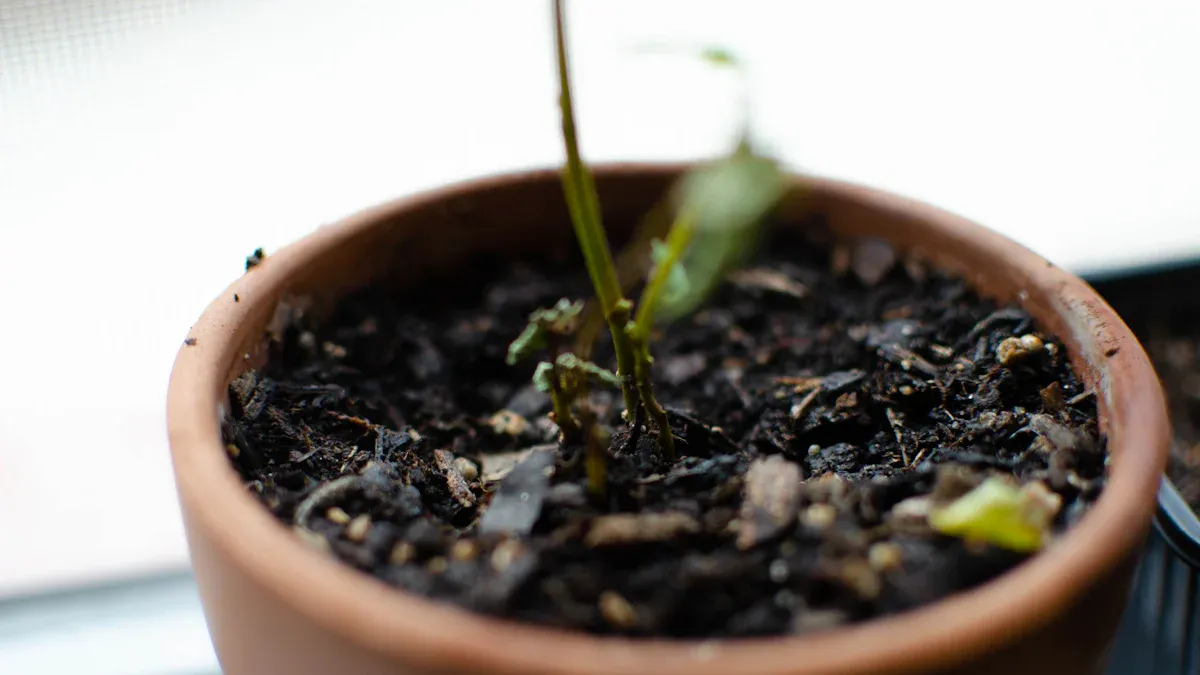
Position the Vines: Place the vine in the hole, ensuring the crown is level with the ground. Compact the soil around the roots gently to eliminate air pockets.
Water Generously: After planting, water deeply to help the roots settle. Apply mulch around the base to retain moisture and regulate soil temperature.
Following these steps will help you successfully transplant kiwi plants, giving them the best chance to thrive in their new environment.
Common Mistakes
While transplanting kiwi plants, avoid these common mistakes to ensure their health and growth:
Improper Plant Selection: Choosing unsuitable plant varieties can stunt growth or cause decline. Always select healthy, vigorous plants.
Overhandling or Damaging Roots: Excessive disturbance can impair water and nutrient uptake. Handle the roots gently during the transplanting process.
Inadequate Spacing: Overcrowding leads to competition for resources and increases the risk of disease. Ensure proper spacing between plants.
Inconsistent Moisture Management: Both overwatering and underwatering can harm plants. Monitor soil moisture regularly to maintain consistency.
Lack of Post-Transplant Care: Neglecting to monitor stress signs can undermine success. Keep an eye on your plants for any signs of distress.
Mismanagement of Pests and Diseases: Introducing infected plants can lead to outbreaks. Always inspect plants before transplanting.
Ignoring Environmental Stress Factors: Not accounting for stressors can result in transplant failure. Be aware of local weather conditions and adjust care accordingly.
By avoiding these mistakes, you can enhance the success of your kiwi plant transplanting efforts.
Post-Transplant Care
After you transplant kiwi plants, proper care is essential for their survival and growth. Focus on watering, fertilization, and monitoring plant health to ensure your plants thrive.
Watering and Fertilization
Watering plays a vital role immediately after transplanting. Follow these steps for effective watering:
Before Planting: Soak the roots in clean water for 4–12 hours. This rehydrates the roots and reduces transplant shock.
Step 1: Water deeply right after planting. This helps settle the soil and eliminates air pockets.
Weeks 1–2: Water every 2–3 days to keep the soil evenly moist. Watch for signs of wilting.
Weeks 3–8: Water once or twice a week. Apply mulch to retain moisture and avoid overhead watering.
Fertilization is also crucial for newly transplanted kiwi plants. Agricultural research suggests using fertilizers that stabilize nitrogen and avoid chloride. A recommended strategy includes applying 150-180 kg/h of nitrogen, 60 kg/h of phosphorus, and 300 kg/h of potassium per season. Using ‘blue’ series fertilizers with nitrogen stabilizers can enhance plant growth and reduce sensitivity to nutrient deficiencies.
Monitoring Health
Monitoring your kiwi plants after transplanting helps you catch any issues early. Look for signs of transplant shock, such as:
Wilting or falling leaves
Premature fall color
Dying branches
To mitigate transplant shock, ensure you follow proper planting techniques, maintain regular watering, and use mulch to retain moisture.
Pests and diseases can threaten your kiwi plants. Here’s a table of common issues and management strategies:
Disease/Pest | Symptoms | Management |
|---|---|---|
Armillaria root rot | Vines may collapse; white mycelial mats under bark | Clear land of roots; ensure proper irrigation without overwatering. |
Bacterial blight | Brown lesions on petals; yellow-orange discoloration | Avoid injuries to plants; no chemical control strategies available. |
Bleeding canker | Wilting plants; red cankers on branches | Prune infected areas; protect plants from freeze injuries. |
Crown gall | Reduced vigor; small leaves; poor growth | Avoid injury to vines; surgically remove existing galls. |
Phytophthora root and crown rot | Reduced growth; chlorotic leaves; sudden collapse of vines | Good water management; plant in well-draining soils; allow drying between irrigations. |
By following these guidelines for watering, fertilization, and monitoring, you can help your kiwi plants establish themselves and thrive in their new environment.
In summary, successful kiwi plant transplanting involves careful timing, proper preparation, and attentive post-transplant care. By following these expert tips, you can enjoy:
Enhanced Growth: Proper techniques optimize water and nutrient use.
Increased Fruit Production: Your kiwis will reach their full potential in size and sweetness.
Sustainability: Eco-friendly practices reduce environmental impact.
Remember, kiwi plants need both male and female varieties for successful fruiting. Share your experiences and tips with fellow gardeners to help everyone grow thriving kiwi plants! 🌱
FAQ
What type of soil is best for kiwi plants?
Kiwi plants thrive in well-drained, fertile loamy soil. Aim for a pH between 5.5 and 7.0. Avoid heavy clay soils, as they can retain too much moisture and harm the roots.
How often should I water my kiwi plants after transplanting?
Water your kiwi plants deeply right after transplanting. For the first two weeks, water every 2-3 days. After that, reduce to once or twice a week, depending on rainfall and soil moisture.
Can I grow kiwi plants in containers?
Yes, you can grow kiwi plants in containers. Choose a large pot with good drainage. Ensure the container has enough space for the roots to spread. Use a high-quality potting mix for best results.
How long does it take for kiwi plants to bear fruit?
Kiwi plants typically take 3 to 4 years to bear fruit after transplanting. Factors like plant variety, care, and environmental conditions can influence this timeline.
Do I need male and female kiwi plants for fruiting?
Yes, kiwi plants require both male and female varieties for successful pollination and fruit production. Plant at least one male for every 5-8 female plants to ensure good fruit set.