Sedum plants have captured the hearts of many gardeners. Their vibrant colors and unique shapes make them a popular choice for gardens and landscaping. Plus, knowing how to propagate sedum plants brings several benefits:
Benefit | Description |
|---|---|
Adaptability | Sedums thrive in various environmental conditions, making them versatile. |
Low Maintenance Requirements | These plants need minimal care, perfect for busy gardeners. |
Drought Resistance | Sedums flourish even in dry areas, thanks to their drought-tolerant nature. |
Suitability for Nutrient-Poor Soils | They grow well in soils lacking nutrients, ideal for challenging spots. |
By learning how to propagate sedum plants, you can save money and enjoy a diverse array of plants in your garden. Ready to dig in? Let’s explore the methods!
Key Takeaways
Sedum plants are easy to propagate using methods like leaf cuttings, stem cuttings, and layering.
Choose a well-draining soil mix to prevent rot and ensure healthy root development.
Water sedum cuttings lightly and keep the soil slightly moist for the first few weeks.
Provide bright, indirect light to help your cuttings thrive without scorching.
Timing is crucial; propagate sedums in mid to late spring or early autumn for best results.
Methods to Propagate Sedum
When it comes to propagating sedum plants, you have several effective methods at your disposal. Each method has its own advantages, and you can choose one based on your preferences and the resources available to you. Let’s dive into the three main techniques: leaf cuttings, stem cuttings, and layering.
Leaf Cuttings
Leaf cuttings are one of the simplest ways to propagate sedum plants. You can easily take a healthy leaf from an existing plant and use it to grow a new one. Here’s how you can do it:
Select a Leaf: Choose a plump, healthy leaf from the parent plant. Avoid any leaves that show signs of damage or disease.
Let It Callous: Place the leaf on a dry surface for a few days. This allows the cut end to callous over, which helps prevent rot when you plant it.
Plant the Leaf: After a few days, place the leaf on top of well-draining soil. You can gently press it down to ensure good contact.
Water Sparingly: Mist the soil lightly to keep it moist but not soggy. Overwatering can lead to rot.
Leaf cuttings can root successfully, allowing you to propagate multiple plants at once. Plus, sedums grow quickly, which minimizes any disadvantages of using this method.
Stem Cuttings
Stem cuttings are another effective way to propagate sedum plants. This method is also quite easy and requires minimal care. Here’s how to do it:
Choose a Healthy Stem: Look for a healthy stem with several leaves. Cut a section that is about 3-4 inches long.
Remove Lower Leaves: Strip off the lower leaves, leaving a few at the top. This helps the cutting focus its energy on root development.
Let It Callous: Just like with leaf cuttings, let the cut end dry for a day or two to form a callous.
Plant the Cutting: Insert the calloused end into well-draining soil. Ensure that at least one leaf remains above the soil.
Water Lightly: Water the soil lightly and place the pot in a bright, indirect light location.
Stem cuttings are easy to propagate and thrive effectively. They require minimal attention, making them a great choice for busy gardeners.
Layering Techniques
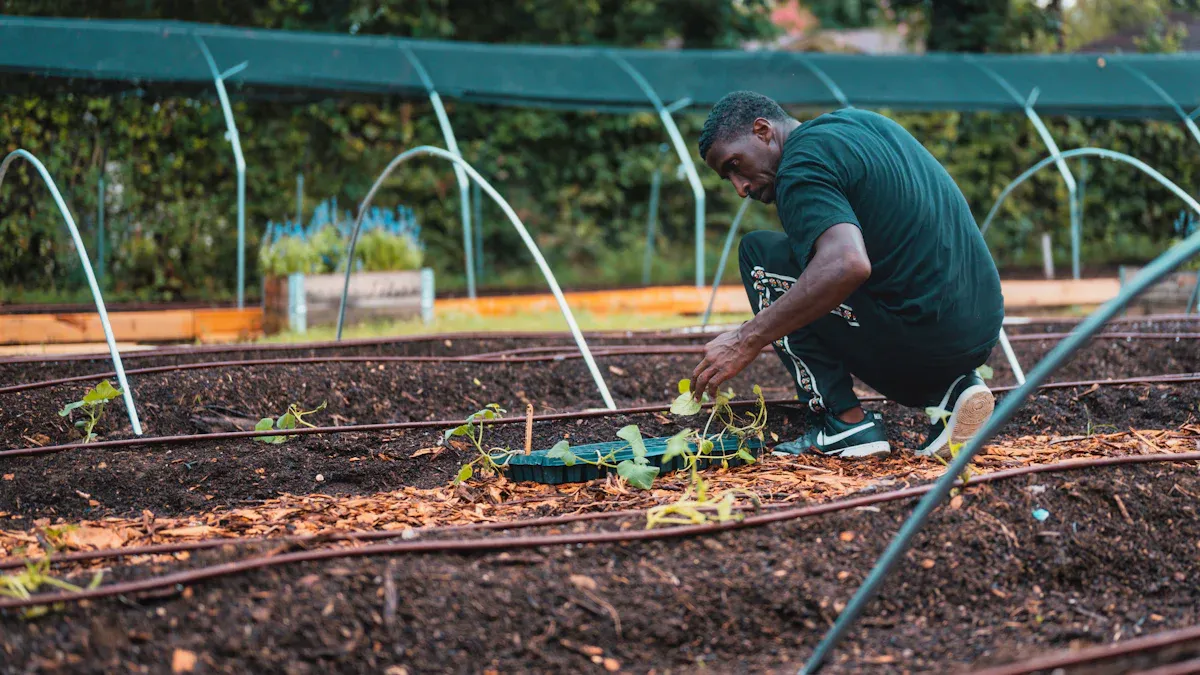
Layering is a slightly different approach to propagating sedum plants. This method involves encouraging a stem to root while it’s still attached to the parent plant. Here’s how you can do it:
Select a Low Stem: Find a long, flexible stem that can reach the ground.
Bend the Stem: Gently bend the stem down to the soil. You can use a small rock or a stake to hold it in place.
Cover with Soil: Bury a portion of the stem in the soil, leaving the tip exposed. This buried section will develop roots over time.
Water Regularly: Keep the soil moist as the stem establishes roots. This may take a few weeks.
Layering is a great way to propagate sedum without cutting the plant. It allows you to create new plants while keeping the parent plant intact.
Tip: You don’t need to use rooting hormone for any of these methods. Sedums are among the easiest plants to propagate, so you can enjoy success without it!
By exploring these methods, you can easily propagate sedum plants and expand your garden. Whether you choose leaf cuttings, stem cuttings, or layering, each technique offers a rewarding experience.
How to Propagate Sedums: Timing
Timing plays a crucial role in successfully propagating sedum plants. You want to choose the right season to ensure your cuttings thrive. Here’s what you need to know:
Best Seasons for Propagation:
The ideal time to propagate most sedum varieties is during the warmer months. Focus on mid to late spring, summer, and early autumn.
If you’re working with small-leaved sedum species, like Sedum acre, you can even propagate them in cooler months.
Be cautious! Propagating in the wrong season can lead to dormancy or rot. You don’t want to waste your efforts, so timing is key.
Now, let’s talk about some environmental factors that can affect your success:
Temperature: Sedums prefer warm temperatures. Aim for a range between 65°F and 75°F (18°C to 24°C) for the best results. If it’s too cold, your cuttings may struggle to root.
Light: Bright, indirect light is essential. Too much direct sunlight can scorch your cuttings, while too little light can hinder growth. A sunny windowsill or a spot with filtered light works well.
Humidity: While sedums are drought-tolerant, they still need some humidity during propagation. Mist your cuttings lightly to maintain moisture without soaking them. This balance helps prevent rot.
Soil Moisture: Keep the soil slightly moist but not soggy. Overwatering can lead to root rot, which is a common issue when propagating sedums.
By paying attention to these factors and choosing the right time, you’ll set yourself up for success in propagating your sedum plants. Happy gardening!
Tools for Sedum Propagation
When you decide to propagate sedum plants, having the right tools makes the process smoother and more enjoyable. Here’s a list of essential gardening tools you’ll need:
Gardening Gloves: Protect your hands from thorns and sharp edges while working with sedum plants.
Pruning Shears: These are necessary for trimming and shaping sedum plants to promote healthy growth.
Hand Trowel: This tool is ideal for digging small holes and transferring plants from pots to the garden.
Watering Can: A watering can helps deliver water directly to the base of the plants, preventing fungal diseases.
Plant Labels: Use these to track different sedum varieties and their care.
Having these tools on hand will make your propagation journey much easier.
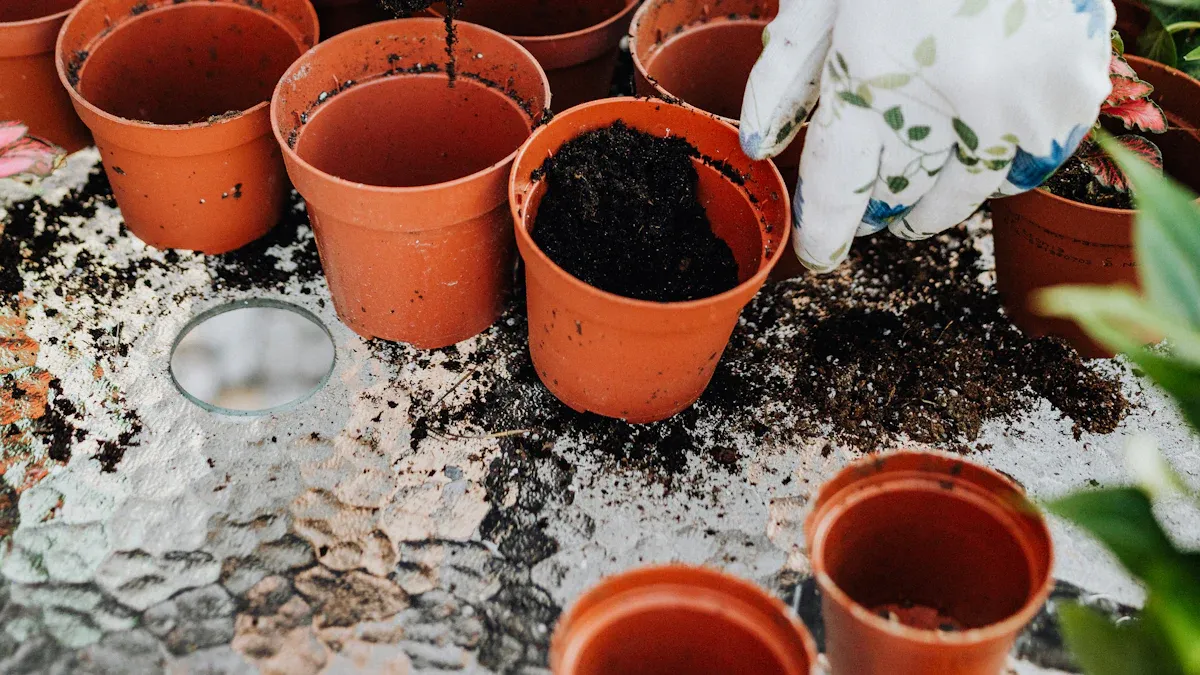
Now, let’s talk about the right soil and containers for rooting your sedum cuttings. You want to use a well-draining soil mix to ensure your cuttings thrive. Here are some tips for choosing the right soil:
A mixture of half sand and half peat moss works wonders for better rooting.
Adding perlite or coarse sand helps prevent moisture retention, which is crucial for sedums.
Avoid using soil that contains fertilizer, as this can harm your cuttings.
For containers, opt for pots with drainage holes. This allows excess water to escape, reducing the risk of rot. You can use small plastic pots, seed trays, or even recycled containers as long as they provide good drainage.
With the right tools and soil, you’re well on your way to successfully propagating sedums. Remember, knowing how to plant sedums correctly sets you up for a thriving garden!
How to Grow Sedums: Step-by-Step
Leaf Cutting Process
To propagate sedums using leaf cuttings, follow these simple steps:
Select a Leaf: Choose a healthy, plump leaf from the parent plant. Make sure it’s free from damage.
Prepare the Leaf: Let the leaf sit on a dry surface for a few days. This allows the cut end to callous over, which helps prevent rot.
Plant the Leaf: Place the calloused leaf on well-draining soil. You can gently press it down to ensure good contact.
Water Sparingly: Mist the soil lightly to keep it moist but not soggy. Overwatering can lead to rot.
This method is straightforward and allows you to grow multiple plants from just one leaf!
Stem Cutting Process
For stem cuttings, here’s a step-by-step guide to propagating sedum:
Cut the Stem: Use sharp pruning shears to cut a healthy stem just above a leaf. Aim for a length of about 3-4 inches.
Remove Lower Leaves: Strip off the bottom leaves, leaving 1-2 inches bare. This helps the cutting focus on root development.
Let It Callous: Place the cuttings in a bright area, avoiding direct sunlight, until the cut ends turn white.
Plant the Cutting: Moisten the soil and insert the cuttings about 1/2 to 2 inches deep.
Watering: Don’t water for the first week. After that, water only when the soil dries out.
This method is effective and requires minimal care, making it perfect for busy gardeners.
Layering Process
Layering is another great way to propagate sedums. Here’s how you can do it:
Choose a Flexible Stem: Find a long stem that can easily reach the ground.
Bend the Stem: Gently bend the stem down to the soil. Use a small rock or stake to hold it in place.
Cover with Soil: Bury a portion of the stem in the soil, leaving the tip exposed. This buried section will develop roots over time.
Water Regularly: Keep the soil moist as the stem establishes roots. This may take a few weeks.
Layering allows you to create new plants while keeping the parent plant intact.
By following these step-by-step instructions, you’ll learn how to grow sedums successfully. Each method offers a unique way to expand your garden and enjoy the beauty of these resilient plants.
Care Tips for Sedum Propagation
When you propagate sedum plants, proper care is essential for their success. Here are some key tips to help you nurture your cuttings and ensure they thrive.
Watering Requirements
Watering is one of the most critical aspects of sedum propagation. Newly propagated cuttings need consistent moisture to establish roots. Here’s what you should do:
Keep the Soil Moist: For the first 10-12 days, water your sedum cuttings every other day. This keeps the soil moist without letting it dry out completely. Once the roots are well established, you can adjust your watering schedule.
Signs of Overwatering: Watch for these signs that you might be giving your cuttings too much water:
Soft, mushy, translucent leaves.
Leaves turning black, indicating rotting.
An overwatered plant will drop its leaves easily.
Signs of Underwatering: If your cuttings are underwatered, you might notice:
Leaves feel soft and flat when touched.
The plant appears droopy and wilted.
Shriveled leaves indicate that the plant is running low on water storage.
Light Requirements
Sedum plants love light, but you need to strike a balance. Here’s how to provide the right lighting conditions:
Indirect Light: Place your cuttings in a spot with bright, indirect light. Too much direct sunlight can scorch the leaves, while too little light can hinder growth. A sunny windowsill or a location with filtered light works best.
Monitor Growth: If you notice your cuttings stretching towards the light, they may need more exposure. Adjust their position gradually to find the perfect spot.
Maintaining Moisture for Cuttings
Keeping your cuttings moist is crucial for successful sedum propagation. Here are some effective strategies:
Misting: Lightly mist the soil and cuttings regularly to maintain humidity. This helps prevent the cuttings from drying out without over-saturating the soil.
Use a Shallow Plate: For leaf cuttings, place them on top of a shallow plate filled with succulent soil. This method allows roots to develop quickly while keeping the cuttings moist.
Mulching: If you’re propagating in pots, consider adding a layer of organic mulch around the base of the plants. This helps retain moisture and suppress weeds.
Watering Schedule: After a couple of weeks, when the roots start to take hold, you can reduce the frequency of watering. Just ensure the soil remains slightly moist.
By following these care tips, you’ll set your sedum cuttings up for success. Remember, propagating sedum is a rewarding experience, and with the right attention, you’ll soon have a thriving collection of these beautiful plants.
In summary, propagating sedum plants is a rewarding experience that you can easily achieve through various methods like leaf cuttings, stem cuttings, and layering. Here are some key takeaways:
Sedum seeds are easy to plant, making them perfect for beginners.
Use a well-draining succulent potting mix for best results.
Mist the soil to keep it slightly moist and place it in indirect sunlight.
By trying these techniques, you not only expand your garden but also contribute to biodiversity. Enjoy the joy of growing your own plants, and don’t forget to share your successes with fellow gardeners! 🌱
FAQ
What is the best time to propagate sedum plants?
The best time to propagate sedum plants is during mid to late spring or early autumn. These seasons provide warm temperatures and optimal light conditions for successful rooting.
Do I need special tools for propagating sedum?
No, you don’t need special tools. Basic gardening tools like pruning shears, a hand trowel, and a watering can are sufficient for propagating sedum plants.
How long does it take for sedum cuttings to root?
Sedum cuttings typically take about 2 to 4 weeks to root. Factors like temperature, light, and moisture can affect this timeframe, so keep an eye on your cuttings.
Can I propagate sedum in water?
While sedum can root in water, it’s not the most effective method. Sedums thrive better in well-draining soil, which helps prevent rot and encourages healthy root development.
How often should I water my sedum cuttings?
Water your sedum cuttings every other day for the first 10-12 days. After that, adjust your watering schedule based on the soil’s moisture level to avoid overwatering.