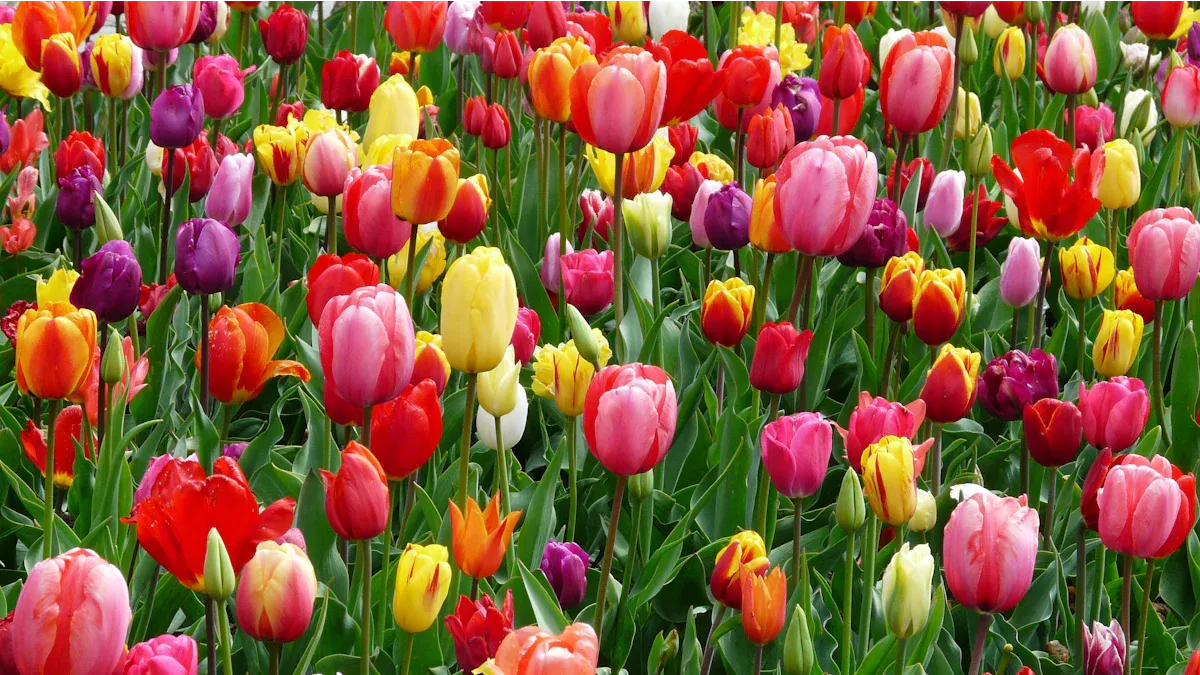
Yes, you can absolutely plant tulips in spring and enjoy their vibrant blooms within the same season! Spring gardening brings a special joy, as you watch the world come alive with color. Just remember, soil conditions can be tricky. Well-draining soil is essential to prevent bulb rot, so be sure to check that before you start planting.
Key Takeaways
Choose early-blooming tulip varieties to enjoy vibrant flowers this spring.
Ensure well-draining soil to prevent bulb rot and promote healthy growth.
Plant bulbs at a depth of three times their height for optimal results.
Choosing Tulip Bulbs
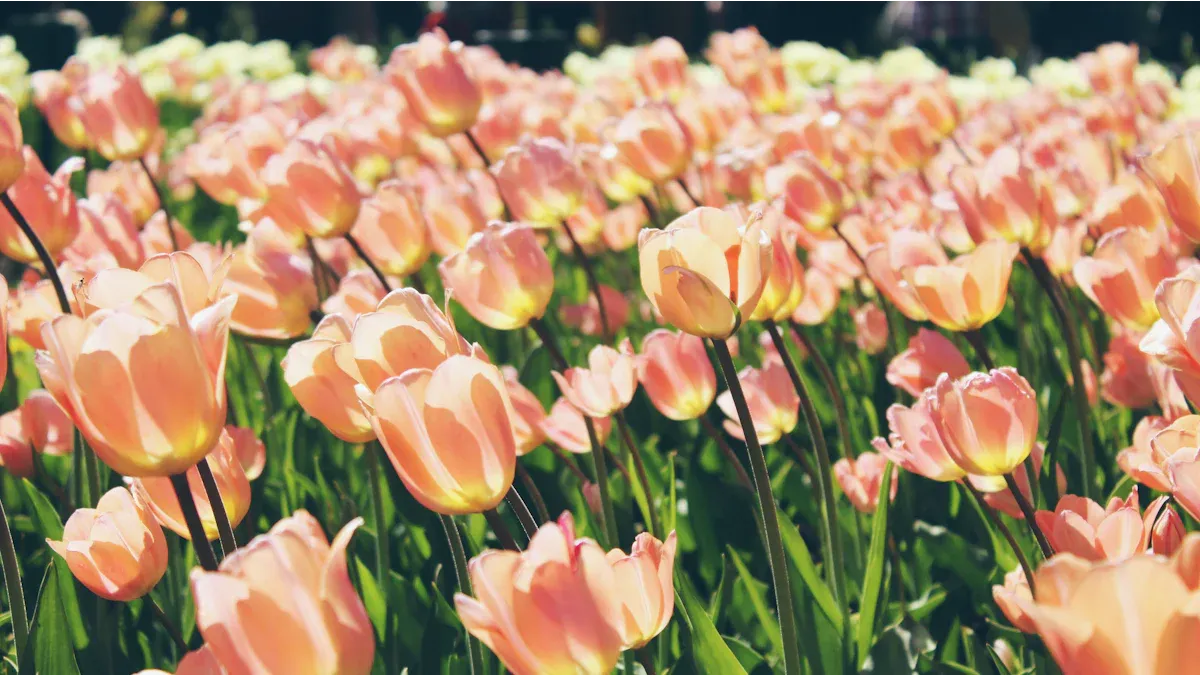
When you decide to plant tulip bulbs in spring, choosing the right varieties is crucial for ensuring a beautiful display. Early-blooming tulips can give you the vibrant colors you crave, even if you plant them later in the season.
Early-Blooming Varieties
To maximize your chances of enjoying blooms this year, focus on early-blooming tulip varieties. These types typically flower sooner, making them perfect for spring planting. Here are some excellent choices:
Single Early Tulips: These bloom in the first week of April.
Yokohama Tulips: Also bloom in the first week of April.
Purple Prince Tulips: Expect blooms by mid-April.
Darwin Hybrid Tulips: These will start blooming in April.
Triumph Tulips: Another great option for April blooms.
Grand Perfection Tulips: These bloom from late April to early May.
Apricot Beauty Tulips: Enjoy blooms in late April to early May.
Double Tulips: They also bloom around late April to early May.
Lily-Flowered Tulips: These bloom from late April to early May.
By selecting these early-blooming varieties, you can enjoy a burst of color in your garden sooner rather than later.
Inspecting Bulb Quality
The quality of the tulip bulbs you choose plays a significant role in their blooming success. Here are some tips to help you select the best bulbs:
Look for firmness: Healthy bulbs should feel firm and plump. Avoid any that feel soft or shriveled.
Check for vibrant foliage: Bulbs with vibrant foliage indicate good health.
Avoid yellowing leaves: Yellowing can signal poor quality or disease.
Assess size: Larger bulbs tend to produce bigger flowers. The size of the bulb correlates directly with the size of the resulting blooms.
Remember, healthy bulbs lead to better growth and larger flowers. If you want a stunning display, prioritize selecting high-quality bulbs.
Tip: Tulips require a chilling period known as vernalization before they can bloom properly. Without this chilling, tulip bulbs may produce weak blooms or fail to bloom altogether. For hybrid tulips, aim for 8 to 10 weeks of chilling at around 45°F (7°C). Spring-planted tulip bulbs need at least 14 weeks of vernalization to establish strong roots and bloom effectively. Insufficient chilling time can lead to weak stems and poor blooming performance.
By carefully choosing early-blooming varieties and inspecting the quality of your bulbs, you set yourself up for a successful spring planting.
Preparing Soil for Planting Tulips
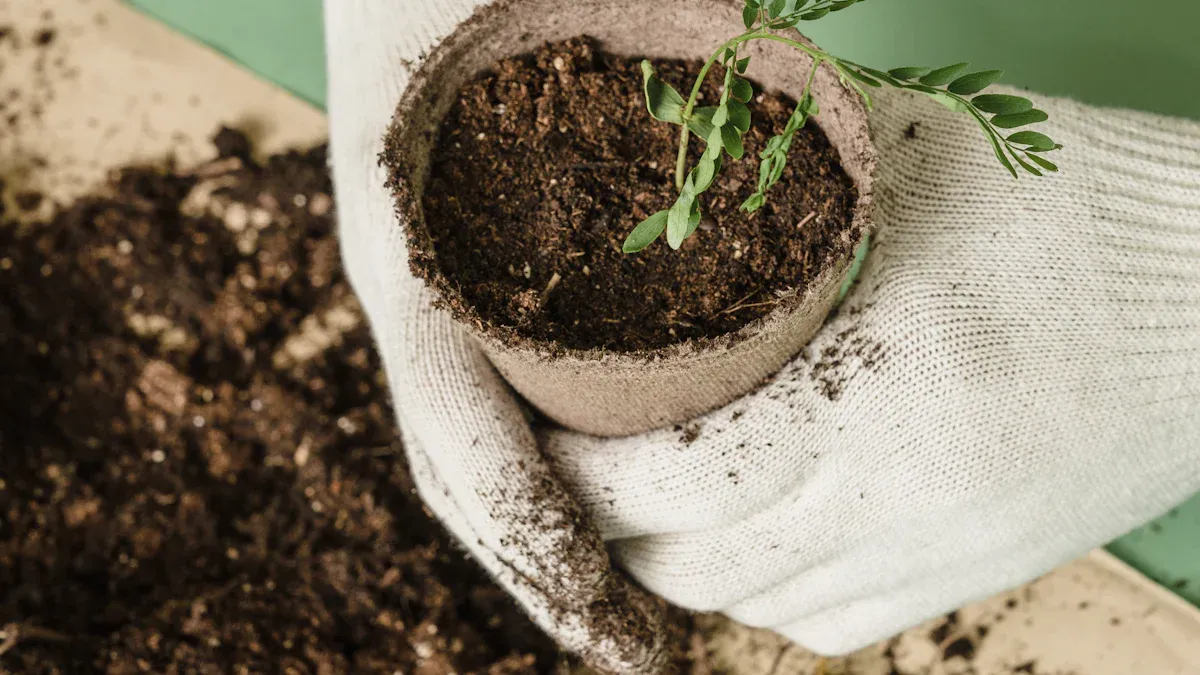
Before you plant your tulip bulbs, it’s essential to prepare the soil properly. The right soil conditions can make all the difference in your tulips’ success.
Soil Temperature and Drainage
First, check the soil temperature. You should plant tulip bulbs when the soil temperature is below 60°F. This temperature allows the roots to develop adequately before the ground freezes.
Next, focus on drainage. Good drainage is crucial for preventing bulb rot and ensuring healthy root development. Here are some key points to remember:
Poor drainage can create waterlogged conditions that harm tulip bulbs.
Excellent soil drainage is vital during the dormant season to prevent bulb rot.
Choose a planting site that avoids poorly drained areas for successful tulip growth.
Amending Soil Nutrients
Now, let’s talk about soil nutrients. Amending your soil can significantly enhance tulip growth. Here are some effective techniques:
Mix in organic matter before planting to boost soil fertility.
For perennial tulips, incorporate well-rotted manure in the fall and a balanced fertilizer like 10-10-10 in the spring.
After planting, top-dress the bed with a slow-release fertilizer to nourish your bulbs.
You should also aim for a soil pH between 6.0 and 7.5 for optimal growth. This range helps ensure better nutrient uptake. Adding a couple of inches of organic compost can enrich the soil and improve its structure.
By preparing your soil with the right temperature, drainage, and nutrients, you set the stage for a stunning display of tulips this spring!
How to Plant Tulip Bulbs in Spring
When you’re ready to plant tulips, knowing the right techniques can make all the difference. Let’s dive into the details of planting depth, spacing, and timing to ensure your tulips thrive this spring!
Planting Depth and Spacing
Getting the planting depth right is crucial for your tulips’ success. Here’s what you need to know:
Depth: Aim to plant tulip bulbs at least 6 inches deep. This depth helps protect them from temperature fluctuations and pests. For some species, you can plant them at a depth of 4 to 5 inches. A good rule of thumb is to plant bulbs about three times their height. If you’re working with sandy soil, consider planting deeper to prevent drying out. For mid-sized species like Tulipa greigii, a depth of 6 to 8 inches works well.
Spacing: Proper spacing is essential for healthy growth. You should plant tulips about 4 to 6 inches apart. This distance allows each bulb to receive enough sunlight, nutrients, and water. If you want a more impressive display, consider planting 9 to 12 bulbs per square foot. However, if you prefer a sparse look, aim for about 5 bulbs per square foot. Remember, when bulbs are too close together, they compete for resources, which can lead to stunted growth and fewer blooms.
Timing for Planting
Timing is everything when it comes to planting tulips. You want to plant as soon as the soil is workable. This early planting allows the bulbs to establish a robust root system before winter sets in. Here are some key points to consider:
Ideal Timing: You can plant tulips as late as January or February and still expect blooms. Even early March planting can yield flowers a couple of months later. Tulips have a remarkable ability to catch up once spring arrives, making late planting viable.
Soil Conditions: Planting early ensures that your tulips spend less time in unfavorable soil conditions. This can lead to better bloom quality, especially in cooler climates. Plus, early planting helps prevent diseases like tulip fire, which can occur when bulbs are planted later in the season.
By following these guidelines on planting depth, spacing, and timing, you’ll set yourself up for a stunning display of tulips this spring. So grab your bulbs and get planting!
Caring for Tulips After Planting
Once you’ve planted your tulip bulbs, caring for them properly is key to enjoying beautiful blooms. Let’s explore how to water, fertilize, and protect your tulips from pests.
Watering and Fertilization
Watering your tulips correctly helps them thrive. Here’s a simple watering schedule to follow:
Water thoroughly after planting if the soil is dry.
Rely on rain for watering during winter and early spring.
In extremely dry spring conditions, water moderately.
Water when the soil feels dry, but avoid overwatering to prevent disease.
Fertilization also plays a vital role in promoting healthy growth. Consider these tips:
Use a balanced NPK ratio organic fertilizer, such as 10-10-10, 10-15-10, or 5-10-10.
Fertilize in the fall after planting to help bulbs store energy for winter.
Apply another round of fertilizer in spring when you see green growth.
Pest Control Tips
Pests can be a real headache for your tulips. Here are some common culprits and how to deal with them:
Aphids: These small insects suck sap from plants, causing yellow, distorted leaves. Keep an eye on your tulips and introduce predatory insects to control their population.
Bulb flies: They lay eggs at the base of bulbs, damaging them. Look for yellow leaves and stunted growth as signs. Purchase bulbs from reputable growers and monitor for adult flies.
To protect your tulips, consider these pest control methods:
Use systemic insecticides for long-term protection against underground pests.
Apply targeted fungicides at the first sign of diseases like Botrytis blight.
Encourage natural predators like ladybugs to control aphids.
Use garden netting and copper tape to deter larger pests.
Try homemade sprays with neem oil or garlic to repel insects without harming your plants.
By following these watering, fertilization, and pest control tips, you’ll set your tulips up for success this spring!
You can enjoy stunning spring blooms by following a few simple steps. Start by choosing early-blooming tulip varieties and ensuring your soil drains well. Remember to plant bulbs at the right depth and spacing. With proper care, you’ll see beautiful flowers this year! 🌷
Key Steps:
Plant bulbs three times as deep as they are tall.
Ensure quick drainage to prevent bulb rot.
Water properly during dry spells.
So, get your hands dirty and embrace the joy of gardening this spring!
FAQ
What should I do if my tulips don’t bloom?
If your tulips don’t bloom, check for proper soil drainage and ensure you planted them at the right depth.
How long do tulips typically bloom?
Tulips usually bloom for about 1 to 3 weeks, depending on the variety and weather conditions.
Can I plant tulips in pots?
Yes, you can plant tulips in pots! Just ensure the pot has good drainage and use quality potting soil.