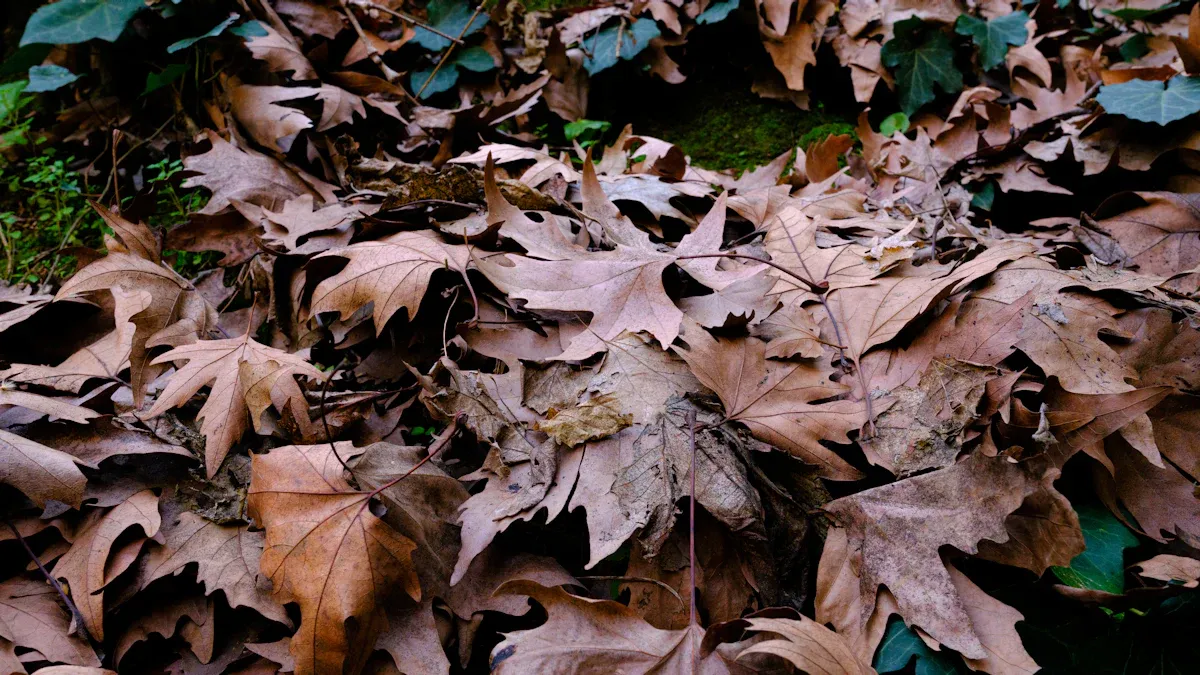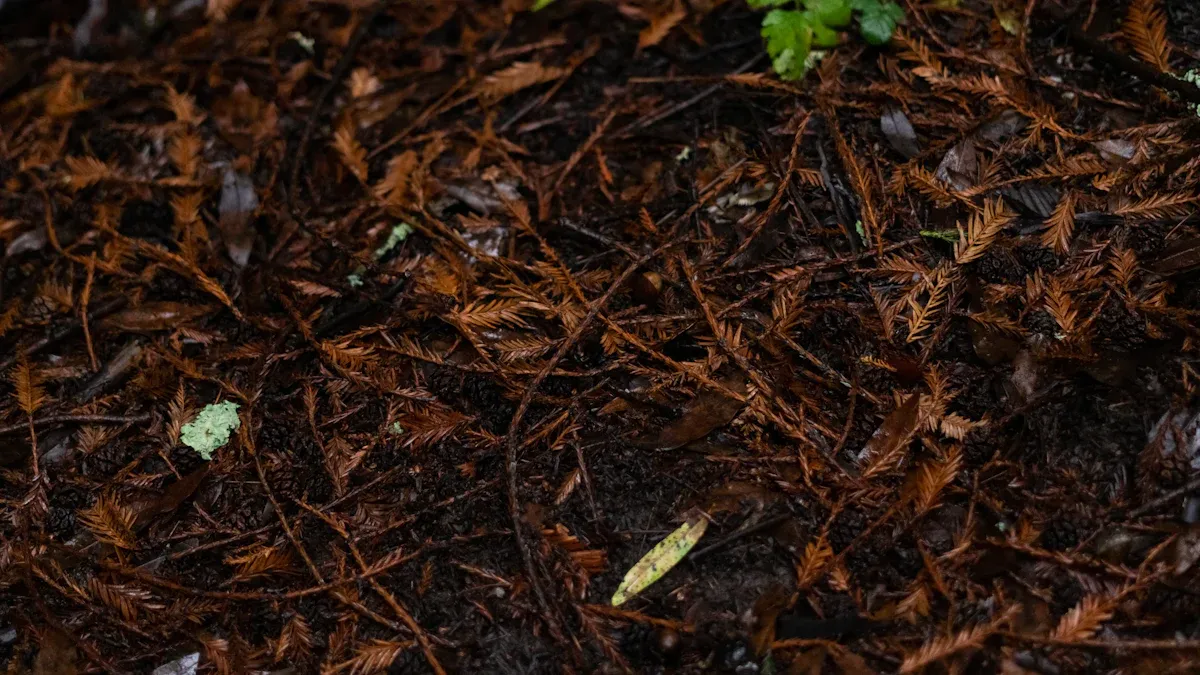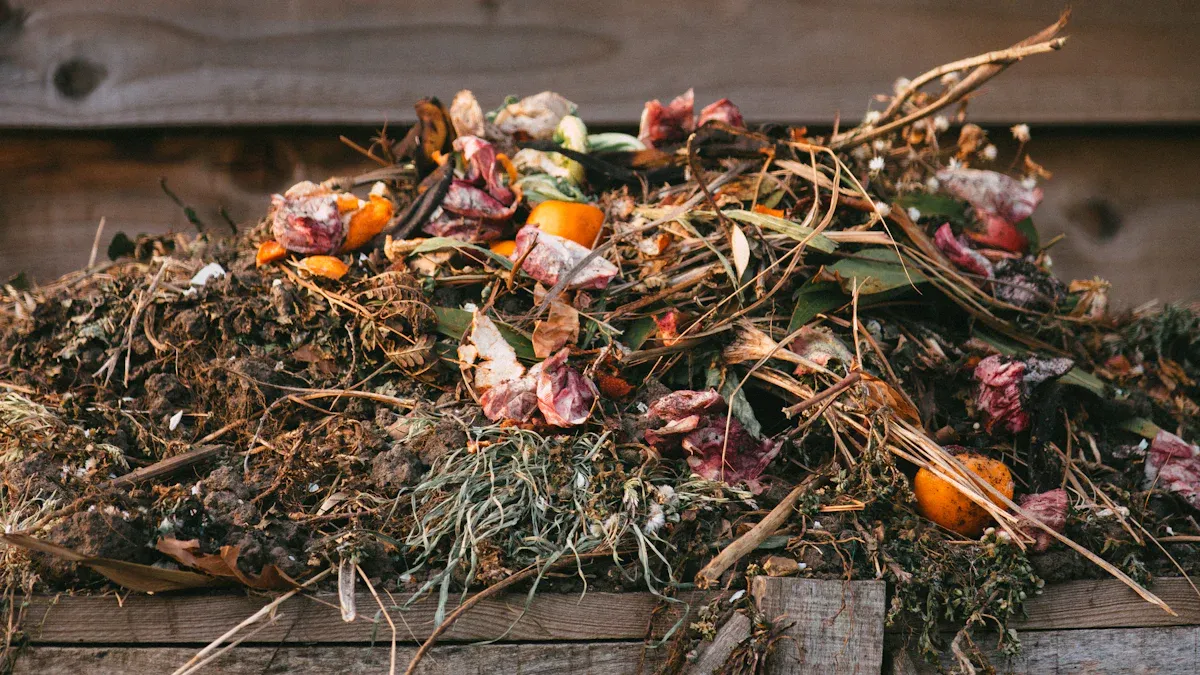
Using fallen leaves in your garden can be a game-changer! Not only do fallen leaves enrich your soil with nutrients, but they also help reduce waste. Did you know that leaves and yard debris make up 12% of municipal solid waste in the U.S.? By recycling fallen leaves, you save money and support a healthier garden ecosystem. Embrace fallen leaves as a valuable resource!
Key Takeaways
Use fallen leaves as mulch to retain moisture, suppress weeds, and enrich your soil.
Compost fallen leaves to create nutrient-rich soil that benefits your plants and reduces waste.
Create leaf mold to improve soil structure and provide essential nutrients for healthy plant growth.
Use Fallen Leaves as Mulch

Mulching with fallen leaves is one of the smartest ways to enhance your garden. Not only does it provide numerous benefits, but it also makes use of a natural resource that would otherwise go to waste. Let’s dive into the advantages of using fallen leaves as mulch and how you can apply it effectively.
Benefits of Mulching
Using fallen leaves as mulch offers several advantages:
Weed Suppression: Leaf mulch helps block sunlight, which prevents weed seeds from germinating. Studies show that light exclusion is a key mechanism for weed suppression.
Moisture Retention: Leaf mulch acts like a sponge, retaining moisture in the soil. This reduces evaporation and runoff, keeping your plants hydrated during dry spells.
Soil Enrichment: As leaves break down, they add organic matter to the soil, improving its structure and nutrient content. This creates a healthier environment for your plants.
Temperature Regulation: A layer of leaf mulch helps keep soil temperatures stable, protecting roots from extreme heat or cold.
Here’s a quick look at how leaf mulch suppresses weeds compared to other materials:
Mechanism of Weed Suppression | Evidence Source |
|---|---|
Light exclusion | Wesson and Wareing, 1967; Popay and Roberts, 1970; Fitter and Hay, 1987; Richardson et al., 2008 |
Physical barriers | Crutchfield et al., 1986; Facelli and Pickett, 1991; Marble, 2015 |
Reducing available water | Jordan et al., 2010 |
Allelopathic properties | Chalker-Scott, 2007 |
How to Apply Leaf Mulch
Applying leaf mulch correctly is crucial for maximizing its benefits. Here are some simple steps to follow:
Prepare the Soil: Water the soil thoroughly before adding mulch. This helps the leaves settle better and prevents them from matting.
Shred the Leaves: Shredding leaves prevents them from clumping together, which can block air and water. Shredded leaves also break down faster, enriching the soil more quickly.
Spread Evenly: Apply a layer of shredded leaves about 3 to 4 inches thick around your plants. This thickness is ideal for maximizing moisture retention and weed suppression.
Leave Space Around Plants: Make sure to leave a gap of 2 to 4 inches from the stems of your plants. This prevents rot and allows for proper airflow.
Fluff Occasionally: Every now and then, fluff the mulch to maintain airflow and prevent matting. This keeps the mulch effective and healthy for your garden.
Replenish as Needed: Throughout the growing season, check your mulch layer and add more leaves as necessary to maintain the recommended thickness.
By following these steps, you can ensure that your garden benefits from the many advantages of using fallen leaves as mulch. Remember, a well-mulched garden not only looks great but also thrives!
Composting Fallen Leaves

Composting fallen leaves is a fantastic way to recycle this natural resource while enriching your garden soil. You can create a nutrient-rich compost pile that benefits your plants and reduces waste. Let’s explore how to set up your leaf compost pile and some tips to ensure it thrives.
Create a Leaf Compost Pile
Starting a leaf compost pile is simple. Here’s how you can do it:
Choose a Location: Find a spot in your yard that’s convenient but not too visible. A shaded area works well since it helps retain moisture.
Gather Your Leaves: Collect fallen leaves from your yard. Aim for a mix of different types, as some leaves break down faster than others. For example, maple and fruit tree leaves are great choices because they decompose quickly and provide good nutrients.
Layering: Start with a layer of coarse materials like small branches or straw at the bottom. This helps with aeration. Then, add a layer of leaves. Alternate layers of leaves with nitrogen-rich materials like kitchen scraps or grass clippings. This balance is crucial for effective composting.
Moisture: Keep your compost pile moist but not soggy. If it feels dry, sprinkle some water on it. The ideal moisture level is similar to a damp sponge.
Turn the Pile: Every few weeks, turn the compost pile with a pitchfork or shovel. This aerates the pile and speeds up decomposition.
Here’s a quick reference for how long it takes for your compost to break down based on your method:
Composting Method | Time Required |
|---|---|
Fast Composting | 3 to 8 weeks |
Traditional Composting | 3 to 9 months |
Tips for Successful Composting
To ensure your leaf compost pile breaks down efficiently, keep these tips in mind:
Balance Carbon and Nitrogen: Fallen leaves have a high carbon-to-nitrogen (C:N) ratio, often between 40:1 and 80:1. To speed up decomposition, mix in nitrogen-rich materials. Aim for a balanced ratio of around 30:1.
Shred Your Leaves: Shredding or grinding leaves increases their surface area, making them easier for microorganisms to break down. Smaller pieces decompose faster, so consider using a leaf shredder or mower.
Monitor Temperature: The ideal temperature for composting is between 135°F and 175°F, with 150°F being optimal. Higher temperatures help kill pathogens and speed up the breakdown process.
Keep It Aerated: Good airflow is essential for aerobic decomposition. If your pile becomes too compacted, it can start to smell bad. Turning the pile regularly helps maintain airflow.
Watch for Moisture: If your compost pile is too dry, decomposition slows down. If it’s too wet, it can become anaerobic and smelly. Aim for a damp sponge consistency.
By following these steps and tips, you can create a thriving leaf compost pile that enriches your garden soil. Not only will you reduce waste, but you’ll also provide your plants with the nutrients they need to flourish!
Make Leaf Mold
What is Leaf Mold?
Leaf mold is a fantastic organic material created from decomposed leaves. It’s not just any compost; it has a high carbon content and low nitrogen levels. This unique composition makes it different from traditional compost, which usually has more nitrogen due to the inclusion of kitchen scraps and grass clippings. Leaf mold is rich in essential nutrients like calcium, potassium, and magnesium, which are vital for plant growth. Plus, it improves soil structure, making it easier for roots to penetrate and absorb water.
Here’s a quick look at the benefits of using leaf mold as a soil amendment:
Benefit | Description |
|---|---|
Nutrient Content | Leaf mold is rich in calcium, potassium, and magnesium, essential for plant growth. |
Soil Structure Improvement | It helps modify clay or sandy soil and increases organic material, preventing compaction. |
Support for Healthy Plant Growth | As leaves decompose, they release nutrients and serve as food for earthworms, enhancing soil health. |
How to Create Leaf Mold
Creating leaf mold is simple and requires minimal effort. Here’s how you can do it:
Collect Leaves: Gather deciduous leaves, as they decompose at a similar rate. Quick-decomposing leaves can yield leaf mold in 6 to 12 months, while slower ones may take up to 2 years.
Choose a Location: Find a shady spot in your yard to pile the leaves. This helps retain moisture.
Moisture Management: Keep the leaves half-saturated, similar to a wrung-out sponge. If the pile dries out, it slows down decomposition.
Aeration: Turn the pile every few months to increase air circulation. This helps distribute moisture and speeds up the process.
Patience is Key: Leaf mold typically requires 1 to 2 years to mature. Factors like pile size and moisture levels can influence this timeline.
By following these steps, you’ll create a nutrient-rich leaf mold that will enhance your garden soil and support your plants’ growth. So, gather those leaves and start your leaf mold journey today! 🍂
Incorporate Leaves into Garden Beds
Tilling leaves into your garden beds can be a great way to boost soil health. When you mix leaves into the soil, you’re adding organic matter that can enhance moisture retention and nutrient availability. This practice not only benefits your plants but also helps create a thriving ecosystem in your garden.
Tilling Leaves into Soil
When you till leaves into your soil, you’re giving your plants a head start. The decomposing leaves provide essential nutrients that support plant growth. However, be cautious! Tilling can also lead to some challenges. For instance, incorporating whole leaves might tie up nitrogen in the soil, causing your plants to yellow. Certain leaves, like those from pecan or walnut trees, can even be toxic to other vegetation.
Benefits for Soil Structure
The benefits of tilling leaves into your garden beds are numerous. Here’s what you can expect:
Improved Soil Aeration: As leaves break down, they create spaces in the soil, allowing air and water to penetrate more easily.
Enhanced Microbial Activity: Leaf litter serves as a major source of organic matter for soil microorganisms. This boosts microbial growth, which is crucial for nutrient cycling.
Increased Moisture Retention: Leaves help the soil hold onto moisture, reducing the need for frequent watering.
Weed Suppression: A layer of decomposing leaves can help suppress weed growth, protecting your plants from competition.
While tilling leaves can improve soil structure, it’s essential to do it right. Over-tilling can damage soil aggregates, leading to a rapid loss of organic matter. Instead, consider mixing in shredded leaves to slow down decomposition and maintain soil health.
By incorporating leaves into your garden beds, you’re not just recycling; you’re enriching your soil and supporting a vibrant garden ecosystem. So, grab those fallen leaves and get to work!
Creative Uses for Fallen Leaves
Fallen leaves aren’t just for composting or mulching; they can also inspire creativity and support wildlife in your garden! Let’s explore some fun and practical ways to use those leaves.
Leaf Art and Decorations
You can turn fallen leaves into beautiful art projects. Here are some creative ideas:
Crafts for Children: Get kids involved with leaf rubbings, collages, or pressed leaf artwork. These activities help them connect with nature while sparking their creativity.
Seasonal Wreaths: Create stunning wreaths from colorful leaves. Hang them on your door to add a personal touch to your home decor.
Confetti for Celebrations: Transform leaves into vibrant confetti for parties. It adds a festive flair to any event!
Building Scarecrows: Use leaves to make charming scarecrows. This can be a fun family activity that also brightens up your garden.
Support for Pollinators
Fallen leaves play a crucial role in supporting pollinators like bees and butterflies. Here’s how:
Nesting Material: Many animals, including squirrels and bumblebees, use fallen leaves as nesting material. This helps them stay safe and cozy.
Overwintering Sites: Bumblebee queens seek out leaf litter to burrow into during winter. Red-banded hairstreak butterflies lay their eggs on fallen oak leaves, providing food for their caterpillars.
Habitat Creation: Leaf litter offers shelter from the cold and a habitat for food sources. It’s essential for maintaining a healthy ecosystem in your garden.
By embracing these creative uses for fallen leaves, you not only enhance your garden’s beauty but also support local wildlife. So, gather those leaves and let your imagination run wild! 🍂
Using fallen leaves in your garden offers many benefits. They enrich your soil, provide habitats for wildlife, and help control weeds. Here’s a quick recap of what you can do:
Mulch with leaves to retain moisture and suppress weeds.
Compost them for nutrient-rich soil.
Create leaf mold for a unique soil amendment.
Incorporate leaves into garden beds for better structure.
Experiment with these methods and see how they enhance your gardening efforts! 🍂 Share your experiences and inspire others to embrace the beauty of fallen leaves.
FAQ
What types of leaves are best for composting?
You should use a mix of leaves, like maple and oak, as they decompose at different rates and enrich your compost.
How long does it take for leaf mold to form?
Leaf mold typically takes 1 to 2 years to mature, depending on factors like moisture and pile size.
Can I use leaves from walnut trees in my garden?
Avoid using walnut leaves, as they contain juglone, which can harm other plants in your garden.

