You might believe numbers will make gardening dull, but they’ll actually save you time and worry, and you can start with simple math you already know. You’ll learn easy formulas for bed area and plant counts, converting seed spacing to seeds per metre, and turning trays into transplants so you buy only what you need.
Then you’ll move on to irrigation rates and emitter calibration that stop run off and wasted water, and to fertilizer mixing and PPM so you don’t burn seedlings.
Next you’ll see how to convert amendment volumes to weight using bulk density and how to estimate yield from plants per square metre and average weight. Along the way you’ll get quick ways to size pots and trays, check greenhouse heating with degree days, and compare light intensity to crop needs, with each step building on the last so you can plan and act with confidence.
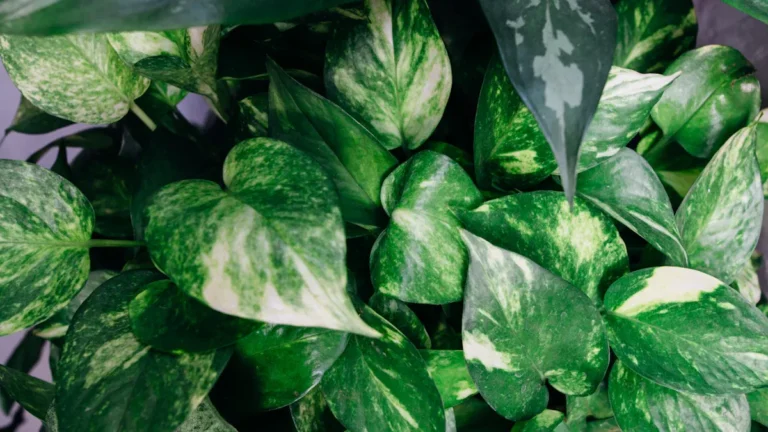
Area and Planting Density Calculations
As you start planning a garden bed or a small orchard, being aware of the area and planting density saves you time, money, and worry. You’ll measure the area initially, because accurate square footage guides everything.
Then you’ll compare planting patterns like square, triangular, or staggered rows to see which fits your crop and space. You’ll calculate plants per unit area and scale up to the whole bed for precise bed optimization.
You’ll factor walkways and access so you don’t overplant. You’ll prefer simple formulas you can repeat and adjust according to crop vigor and desired yield.
You’ll keep records so each season improves. You’ll feel confident making choices that balance productivity, plant health, and your workload.
Seed and Transplant Spacing Conversion
You’re about to learn how to turn row spacing into seeds per metre and then flip that into transplant area so your plans actually match the garden.
Start at measuring the distance between seeds in a row to get seeds per metre and then use plant spacing to convert that number into square metres needed per transplant.
As you work through both steps together you’ll see how small changes in row spacing affect the area each transplant needs and make smarter choices for healthier beds.
Seeds per Row Metres
Many gardeners feel nervous about they see seed packets that list spacing in centimetres or inches and question how many seeds will fit along a row metre, but you can turn that confusion into confidence with a few simple steps. You start by converting spacing to metres, then divide one metre by that spacing to get a seed count. Allow a small adjustment for row curvature and slight overlaps whenever you sow densely. Practice on a short trial row to check germination and spacing.
| Spacing (cm) | Seeds per m |
|---|---|
| 2 | 50 |
| 5 | 20 |
| 10 | 10 |
| 15 | 6.7 |
Transplant Area Conversion
Supposing you’ve figured out how many seeds fit along a row metre, you’re already halfway to sizing the space for transplants and seedlings. Now convert linear counts into area using tray dimensions and pot diameter.
Measure tray dimensions to find area per cell or total tray area. Divide the tray area using the pot diameter squared times 0.785 to estimate how many round pots fit without overlap. Alternatively, square spacing uses pot diameter as the side length; multiply seeds per metre using row length to get seedlings, then place them into trays or beds using those spacing rules.
Practice with your actual trays, observe gaps, and adjust spacing slightly. You’ll gain confidence quickly and protect roots while maximizing your bench and field space.
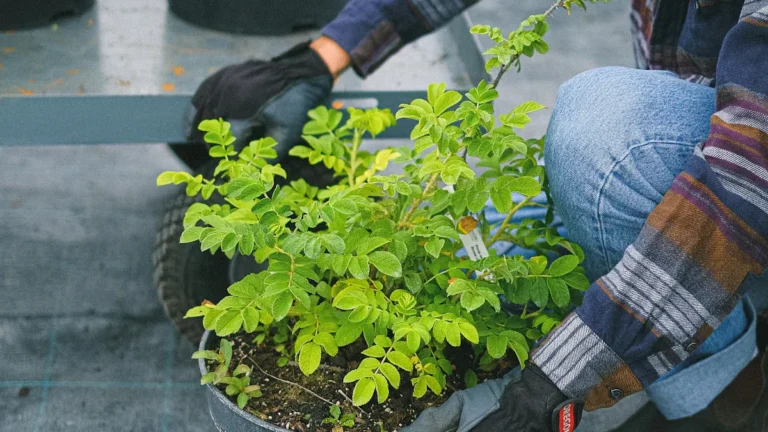
Row Length and Bed Layout
While planning row length and bed layout, consider about how easy you want planting, watering, and harvesting to be. You’ll choose row length to fit your tools and stride. Shorter rows reduce fatigue and simplify plant care. Longer rows save time on straight-line work but can strain reach and increase edge effects that change microclimate.
Balance bed spacing so you can access both sides without stepping on soil. Design beds in modular units that match your equipment width. Measure walking paths and include buffer zones for wheelbarrows and hand tools.
Reflect on crop rotation and how beds connect to compost and storage. Use simple formulas to convert desired plant counts into row lengths. This approach keeps work manageable and yields steady improvement.
Irrigation Runoff and Application Rate
After you’ve set bed sizes and row lengths to match your tools and stride, you’ll need to ponder about how water moves through those beds.
You’ll measure application rate in mm per hour or liters per square meter and compare it to soil infiltration.
Use emitter calibration to confirm each emitter delivers the expected flow.
Then evaluate application uniformity across the block so every plant gets its share.
Runoff modeling helps you predict where excess water will leave your beds and which spots drain poorly.
Combine those results to adjust irrigation efficiency by changing run times, spacing, or emitter types.
You’ll feel confident once math guides choices that reduce waste, protect roots, and improve yield.
Fertilizer Mixing and Concentration
Mixing fertilizer can feel tricky at the outset, but you’ll get it right with a few steady steps and a little practice.
You’ll learn precise solution preparation by measuring solute and solvent, calculating parts per million, and confirming target concentration before you mix.
Use clean tools and add fertilizer to water slowly while stirring to avoid clumps.
Keep a clear log and prioritize labeling accuracy so every container shows formula, date, and dilution ratio.
Whenever you switch formulas, flush equipment and record cross contamination risks.
Read manufacturer directions and convert units whenever needed.
Practice simple checks like measuring electrical conductivity to verify concentration.
With patience and routine checks you’ll build confidence and keep plants safe and nourished.
Ph and Buffer Calculation for Soil Amendments
You’ve already learned how to measure and mix fertilizers carefully, and that same careful habit helps whenever you work with pH and buffers for soil amendments. pH tells you how acidic or alkaline your soil is, and buffers show how strongly the soil resists change whenever you add lime or sulfur.
You’ll use soil titration and buffer capacity to plan amendments. Take a sample, run a titration to see how much acid or base the soil accepts, and compute buffer capacity. That tells you the dose to shift pH safely. You’ll avoid overcorrecting and stressing roots.
- Measure buffer capacity to predict amendment dose
- Use soil titration results to fine tune lime or sulfur rates
- Track changes over time to refine future applications
You’ll gain confidence and protect plant health.
Greenhouse Heating Load and Degree Days
As you plan heating for a greenhouse, consider it as giving plants a steady, cozy schedule instead of sudden temperature swings.
You’ll calculate heating load through measuring heat loss through walls and vents and then factor in greenhouse insulation to lower that loss.
Use simple formulas to convert U values and area into watts or BTU.
Track degree accumulation daily to know how much warmth crops receive over time.
That links heating efficiency to crop monitoring so you don’t under or overheat.
You’ll improve efficiency through sealing leaks, upgrading glazing, and tuning set points.
Keep clear records and revisit calculations each season.
You’ll gain control, reduce surprises, and help plants thrive with calm, confident adjustments.
Light Intensity and Photoperiod Calculations
How bright does your greenhouse really need to be to help plants grow well, and how long should that light remain on each day? You’ll calculate photosynthetic photon flux density by measuring micromoles per square meter per second and matching species targets. You’ll plan photoperiod to support diel rhythms and avoid stress. Use targeted math and repeatable measurements so you can trust results.
- Measure peak photosynthetic photon and daily light integral to set fixtures and spacing
- Adjust photoperiod based on species day length sensitivity and desired developmental stage
- Monitor spectra, intensity, and timing to keep diel rhythms aligned with temperature cycles
You’ll create simple spreadsheets, run trials, and refine settings. You’ll stay precise, empathetic to plant needs, and confident in your decisions.
Yield Estimation per Unit Area
Now that you’ve learned how to measure and set light for healthy growth, you’ll want to turn those numbers into something practical: how much crop you can expect from a given bench or bed.
You’ll estimate crop yield through combining plant spacing, average plant weight, and harvest frequency. Start with a small biomass sampling plot to measure fresh weight per plant. Scale that figure to your bench area, adjust for expected loss and marketable fraction, and you’ve got a realistic yield per square meter.
Repeat biomass sampling across seasons to refine your multiplier. Use consistent sampling methods and record environmental conditions so trends become clear. You’ll gain confidence quickly and make decisions from data, not guesswork.
Conversion Between Volume and Weight for Amendments
A simple scoop, a tidy wheelbarrow, or a full bag can feel like different worlds whenever you’re trying to mix soil amendments, but you can learn to translate those volumes into reliable weights so your mixes turn out right every time. You’ll use bulk density and take note moisture content to convert. Measure volume, weigh a sample, then divide weight by volume to get density. Adjust for moisture content whenever material is damp.
Use these steps to be consistent:
- Weigh a known volume to calculate bulk density so your recipes scale.
- Record moisture content and correct weights to dry-equivalent values for repeatability.
- Convert desired volume to weight using density, then adjust bag counts and scoops.
This method builds confidence and lets you predict results with precision.