You’re keen to shift your honeydew melon seedlings outdoors in Vermont, but timing is crucial. The key is waiting until the soil heats up to around 70°F and the risk of frost has truly passed—usually sometime after mid-May. Before setting them free, you’ll want to harden them off carefully to avoid shock. Grasping these steps aids in guaranteeing your melons thrive, so let’s investigate how to recognize the right moment and prepare your plants for success.
Understanding Vermont’s Growing Season for Honeydew Melons
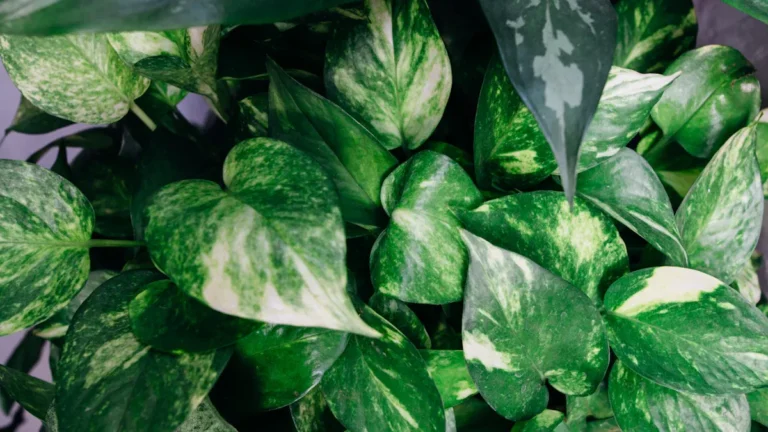
Although Vermont’s growing season is shorter than in warmer states, you can still enjoy fresh honeydew melons by grasping the local climate and timing. You’ll want to start your seeds indoors first to beat the chill and carefully plan your honeydew companion planting to maximize space and pest control.
Planting near beans or corn can enhance growth while deterring unwanted bugs. As you finally transplant outdoors, keep an eye on frost dates, as melons hate cold snaps. Once harvested, perfecting melon storage techniques is essential to extend freshness—store them in a cool, dry spot or refrigerate to slow ripening.
Grasping these seasonal details helps you nurture your honeydews carefully through Vermont’s brief summer, letting you savor that sweet, juicy reward despite the tight growing window.
Ideal Soil Temperature for Transplanting Honeydew Melon
Figuring out the right moment to relocate your honeydew melon seedlings from indoors to the garden depends mostly on the external soil temperature. When the soil’s too cold, your plants won’t prosper, regardless of how effectively you’ve handled honeydew variety selection or pest control tactics. Target soil temperatures between 70°F and 85°F to provide your melons the warm beginning they require.
| Soil Temperature (°F) | Recommended Action | Notes on Growth |
|---|---|---|
| Below 60 | Keep seedlings indoors | Risk of stunted growth |
| 60-69 | Gradual hardening off | Slow development |
| 70-75 | Transplant seedlings | Ideal for root establishment |
| 76-85 | Transplant with care | Vigorous growth phase |
| Above 85 | Avoid transplanting | Heat stress risk |
This precise timing bolsters your comprehensive pest control tactics by fostering robust plants less prone to pests.
Average Last Frost Date in Vermont and Its Importance
Since honeydew melons are sensitive to cold, knowing the average last frost date in Vermont can save your plants from an icy surprise. This date marks the point at which temperatures typically stay above freezing, protecting your melons from frost damage. Keep in mind, Vermont’s average frost variability means this date can shift year to year. Regional climate differences also play a big role; areas in southern Vermont warm up earlier than those in the north or higher elevations.
So, you’ll need to adjust your planting schedule based on your specific location. Monitoring local frost patterns helps you avoid setting out seedlings too soon. This way, you give your honeydew melons the best chance to thrive without the stress of unexpected cold snaps disrupting their growth.
Signs Your Honeydew Seedlings Are Ready for Outdoor Planting
You’ll know your honeydew seedlings are prepared for the outdoors as they’ve grown strong enough to handle the change in environment. Look for sturdy stems about 4 to 6 inches tall and a set of true leaves beyond the initial seed leaves.
This shows they’ve absorbed nutrients well, a sign that you chose quality honeydew seed sourcing. Also, check the root system; roots should fill the pot without circling tightly, indicating healthy growth that supports transplant shock prevention.
When your seedlings look lively, with no yellowing or wilting, they’re ready for the next step.
Keep in mind, timing matters. Planting too soon can expose them to stress, so watch for these signs before moving them outside to give your honeydew the best chance to thrive.
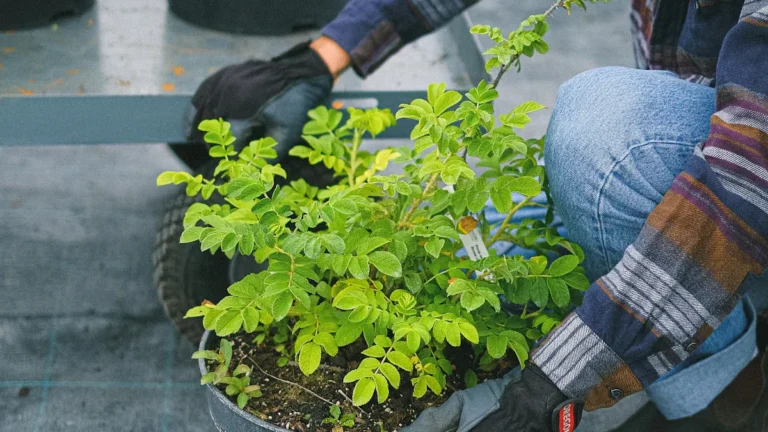
How to Harden Off Honeydew Melon Seedlings Before Moving Outside
Before relocating your honeydew melon seedlings outdoors, you’ll want to assist them in adapting slowly to the new setting. Start through simulating outdoor conditions inside, modifying your indoor light modifications to be less bright and more natural. Then, position seedlings in a greenhouse for acclimatization, where they’ll encounter varying temperatures and fresh air without severe exposure. Follow these steps to harden off your melons:
- Begin with 1-2 hours of morning sun, increasing daily
- Shield seedlings from strong winds and direct midday sun
- Gradually extend outdoor time to full days over 7-10 days
- Water seedlings less frequently to encourage root strength
This careful routine reduces transplant shock and prepares your honeydew melons to thrive once they face Vermont’s outdoor climate.
Best Time of Day to Transplant Honeydew Melon Outdoors
Selecting the appropriate hour to relocate your honeydew melon can create a significant impact on how effectively your plants adjust to their new location. Morning hours are optimal since the climate is milder, and your seedlings won’t become overwhelmed through intense daylight. You’ll desire to steer clear of relocating at noon because the sunlight is most powerful, since this might lead to drooping and distress. Evening twilight additionally succeeds but remain cautious of chillier night air, particularly since you’re not dealing with freeze tolerant types. As you relocate, think about pairing planting to enhance development and safeguard your melons organically. Situating your honeydew beside vegetation such as legumes or maize can enrich the earth and provide cover, aiding your melon flourish. This precise scheduling and preparation will provide your plants a solid beginning outside.
Protecting Honeydew Melon From Late Spring Frosts in Vermont
Since Vermont’s late spring can surprise you with sudden frosts, protecting your honeydew melon plants during this time is essential. You’ll want to select frost resistant honeydew varieties to give your garden a stronger start. If frost threatens, cover plants with breathable fabric or frost cloth to trap warmth without suffocating them. You can also create mini greenhouses using clear plastic containers, but remove them during sunny hours to prevent overheating. Mulching around the base keeps soil warmer and roots cozy. Don’t forget to apply organic pest control to keep bugs from stressing your plants if they’re vulnerable. Combining these strategies helps your melons thrive despite Vermont’s unpredictable chill, so you’ll enjoy a sweeter harvest come summer.
Choosing the Right Location in Your Garden for Honeydew Melons
As you’re setting up your garden for honeydew melons, location can make all the difference in how well your plants grow and produce fruit.
Choose a spot that gets at least six to eight hours of full sun daily because melons thrive in warmth and light.
Make sure the soil drains well to prevent root rot and supports steady growth.
Consider companion planting options like beans or corn nearby; they can improve soil nutrients and shade young melon vines.
Also, use pest management strategies via positioning aromatic herbs such as basil or marigolds close to deter harmful insects naturally.
Avoid crowded spots to encourage airflow, which reduces disease risk.
Positioning your melon patch thoughtfully sets you up for a successful harvest, linking location choices directly with plant health and productivity.
Using Row Covers and Other Protective Measures for Young Plants
When you’re tending to young honeydew melon plants, installing row covers can really provide them an advantage. These protective layers shield your seedlings from unexpected cold snaps and pests, giving them a better chance to thrive. Consider these options:
- Floating row covers allow light and moisture through while blocking insects and frost.
- Frost blankets offer thicker insulation during chilly nights without suffocating plants.
- Cloches create mini-greenhouses, trapping warmth around individual plants.
- Cold frames act as outdoor incubators, extending your growing season and protecting young vines.
- Low tunnels combine row covers with supportive hoops to maintain stable warmth and humidity.
Using these tools creates a cozy environment, helping your honeydew melons develop strong roots and resist Vermont’s unpredictable spring weather. This way, you set your garden up for success before transplanting outdoors.
Watering and Feeding Tips After Transplanting Honeydew Melon
Once you’ve moved your honeydew melon plants outside, keeping their water and nutrient needs in check becomes key to helping them settle in and grow strong.
Start by watering deeply but less often, encouraging roots to reach down rather than staying shallow. Initial morning watering helps reduce diseases.
Feeding your plants with a balanced fertilizer supports vigorous growth, especially as you integrate honeydew companion planting; plants like beans and corn nearby can improve soil nutrients naturally.
As you set up melon trellis designs, water at the base to avoid wetting the foliage, which prevents mildew.
Keep an eye on soil moisture—it should stay consistently damp but not soggy.
Through balancing watering and feeding carefully, you promote healthy vines and juicy fruit while leveraging companion plants and smart trellis setups to maximize your garden’s success.
Monitoring Growth and Adjusting Care as the Season Progresses
As your honeydew melon plants grow, you’ll start to notice key signs like vine length and flower development that tell you how they’re progressing. Keep an eye on Vermont’s changing weather, since cooler nights or sudden heat can mean you need to tweak watering or feeding. Staying flexible with your care will help your melons thrive all season long.
Growth Stage Indicators
Keeping an eye on your honeydew melon’s growth helps you know exactly the moment to step up your care.
Since you’ve chosen your honeydew variety with care, you’ll want to monitor these key indicators closely.
Watch for fruit set, leaf expansion, and vine length as they all signal shifts in the plant’s needs.
Also, use pest identification techniques regularly to catch any initial infestations before they impact growth.
Look for these growth stage signals:
- Small fruits forming and swelling
- Leaves turning a deep, healthy green
- Vine tendrils reaching their full length
- Flowering diminishing as fruits develop
These signs guide your watering, feeding, and pest control adjustments, ensuring your melon thrives as the season moves forward.
Seasonal Weather Adjustments
While the weather in Vermont can surprise you, staying alert to its shifts helps you give your honeydew melon exactly what it needs through the season. As you watch your melon grow, pay close attention to regional climate variations that influence temperature swings and unexpected frosts.
Understanding your melon’s varietal cold tolerance allows you to adjust watering, shading, or moving plants indoors during cold snaps. Should nights suddenly become chilly, protect young plants with covers or bring pots inside to avoid damage.
On warmer days, increase sunlight exposure gradually to avoid stress. Through tuning into these subtle weather changes and your melon’s growth stages, you’ll nurture a stronger, healthier crop. This ongoing care adjustment guarantees your honeydew thrives despite Vermont’s shifting seasonal moods.